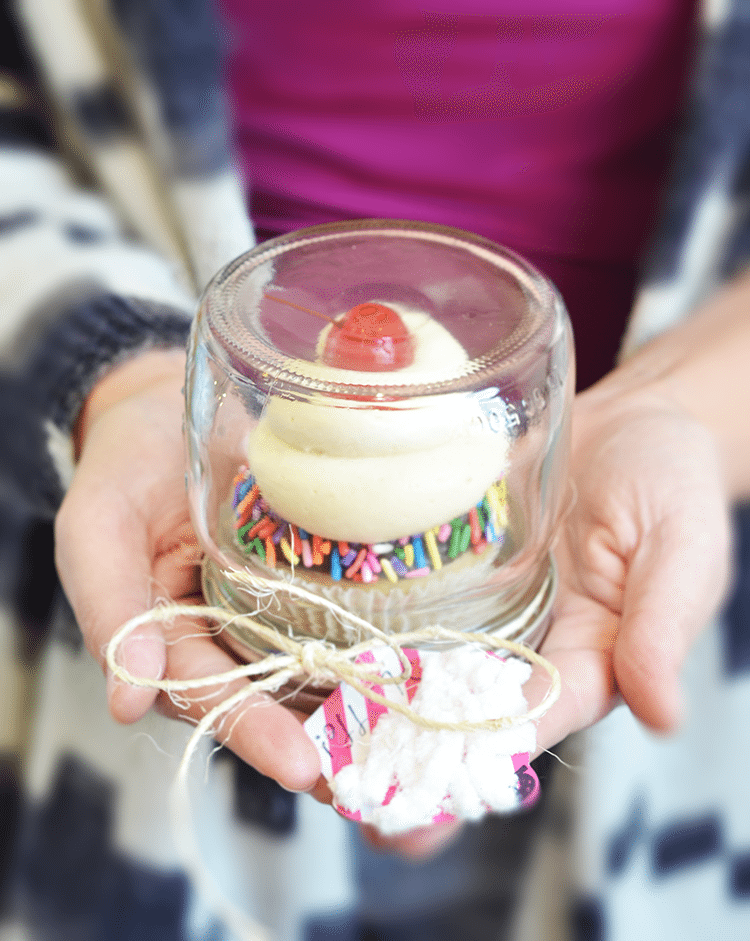
easy Individual Cupcake Carrier
These little cupcake carriers are great for birthday or wedding favors, easy gifts, and best of all…so easy to make!
These little cupcake carriers are great for birthday or wedding favors, easy gifts, and best of all…so easy to make!
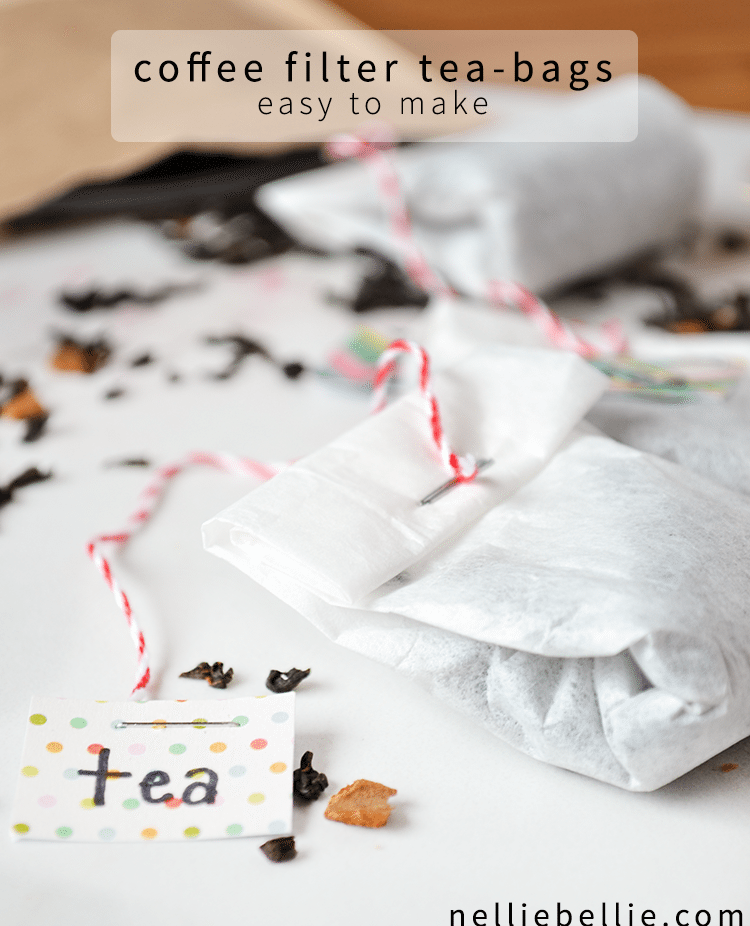
DIY tea bags are great to know how to make. Here, we have two versions of tea bags: You’ll be surprised at how easily you
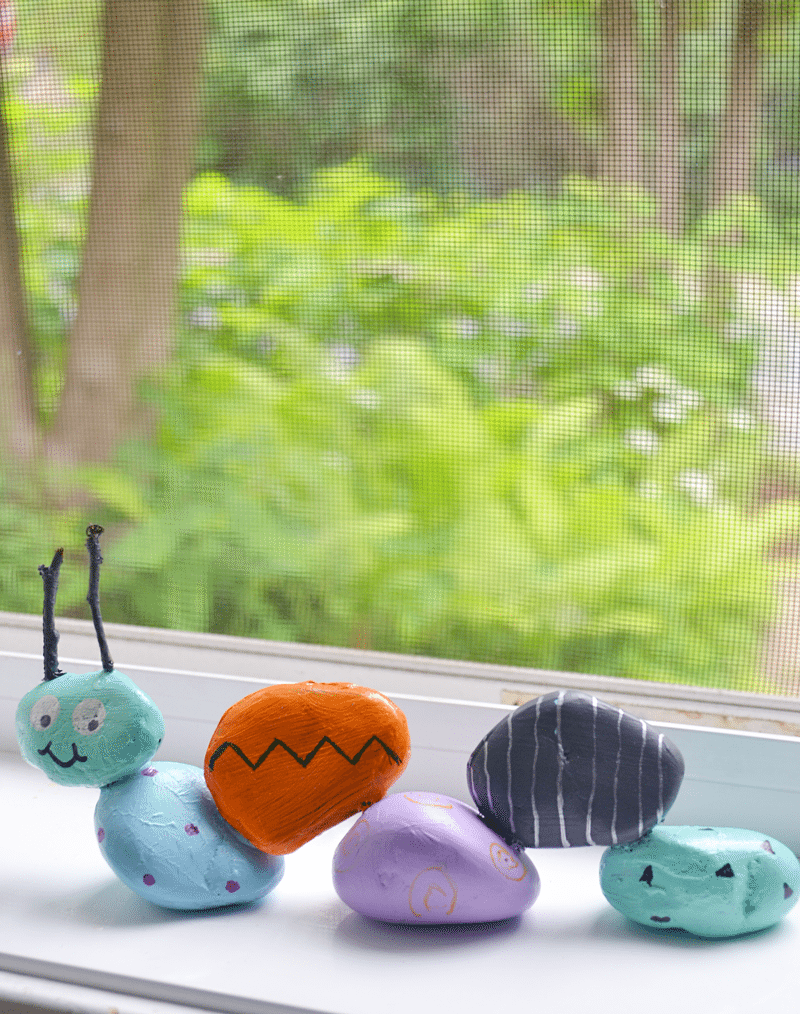
This rock craft is soooo cute! Gather rocks, paint, glue, and twigs and you have the makings of a caterpillar. Super fun!
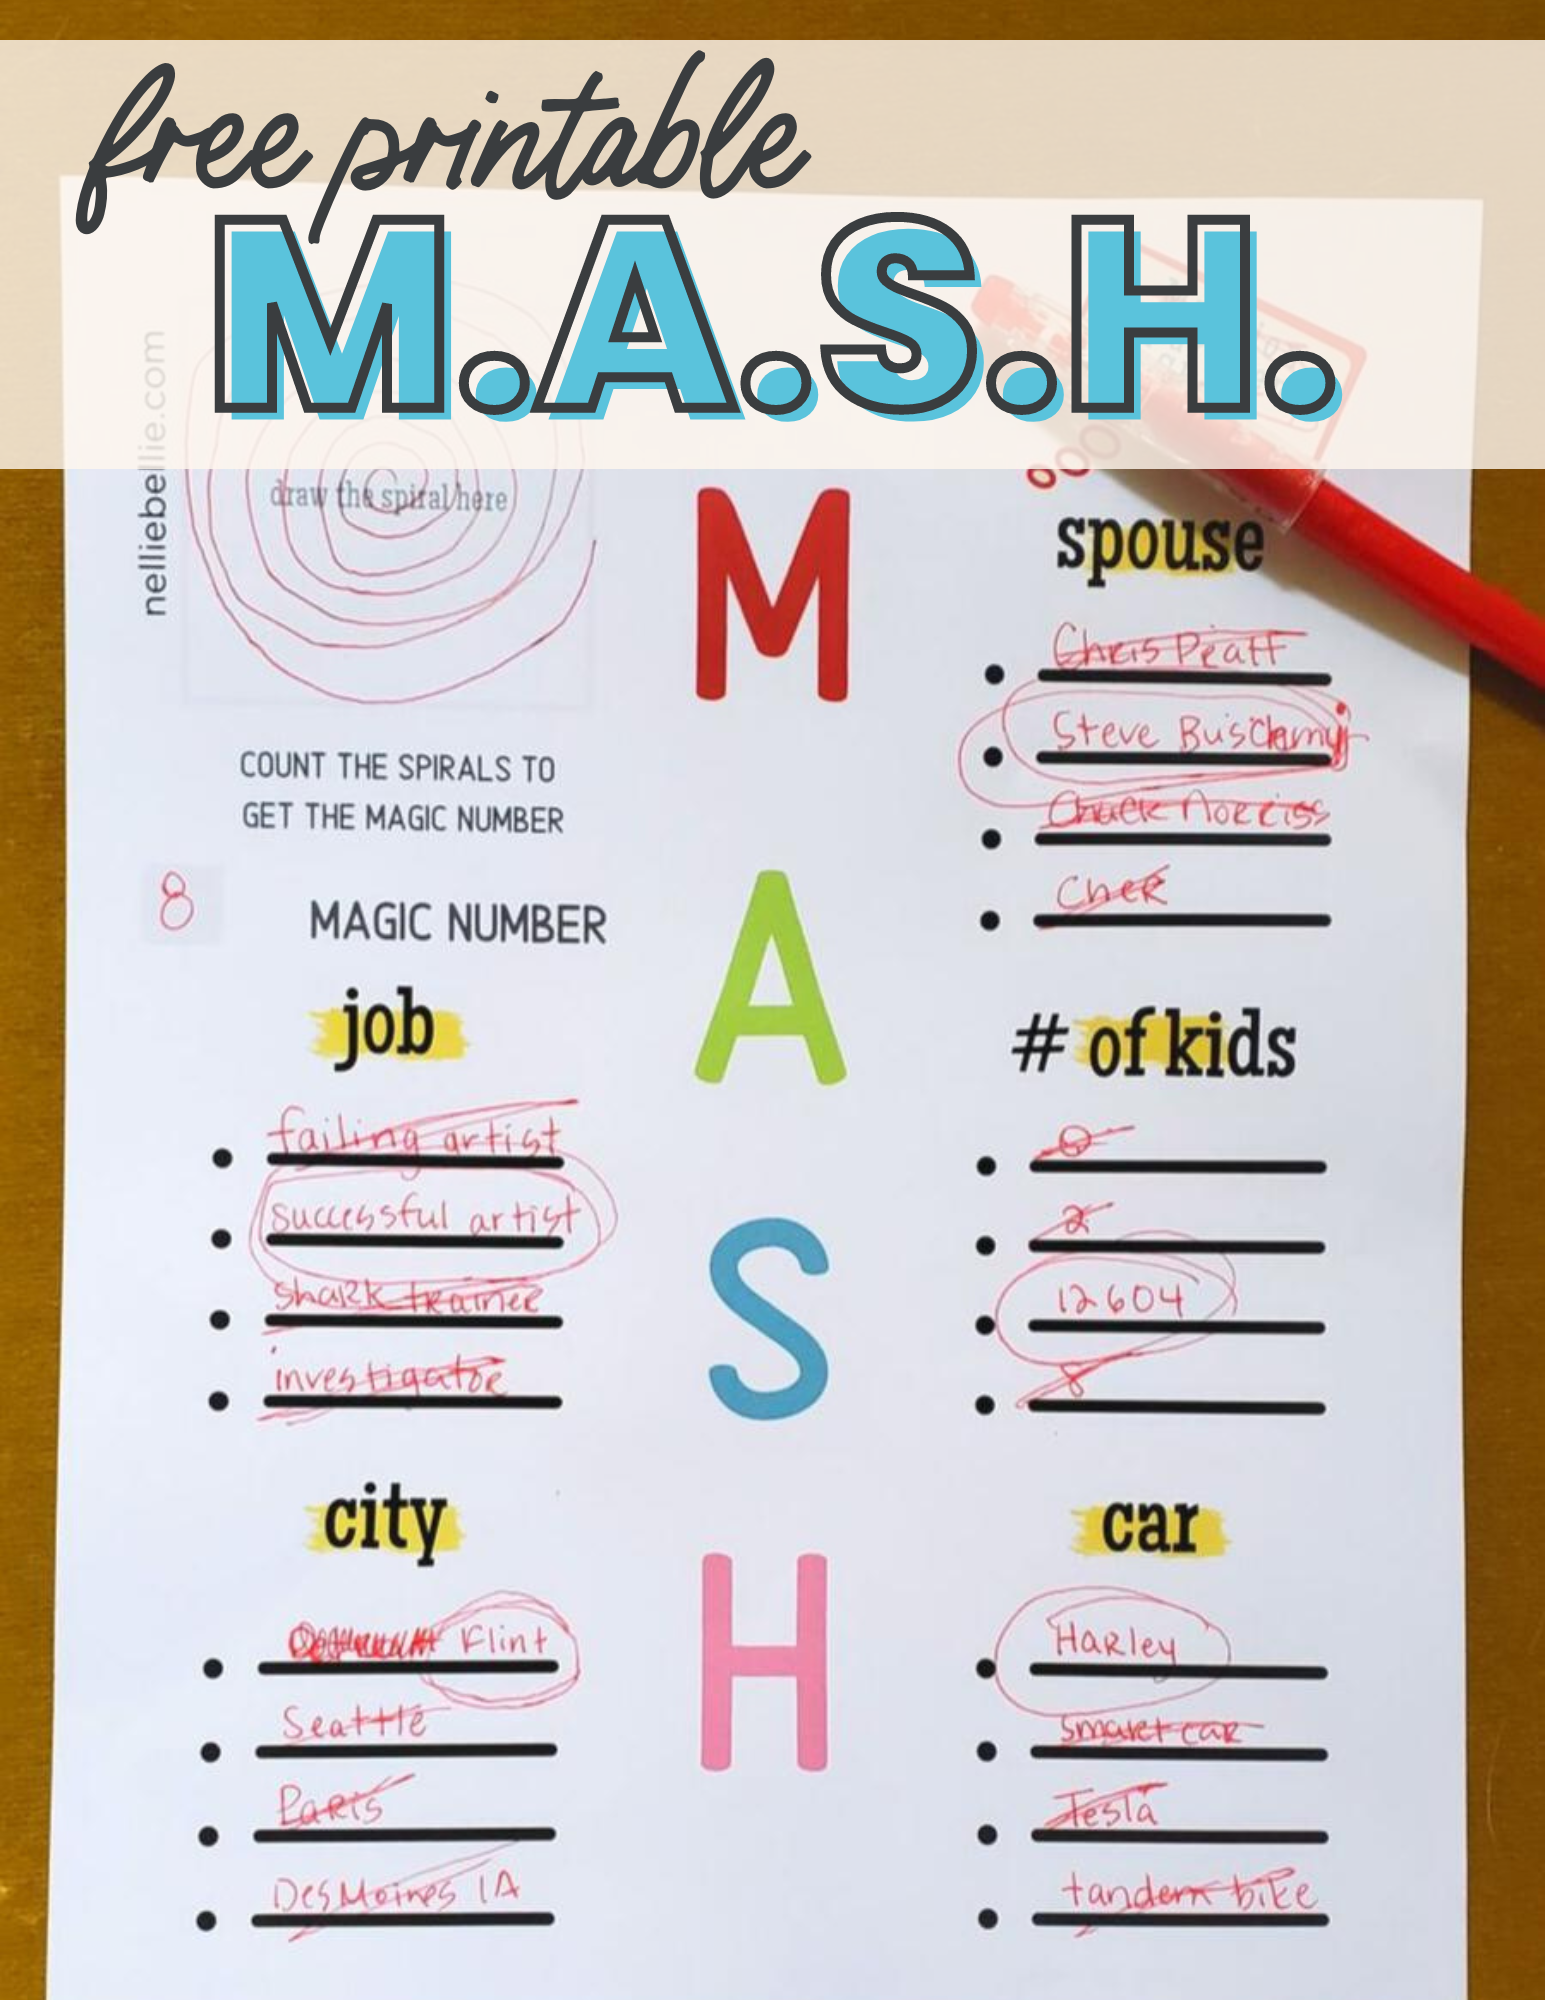
This printable Mash game is a classic throwback to the fun of sleepovers! Grab this printable and teach your kids and grandkids this cool game.
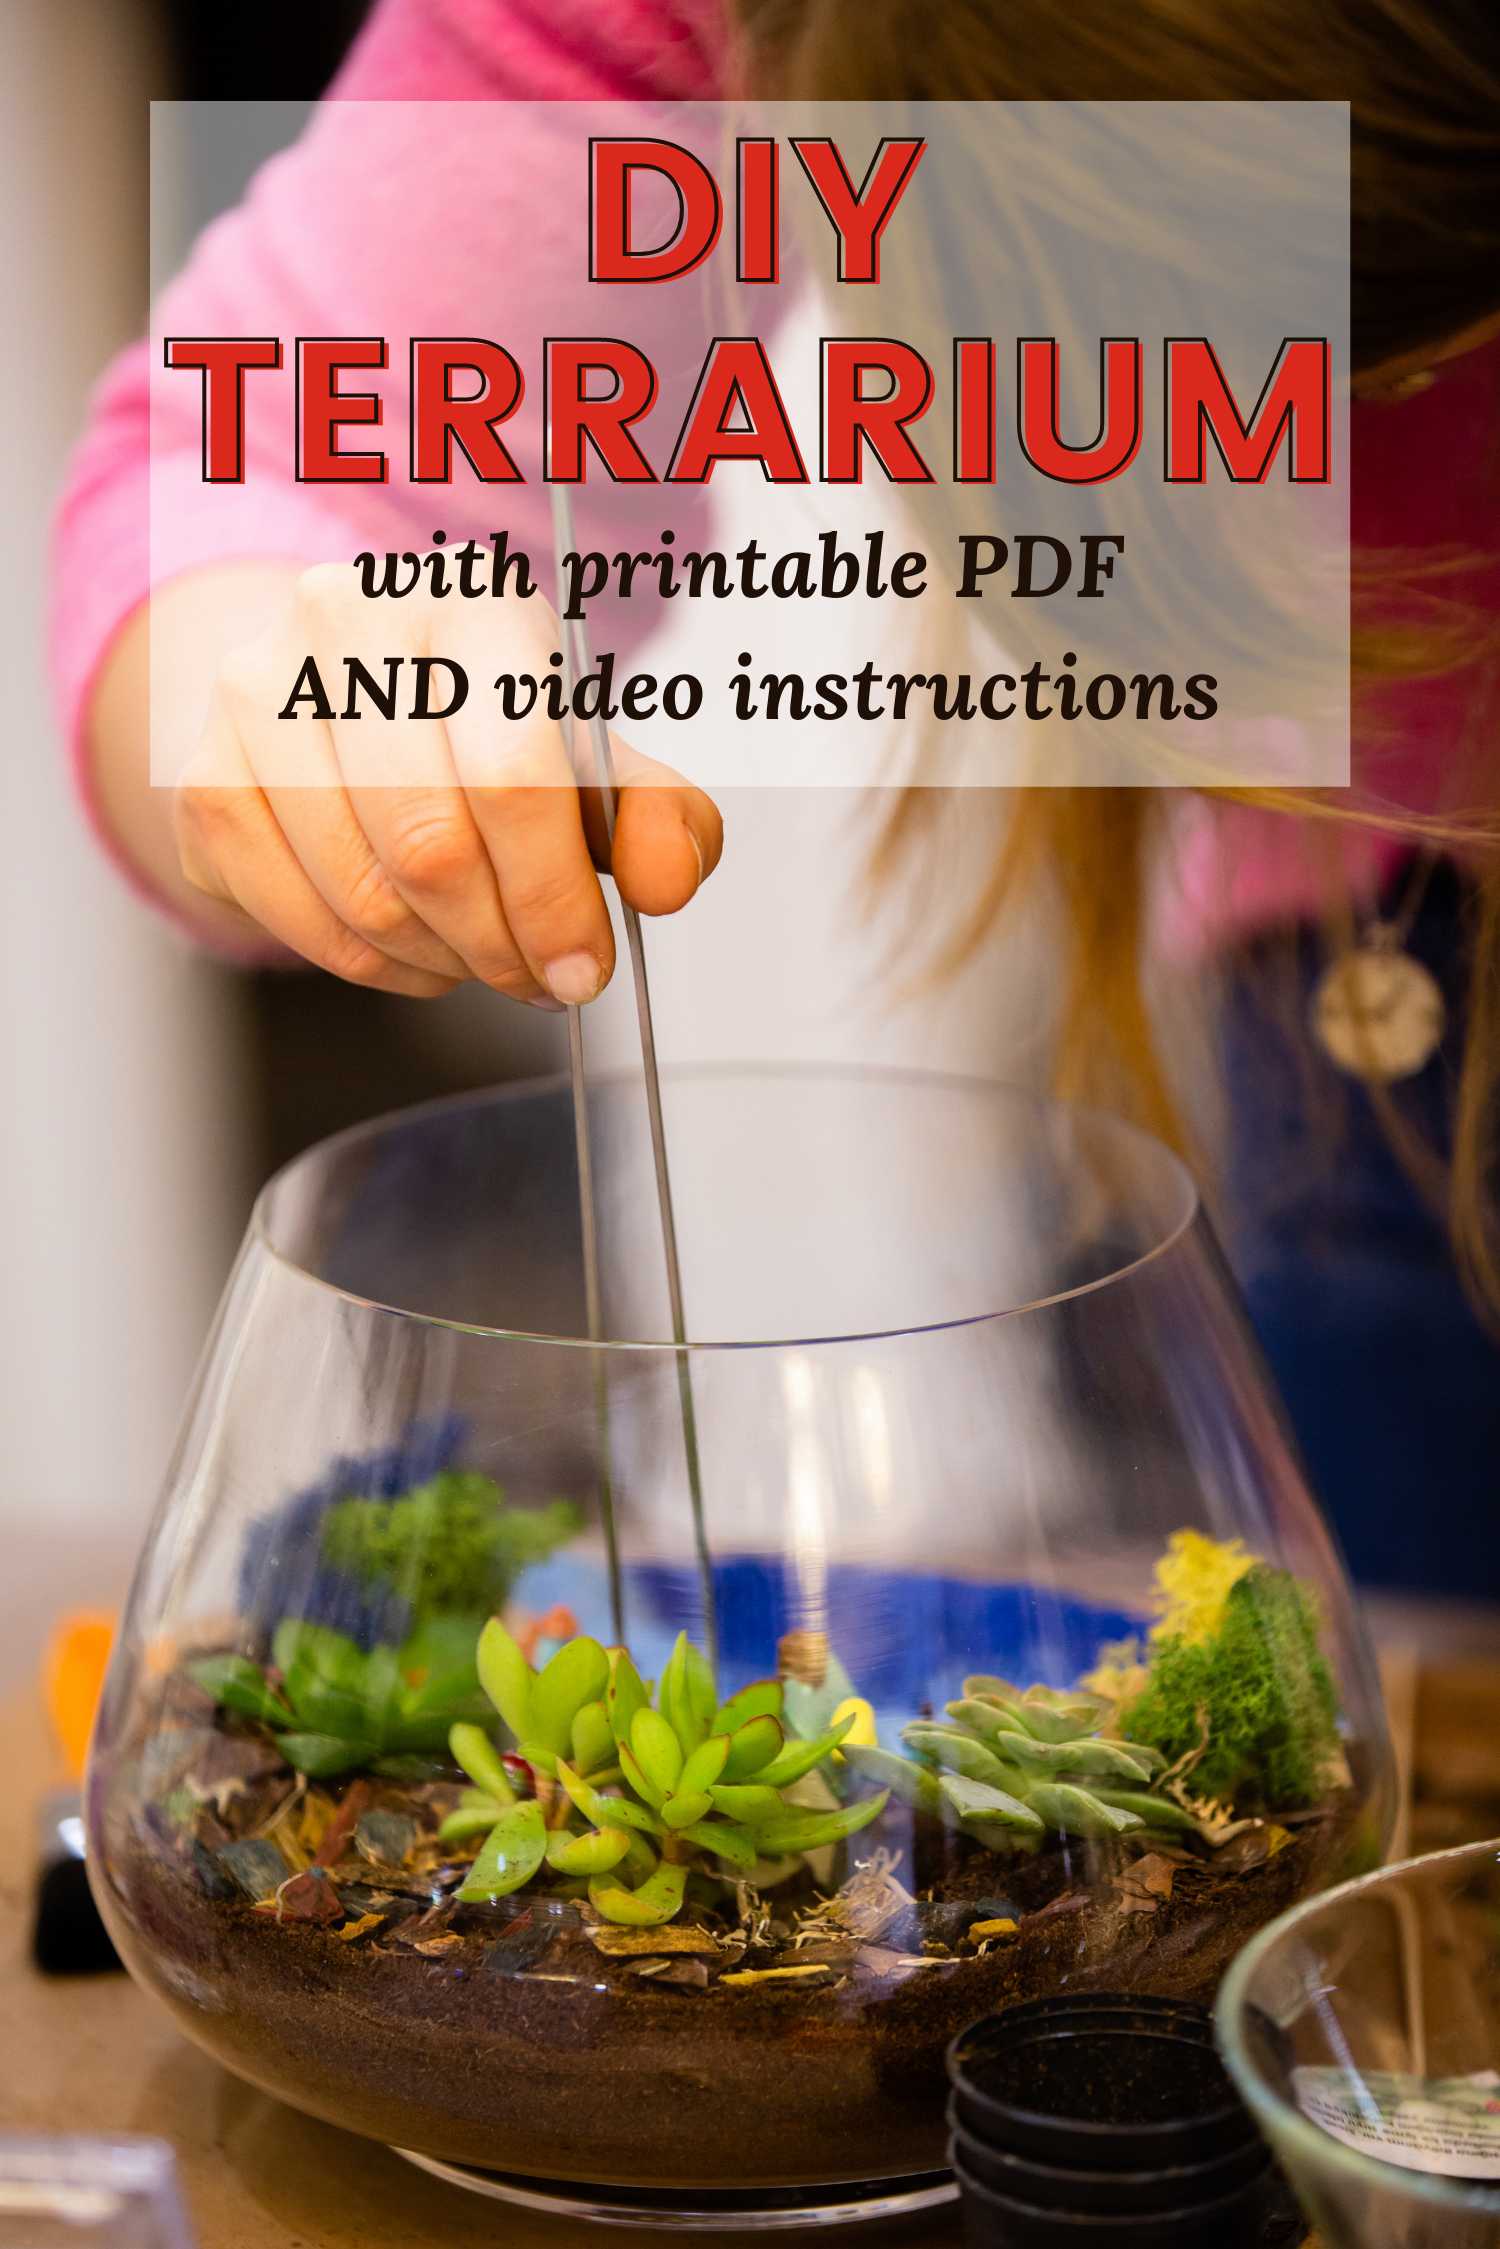
It always makes my day when I can make terrariums. I find them utterly adorable, sweet, and easy to take care of. Plus terrariums are
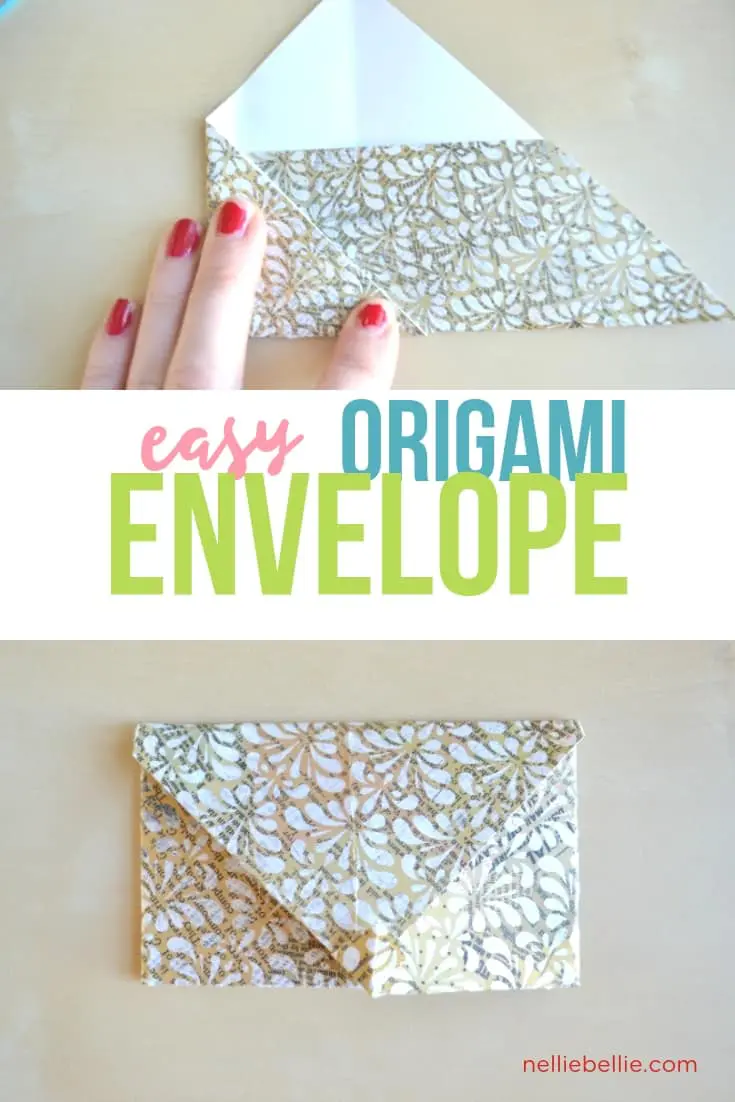
Fold a paper envelope without a fancy envelope-folding tool! You can use a folding envelope to put a gift card or cash inside a birthday
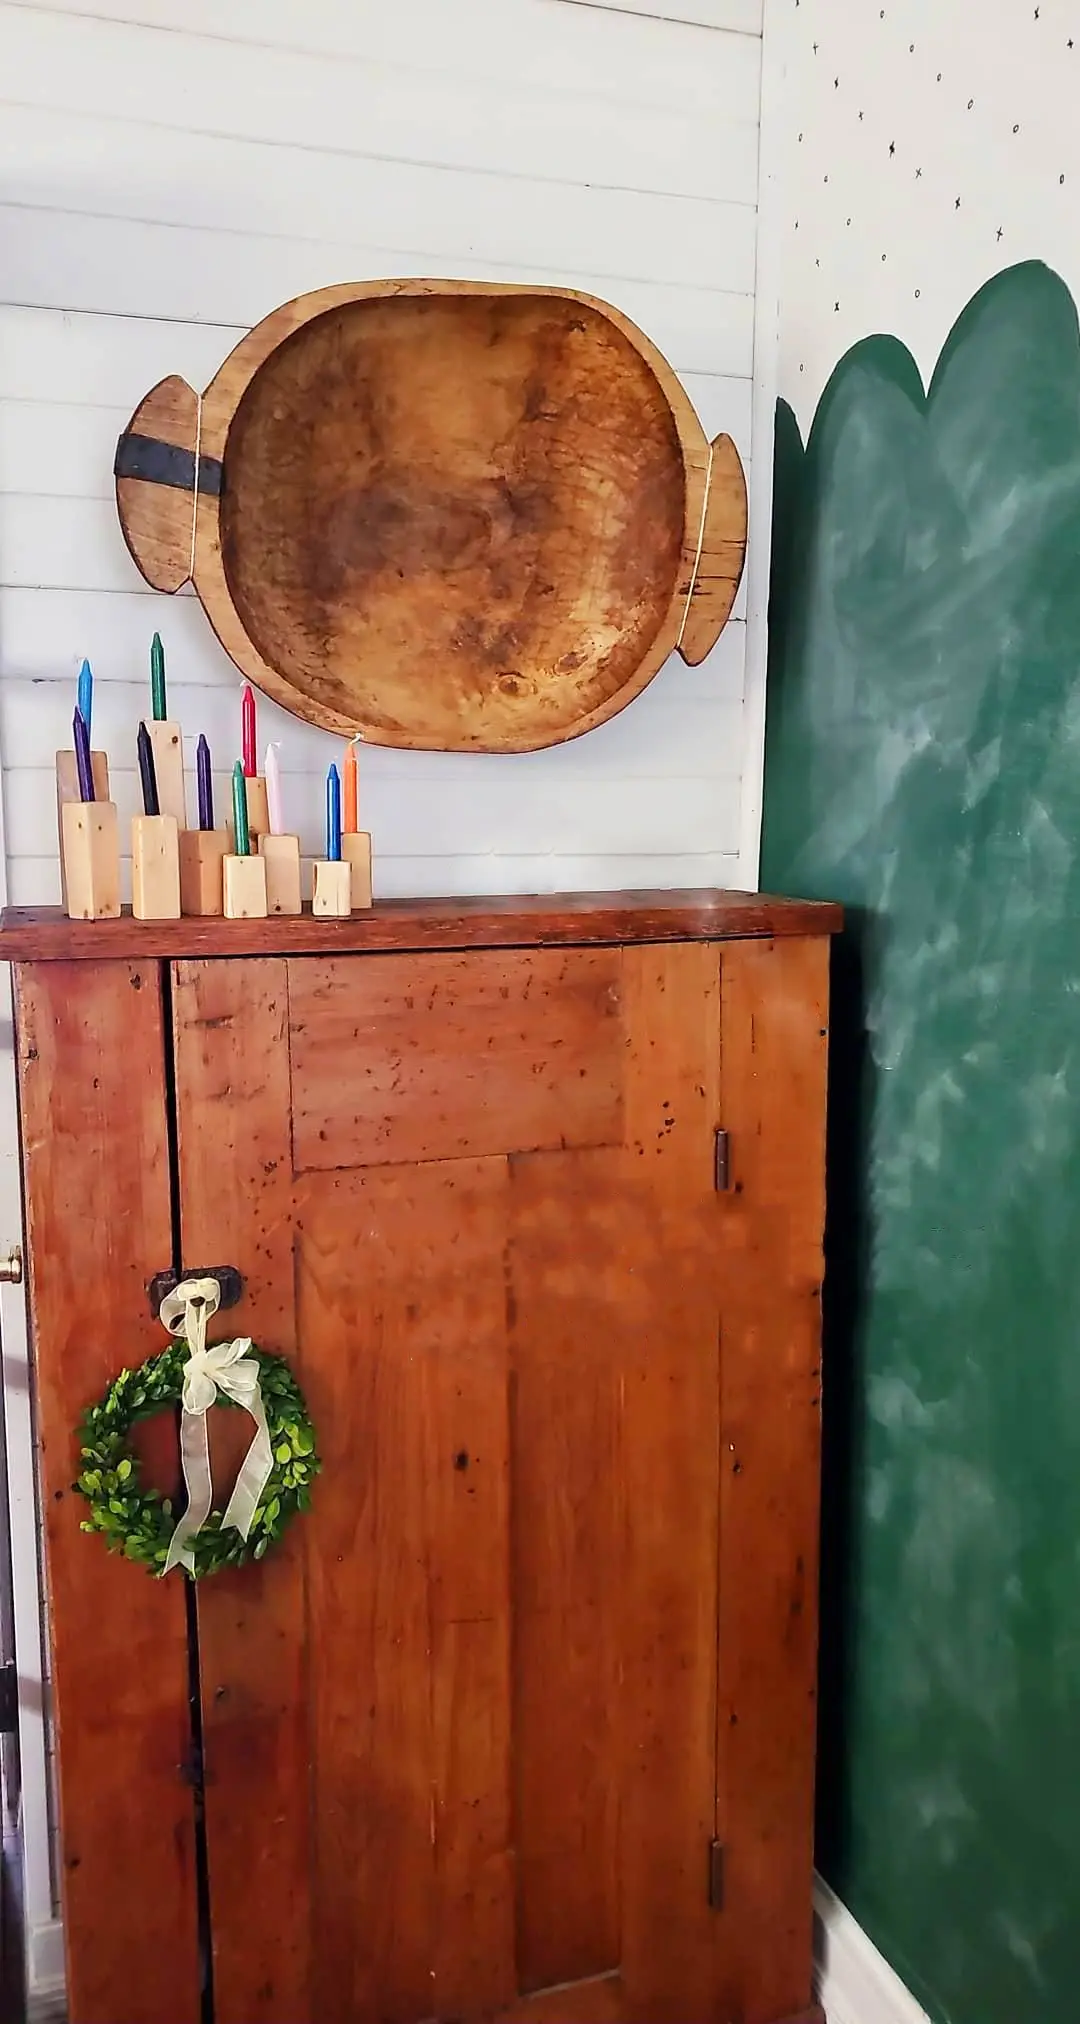
A chalkboard wall in the dining room isn’t for everyone. Especially a schoolhouse GREEN chalkboard wall. However, take a bit of inspiration from this project
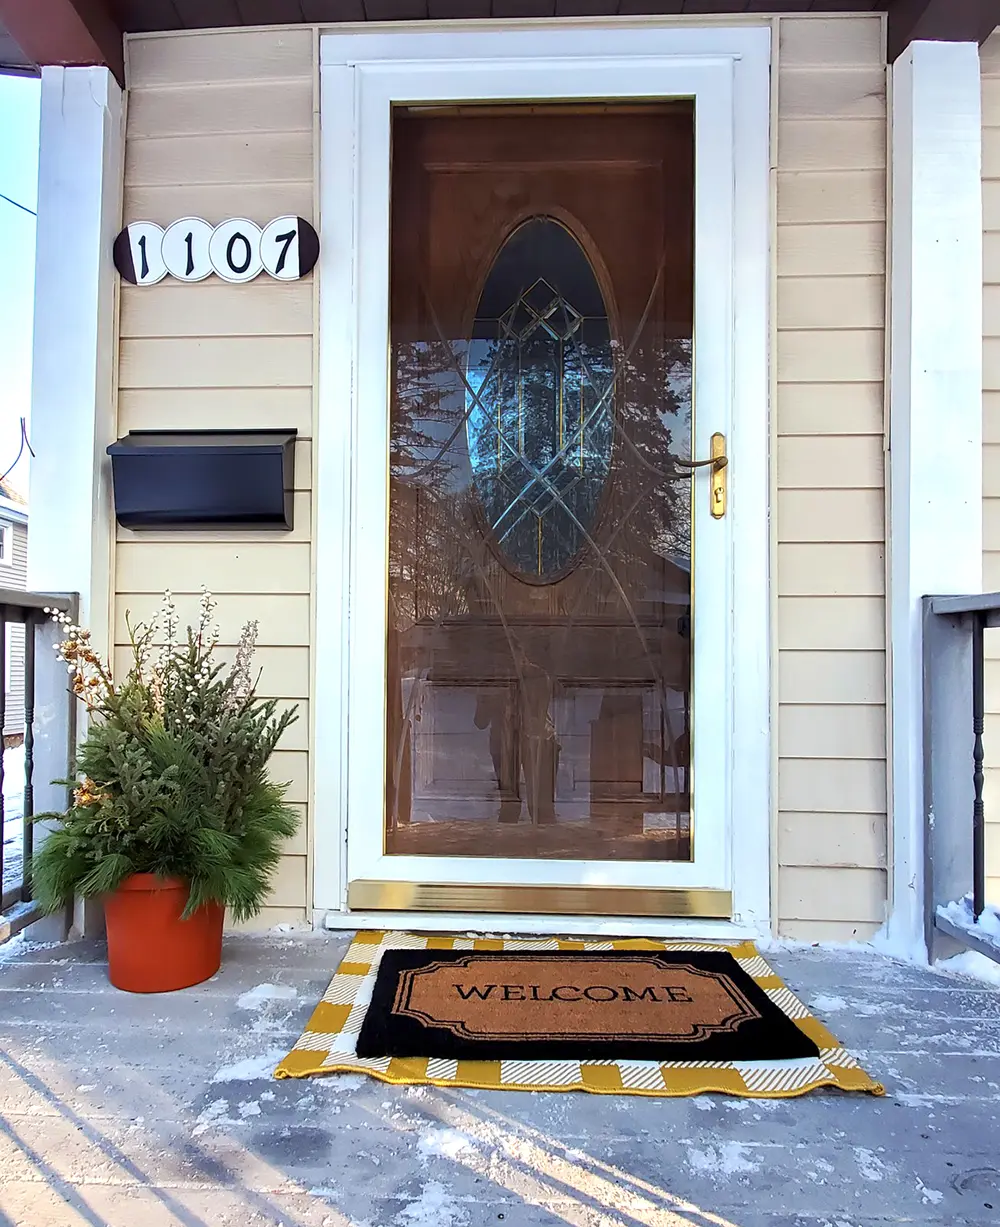
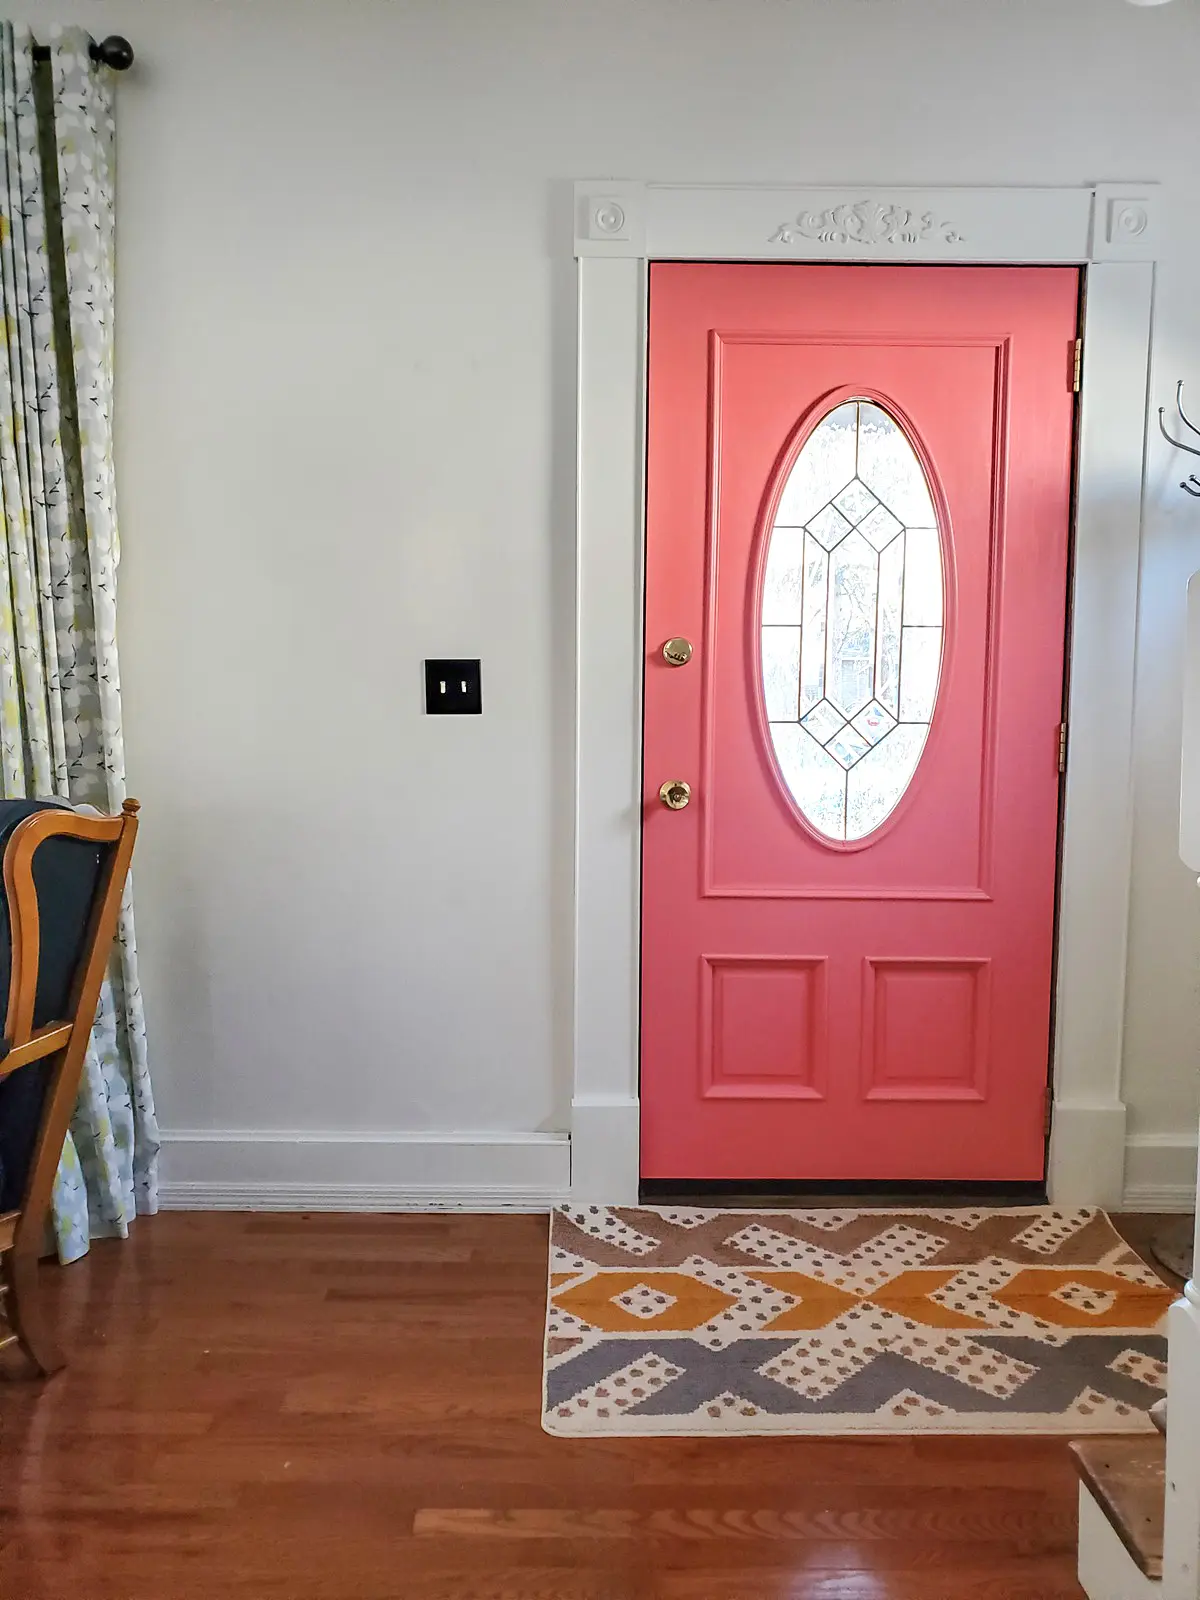
If you are looking for inexpensive and easy ways to update your front entry…I’ve got you. Here are a few ideas that all come in
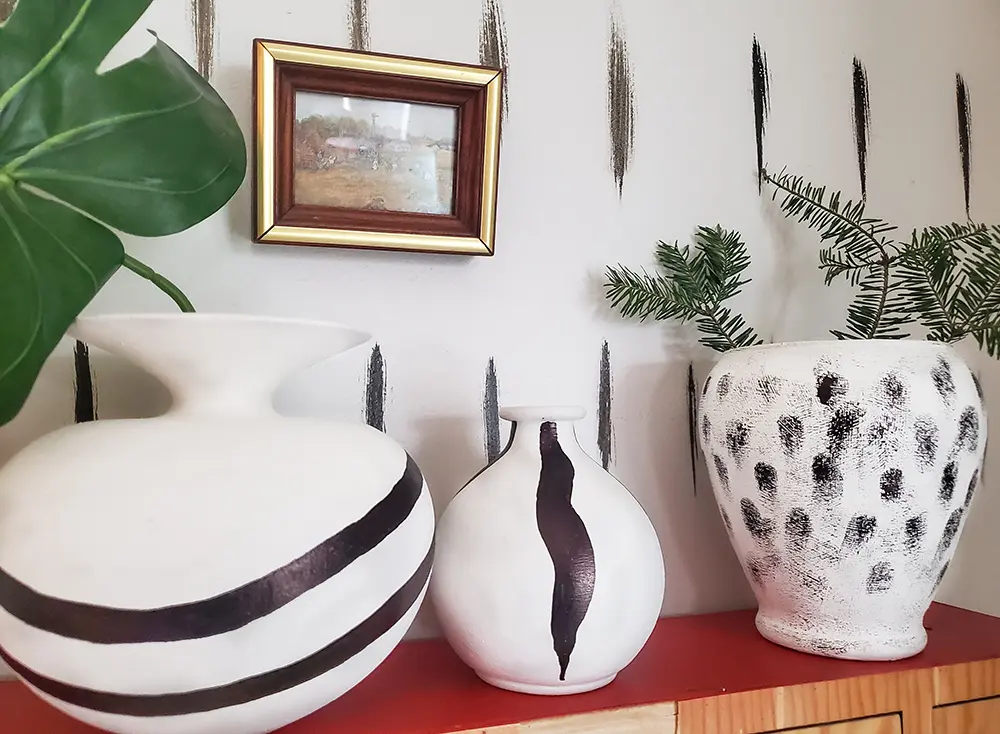
Update vases to mimic their more expensive counterparts with only a bit of paint, baking soda, and a Sharpie. Take your mismatched, cheap vases and
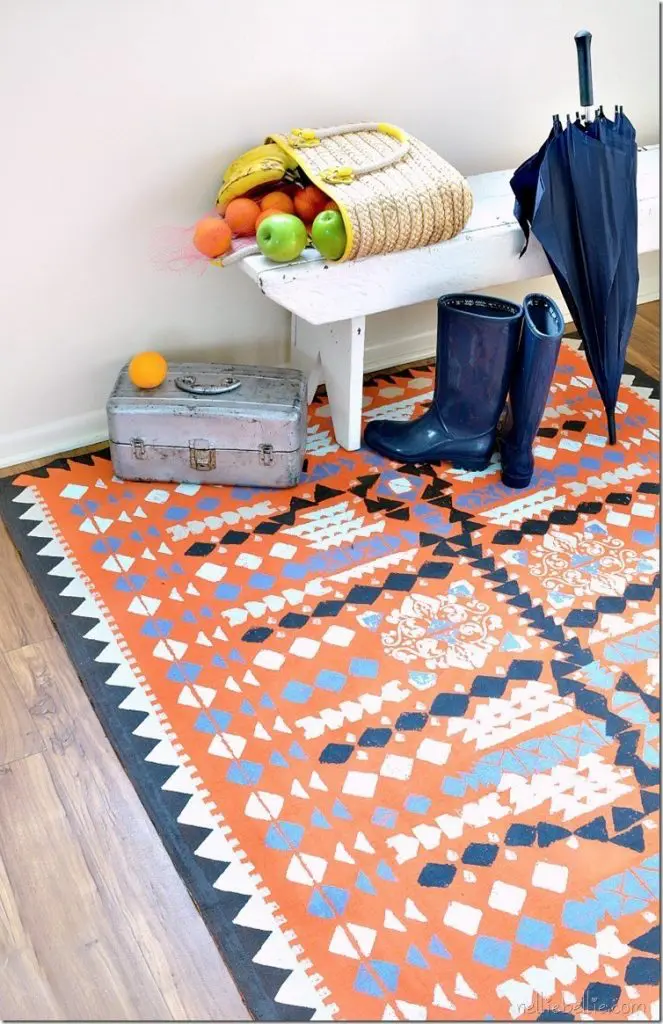
This painted drop cloth rug is a beautiful and simple Aztec wonder. It is created simply from a drop cloth and paint. Take an afternoon
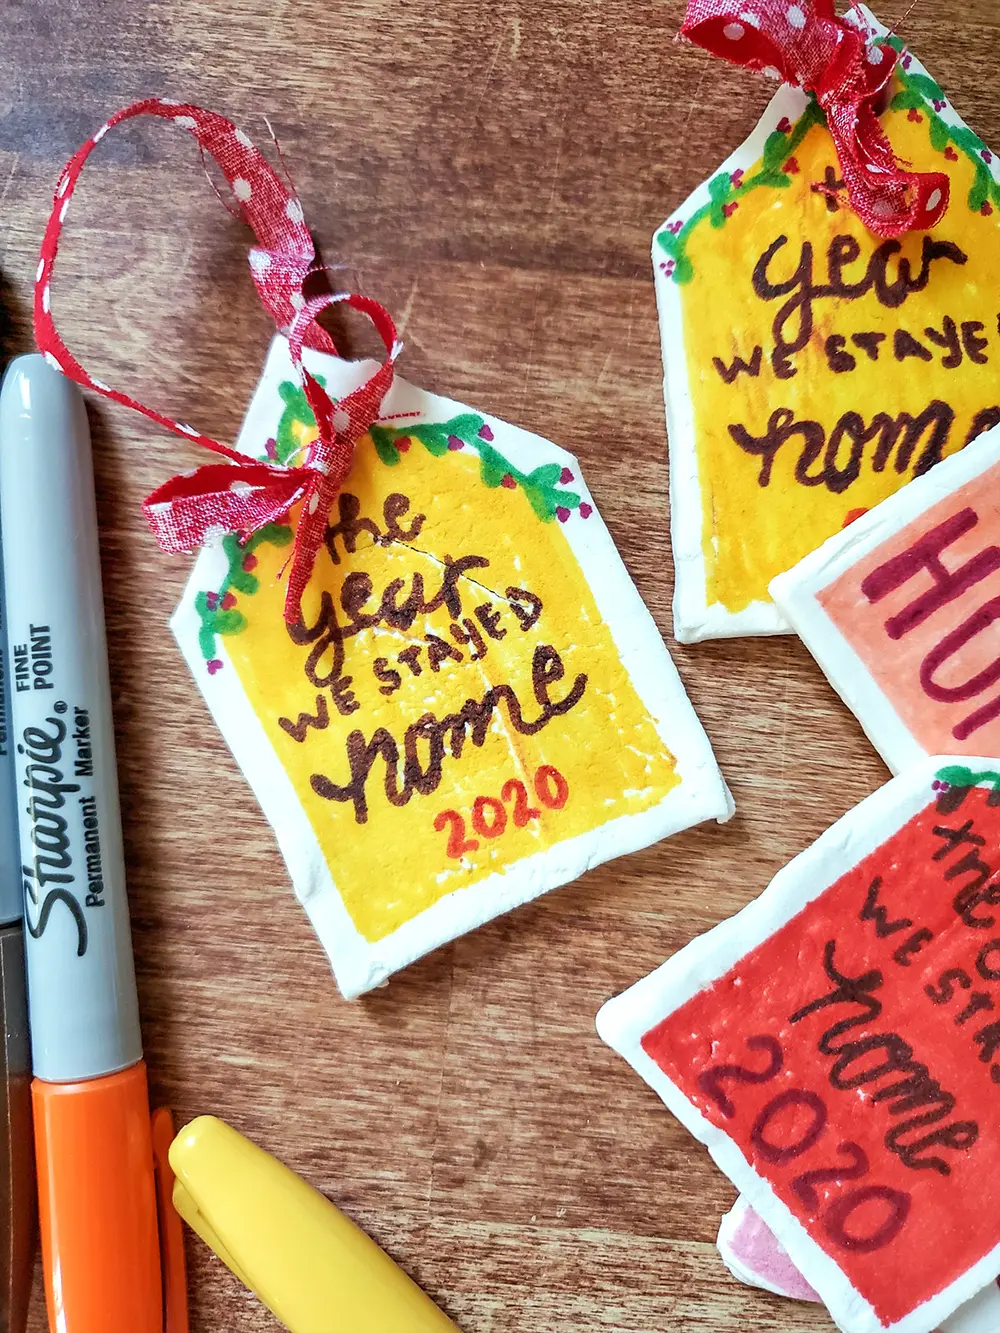
A DIY ornament made from simple, homemade air-dry clay and Sharpies is a fun and humorous take on this crazy year 2020 has been.

I’ve got 5 easy steps to update your tired couch with some fresh life and color. A bit of time, energy, and a very small
With some paint, a brush, and painters tape you can add a big impact to your home! An afternoon and a bit of patience is
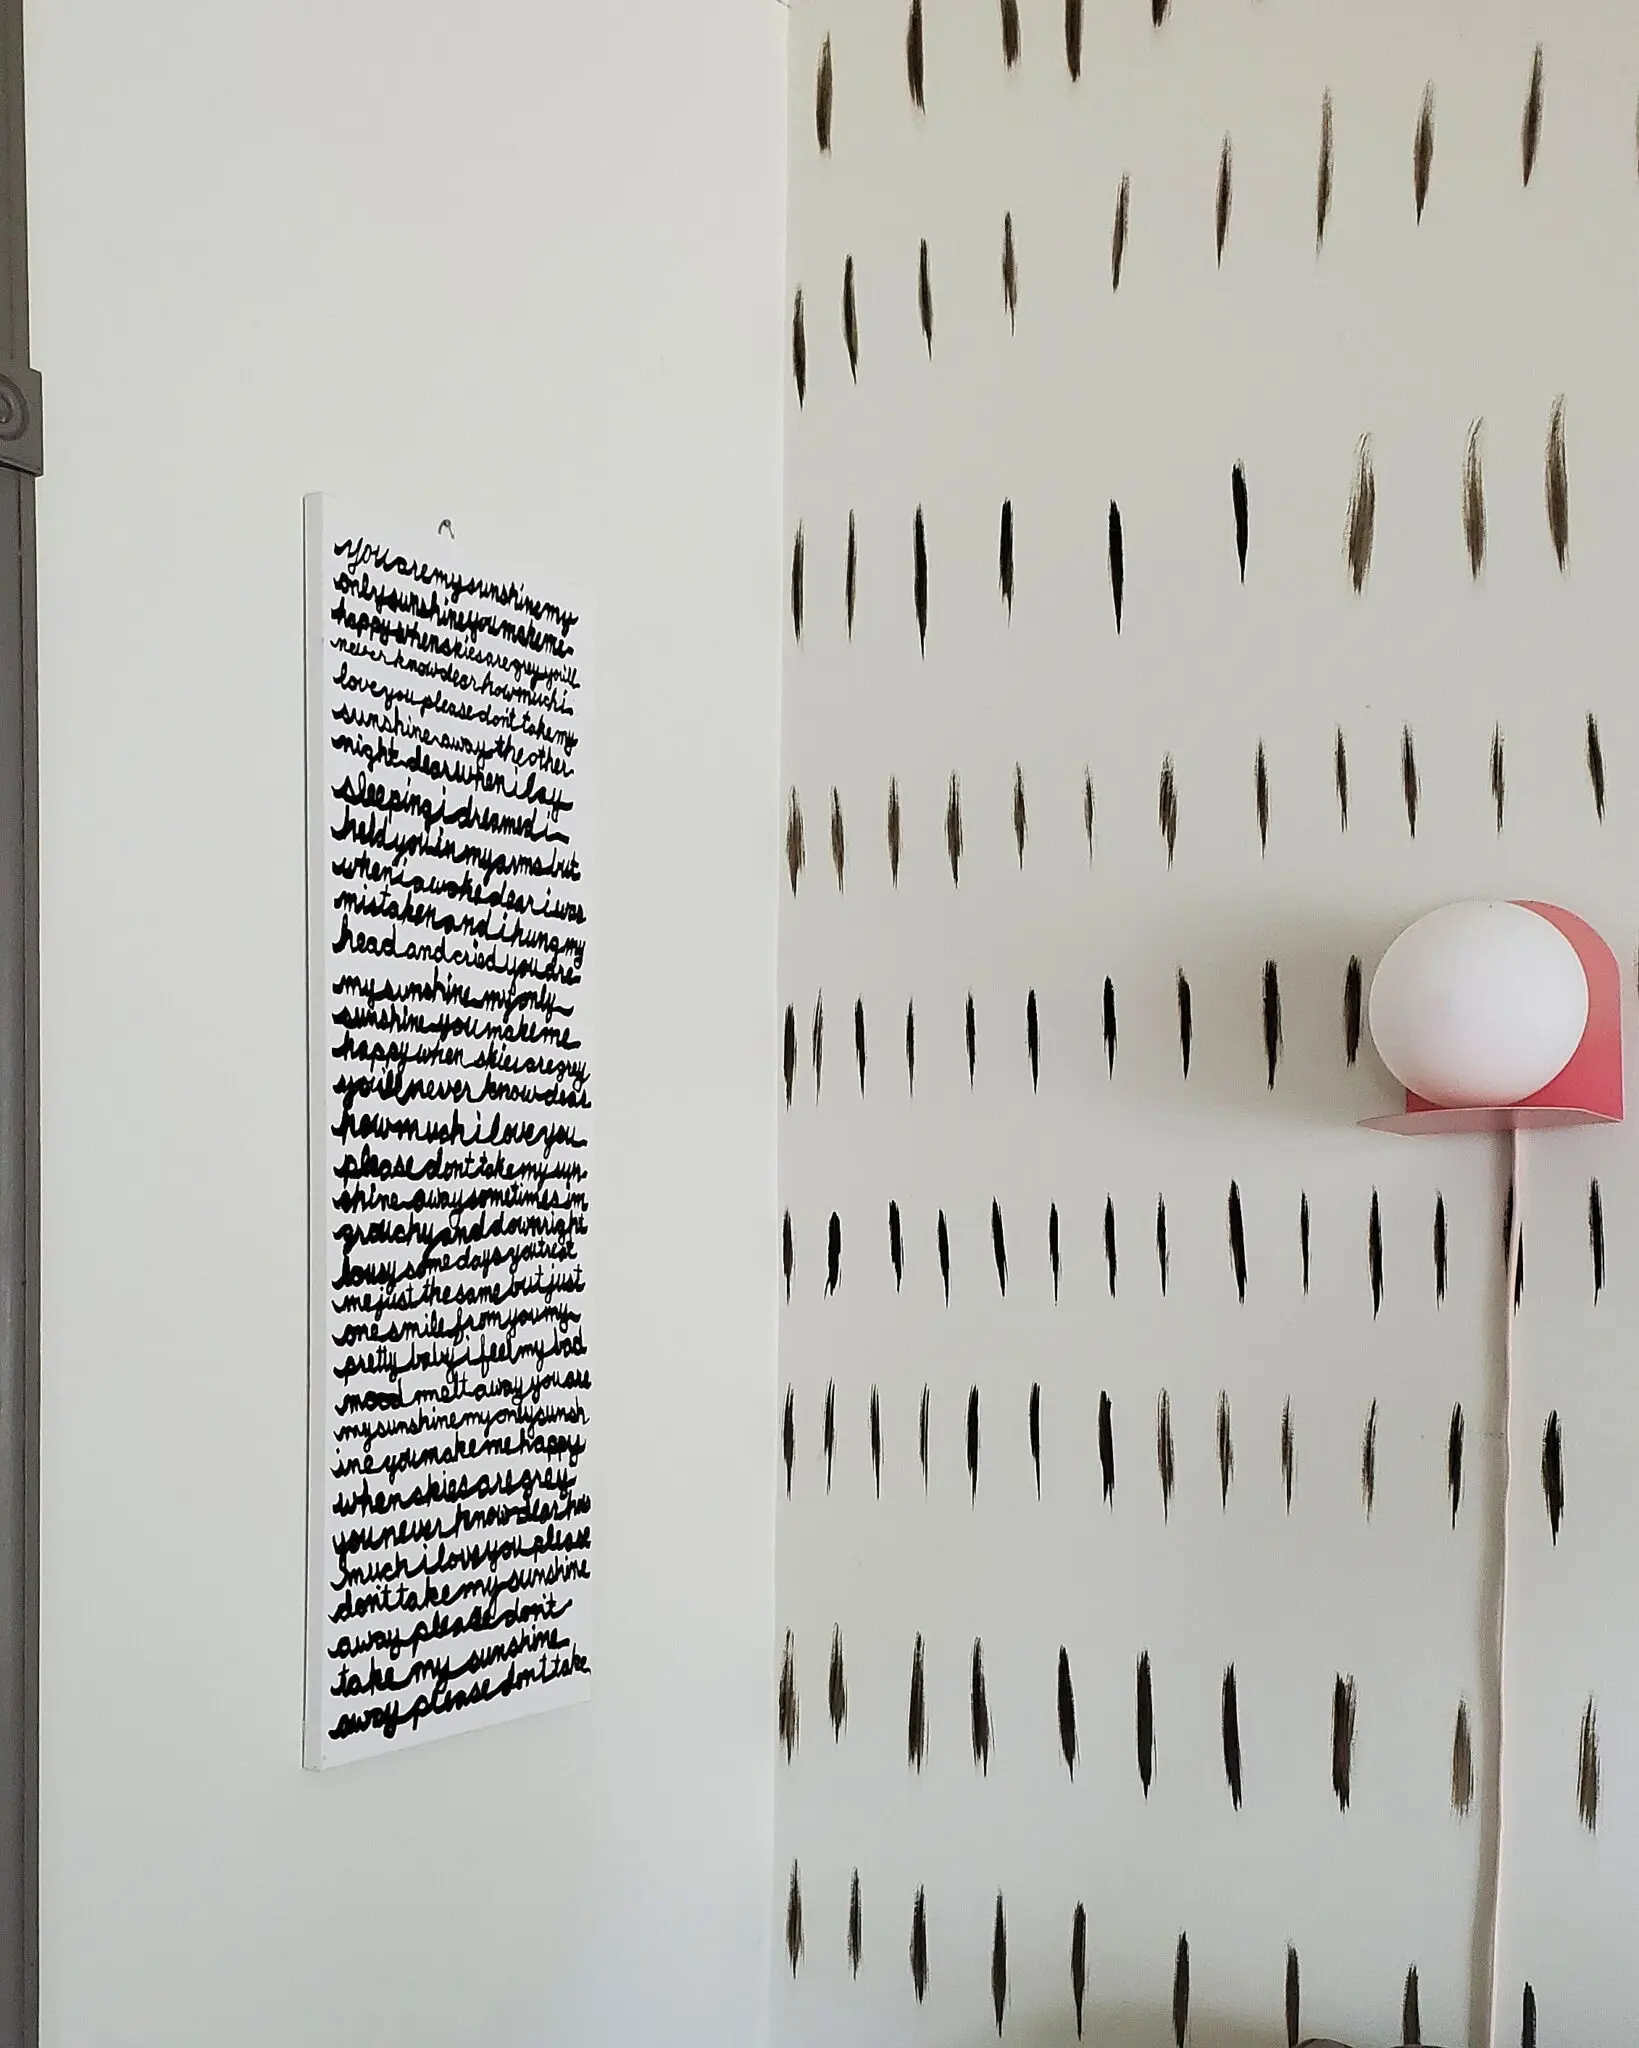
You only need 2 materials for this charming DIY Song Lyric Art! A sharpie and a canvas to create a personalized piece of art you’ll
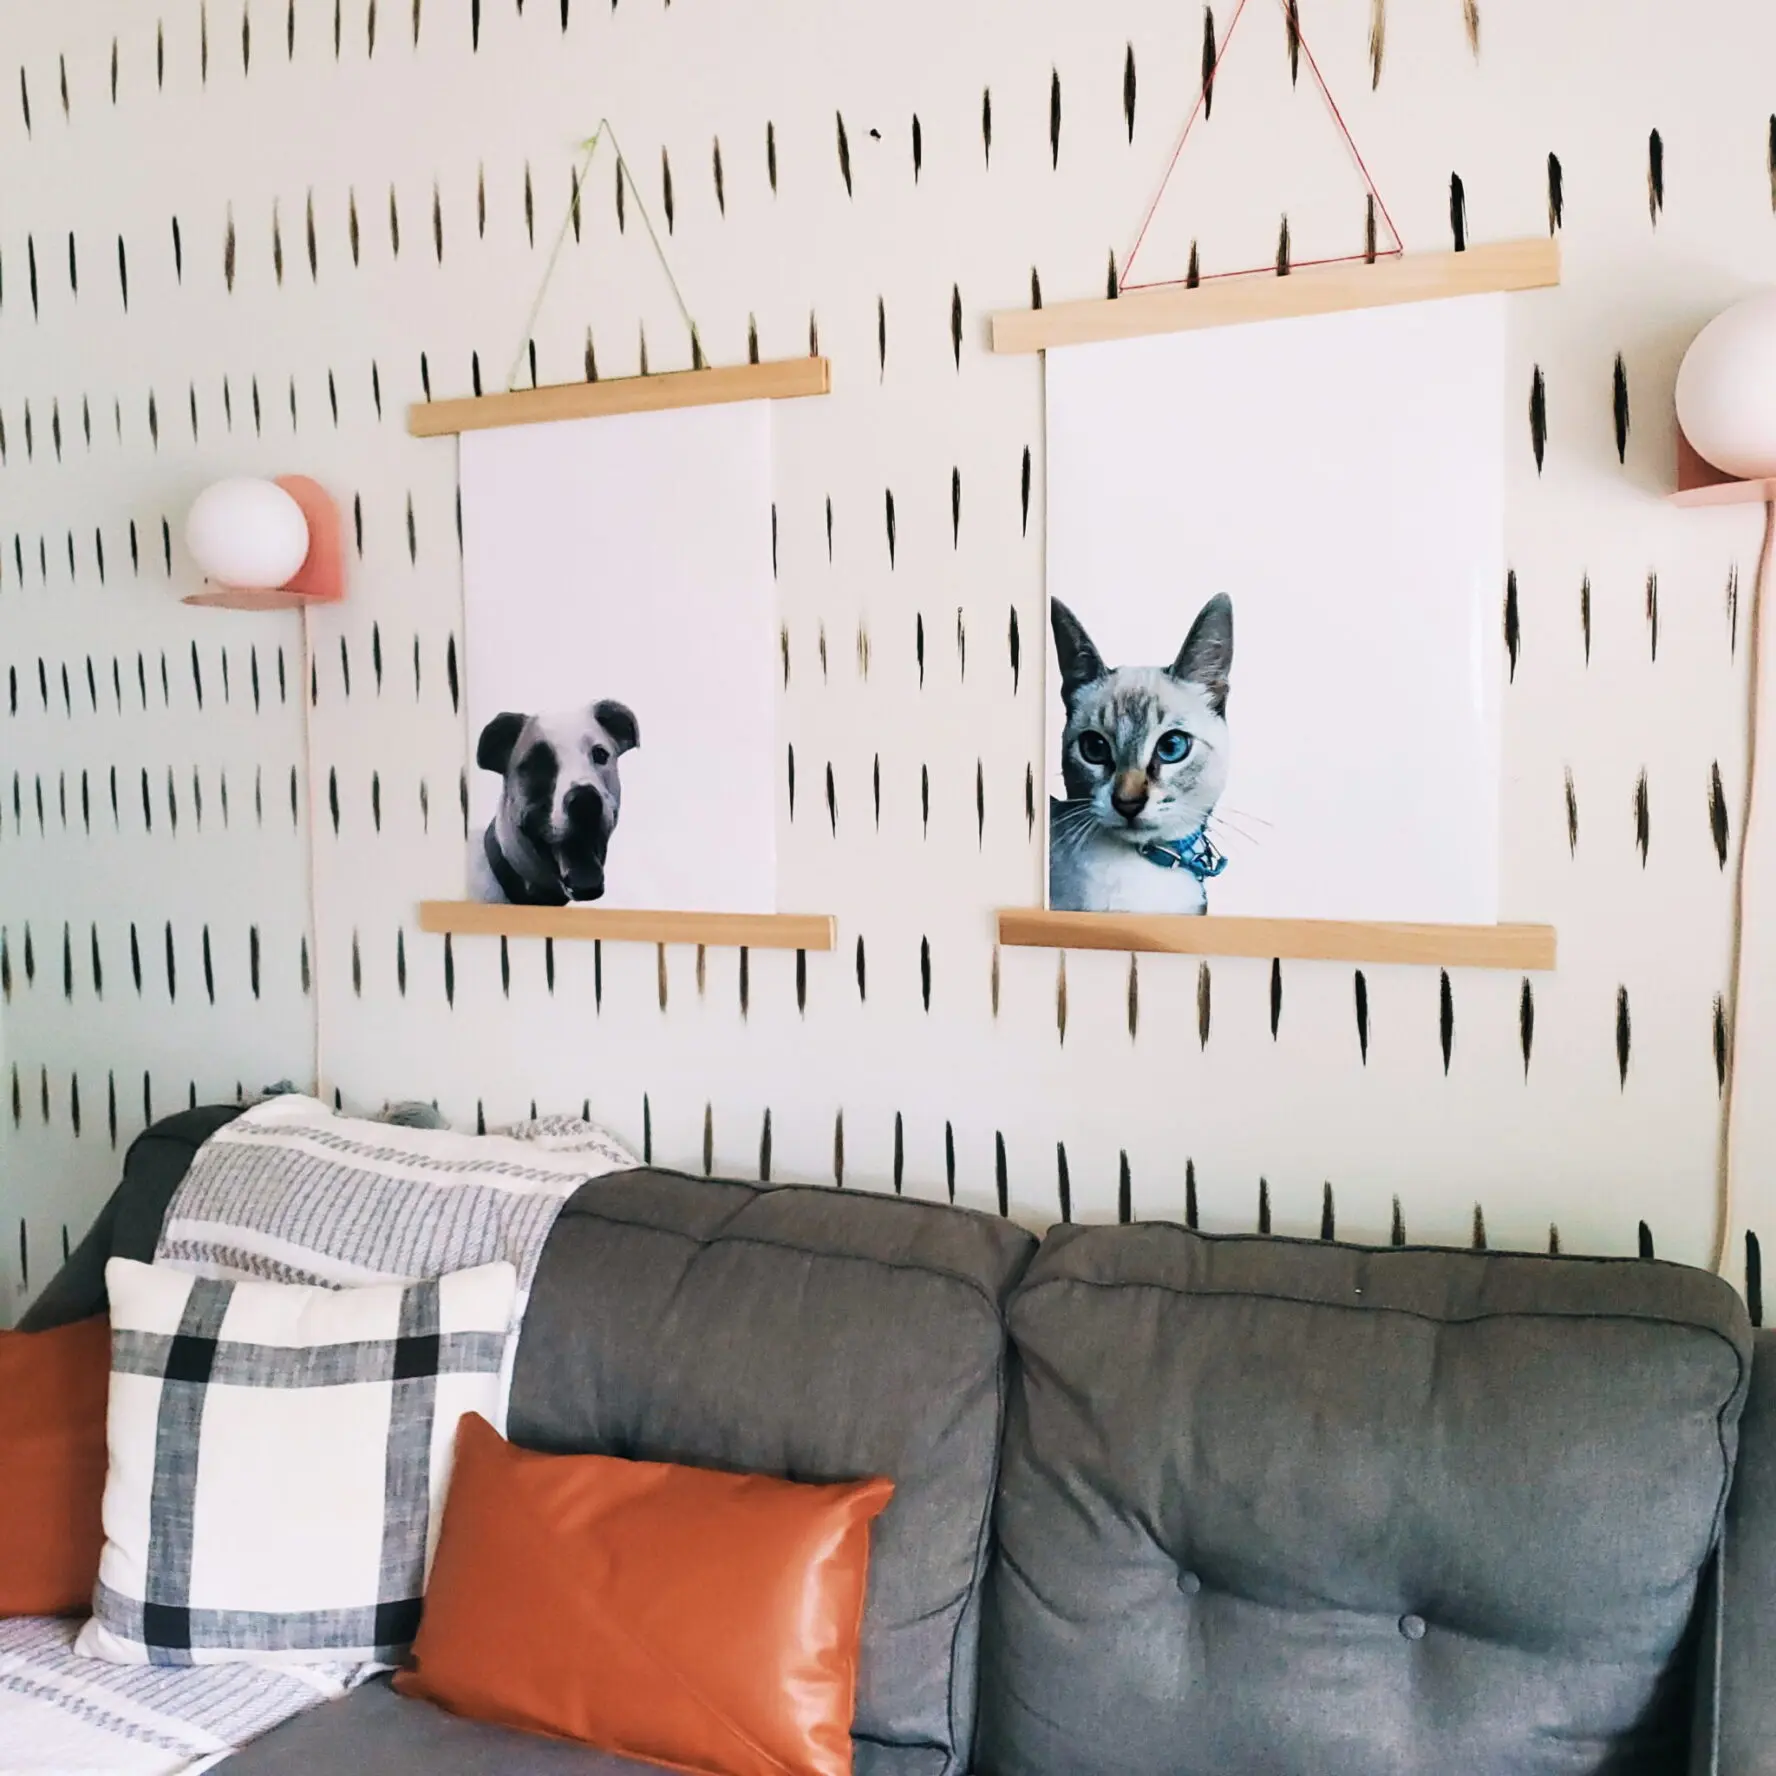
Create your own custom art featuring your favorite pooch! A great gift idea for your dog-loving friend. I have the full instructions for this DIY
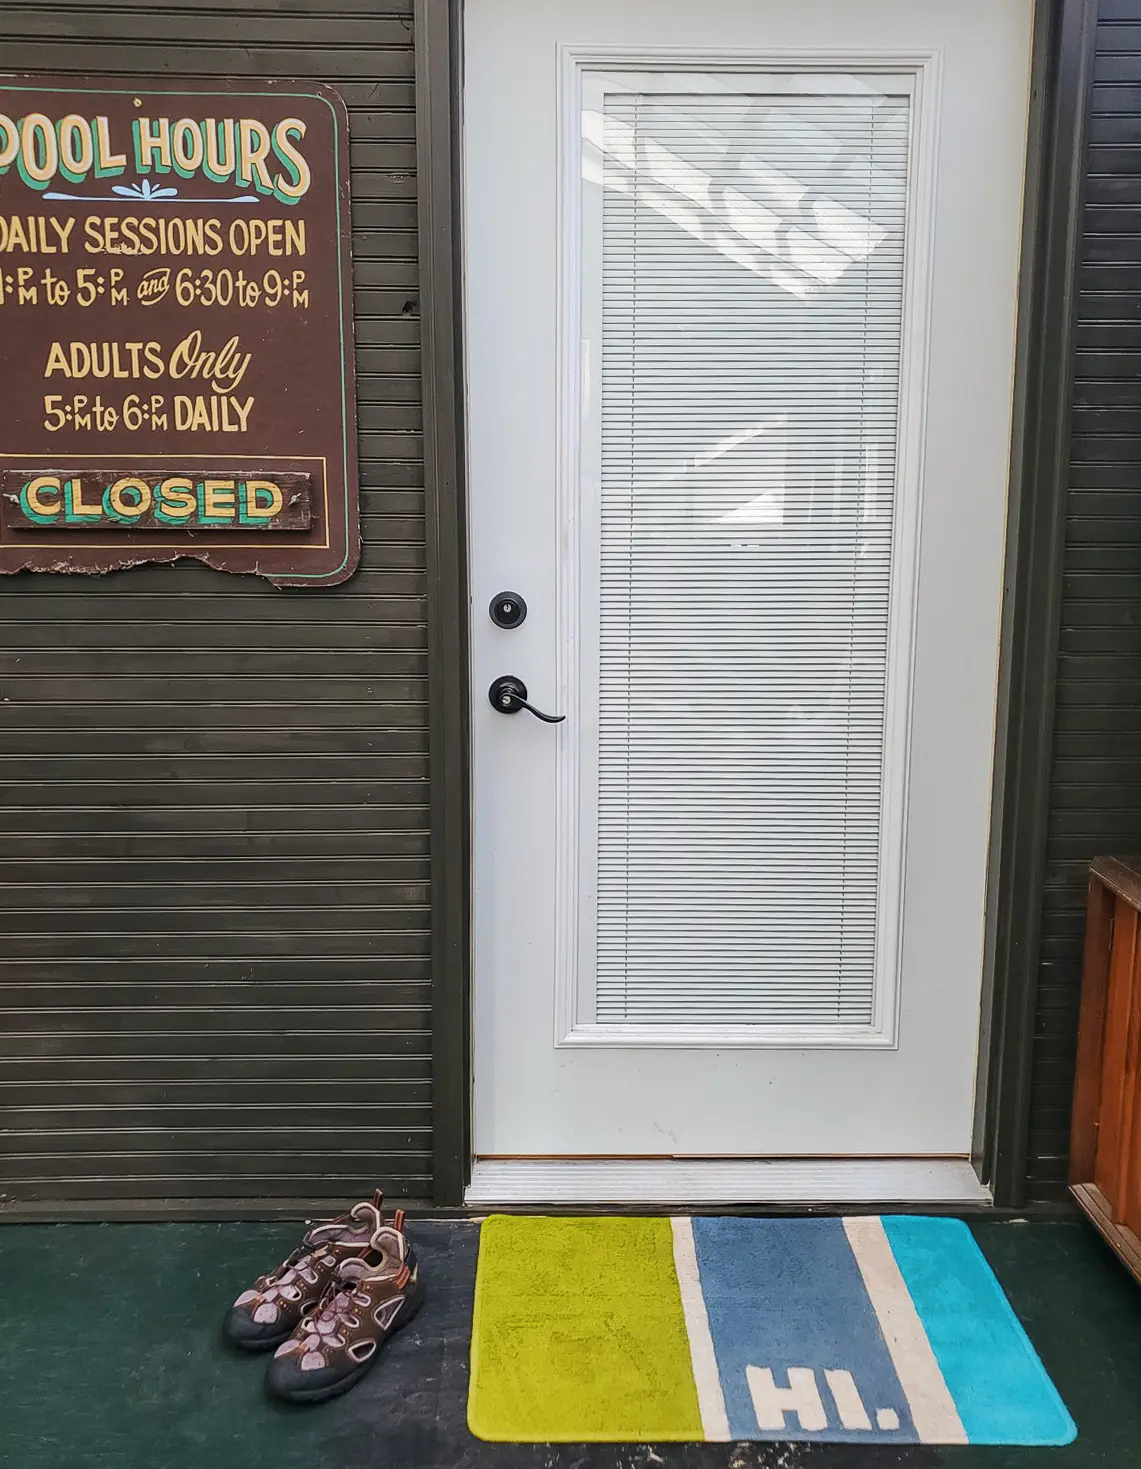
Personalize a cheap outdoor entry rug with spray paint and tape into a fun, colorful, long lasting entry rug! No crafty skills or hard materials
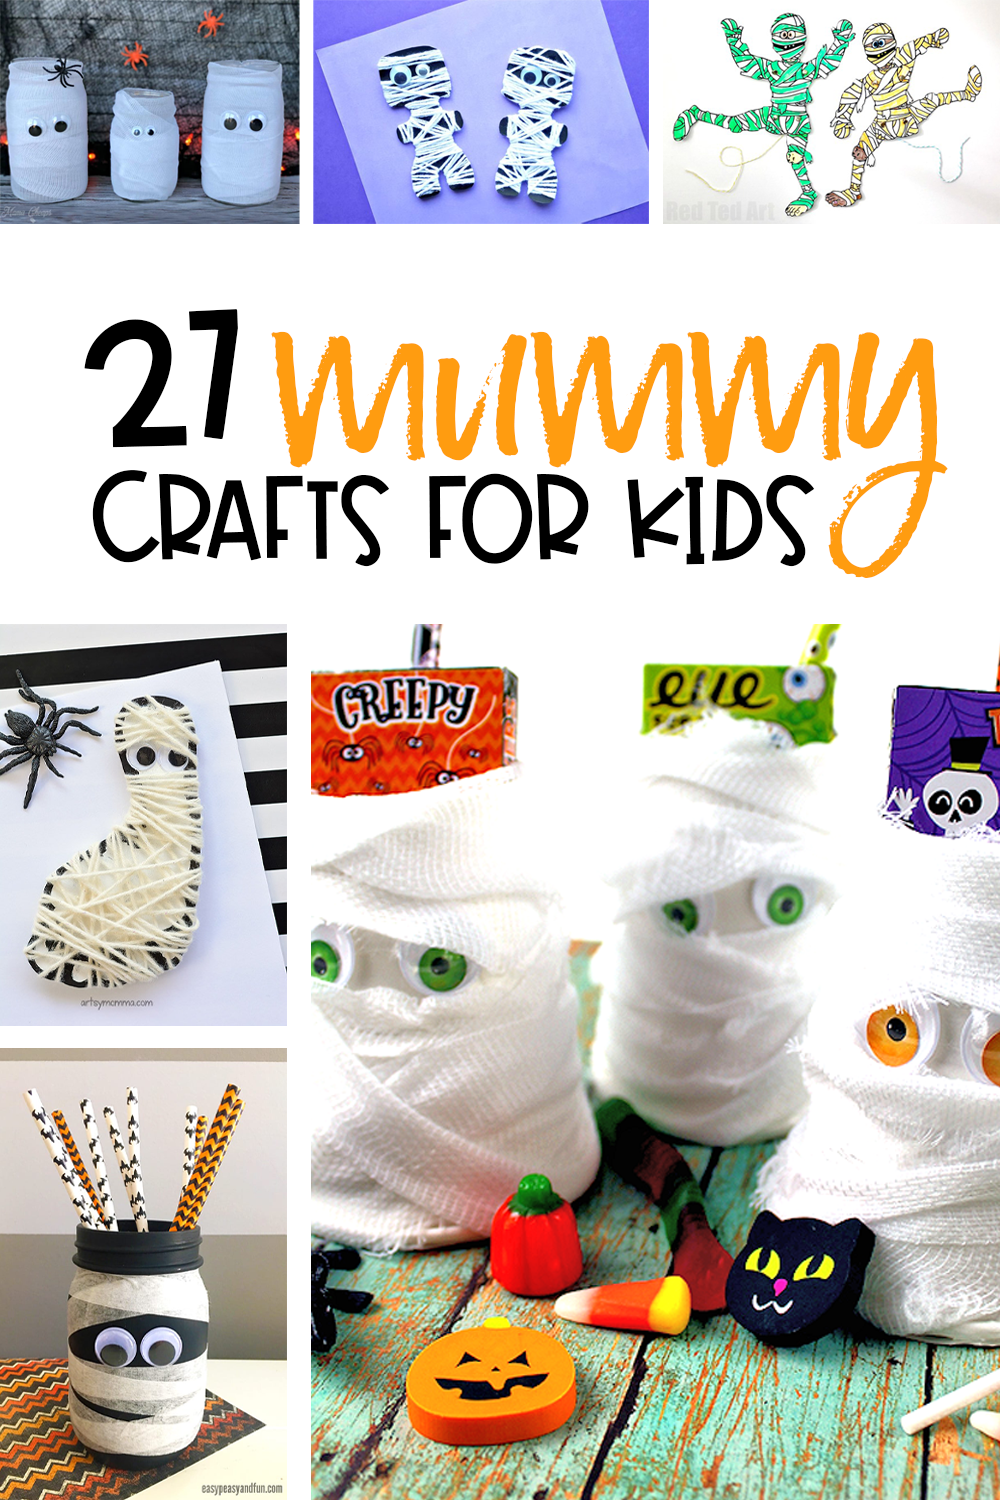
Easy Halloween crafts for kids to make (many under 5 minutes!) and perfect for toddlers and preschoolers with materials you can find at your local
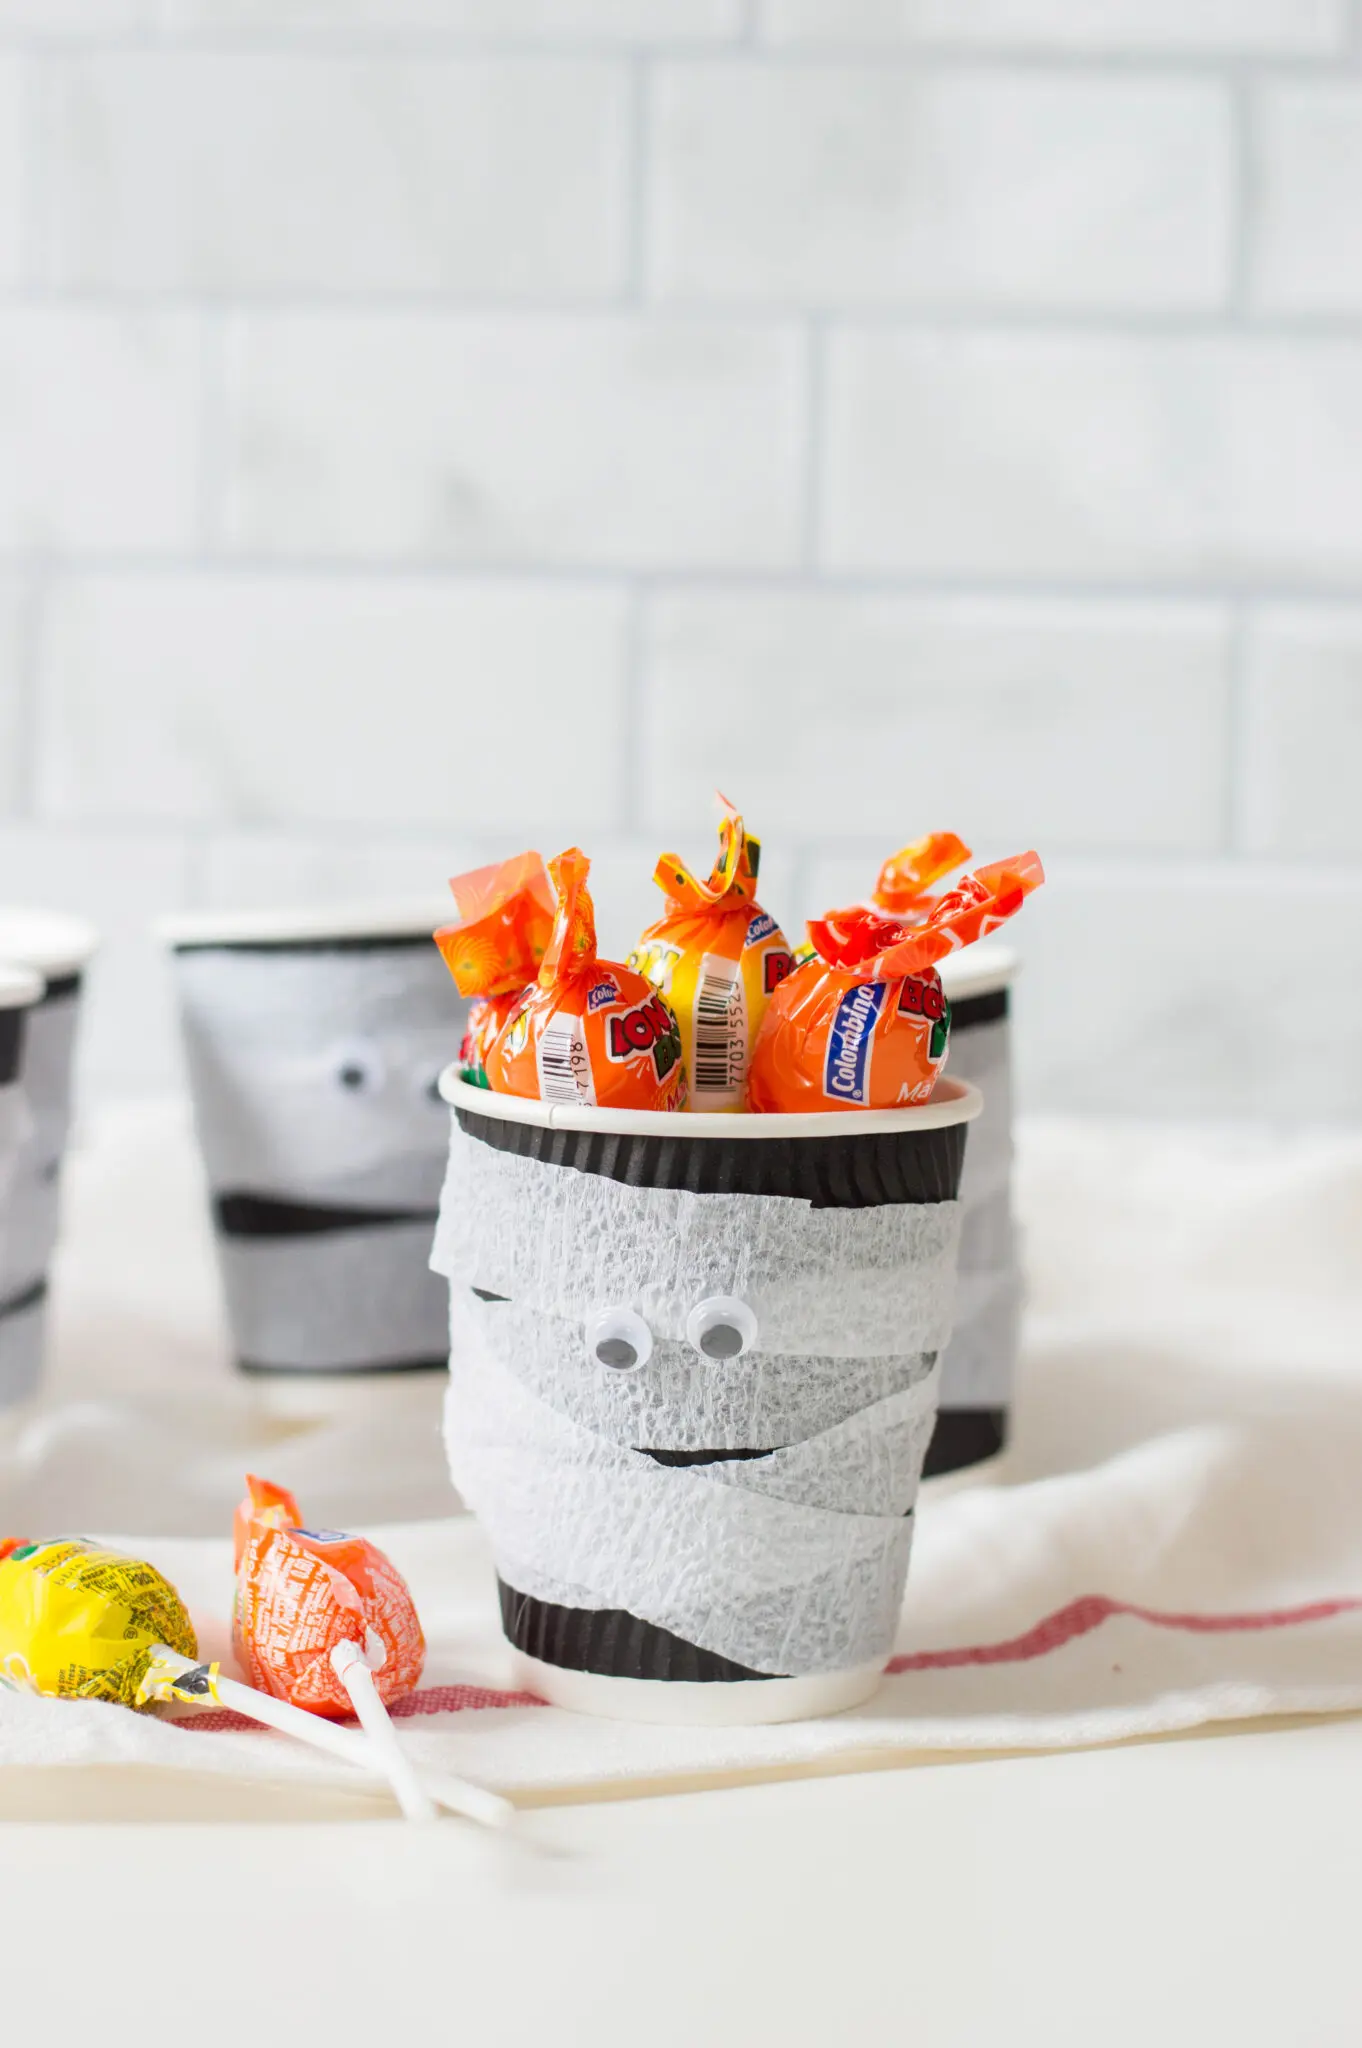
These Mummy Treat Cups are a fantastic way to help keep kids from digging their hands in bowls of candy and spreading unwanted germs. They
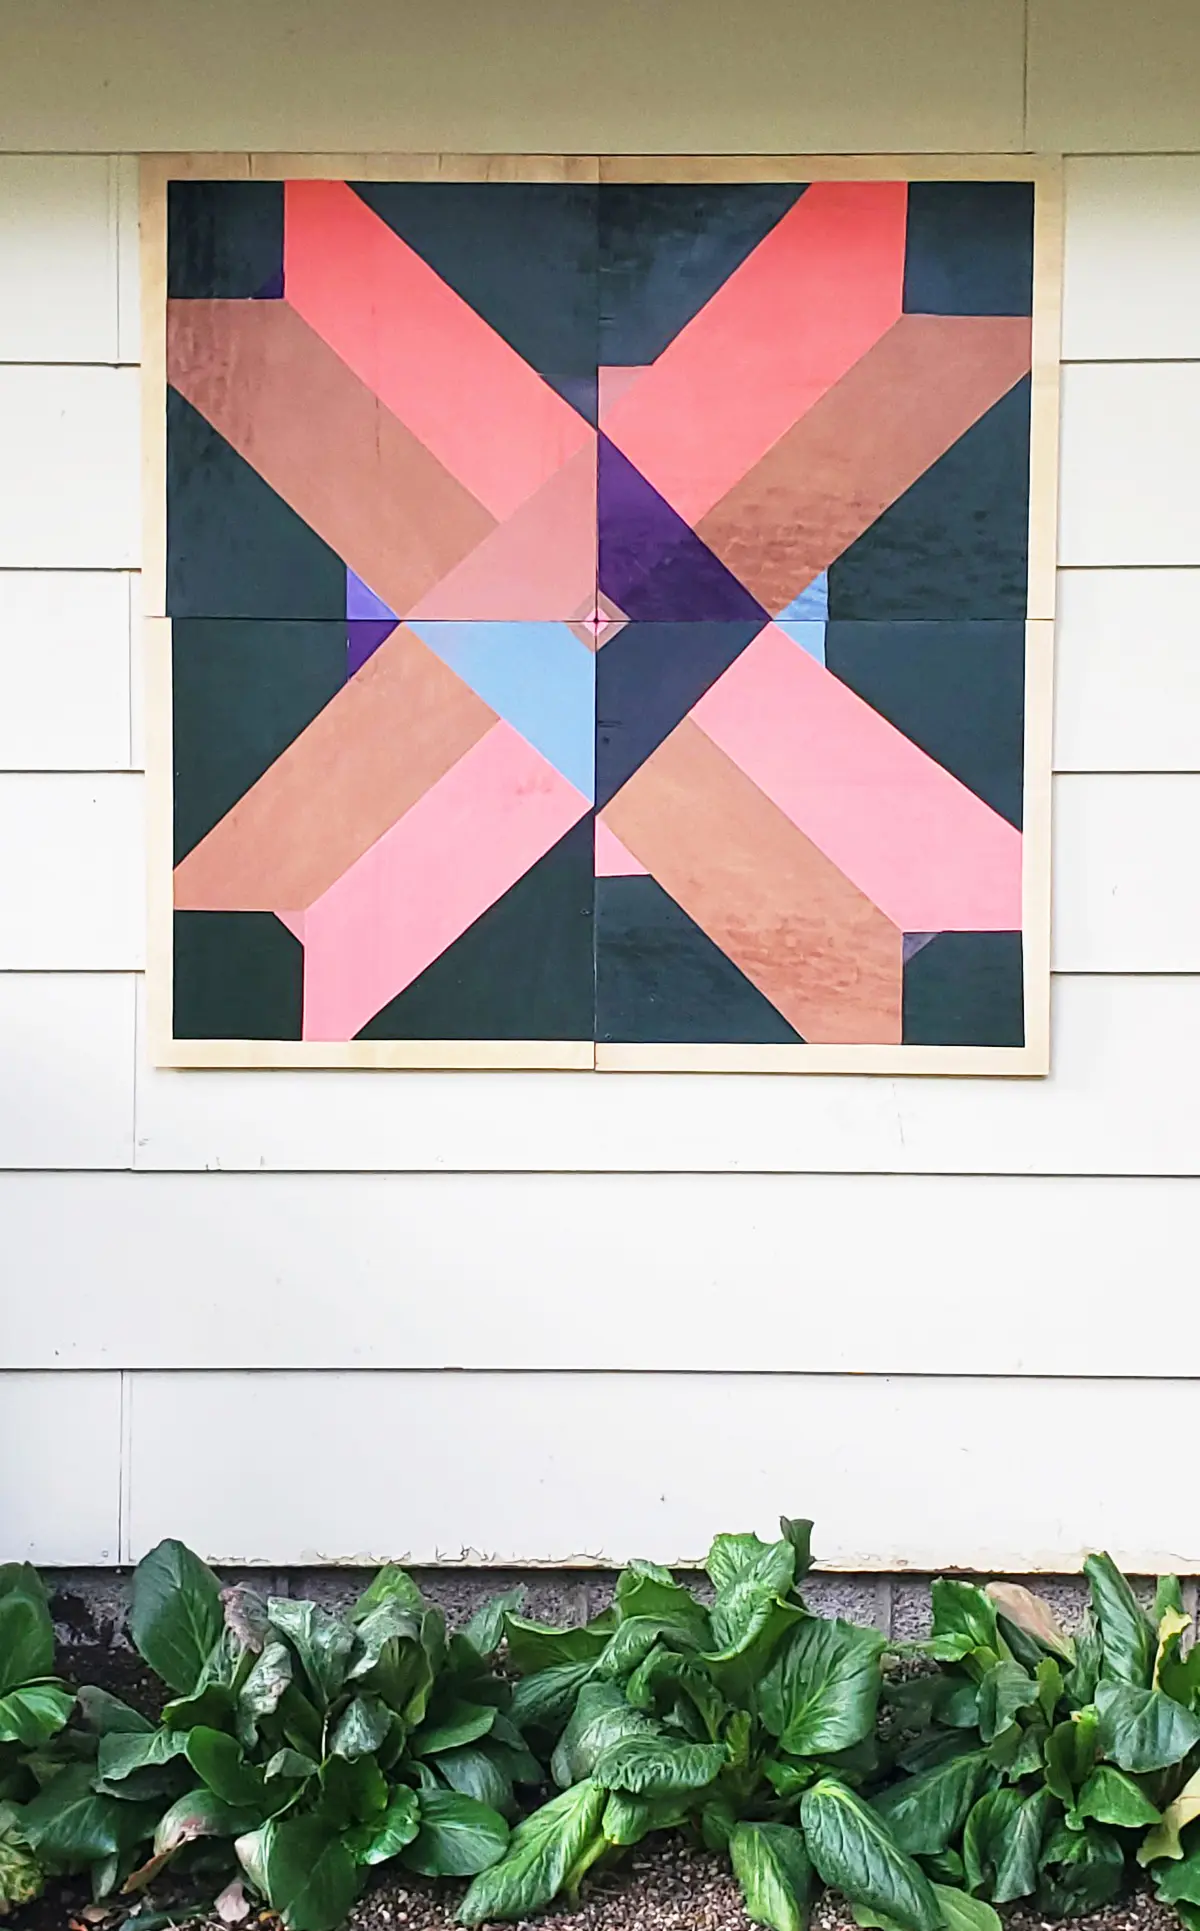
This DIY Barn Quilt is made using 4 smaller pieces of plywood to create the large size making it much easier for anyone to make
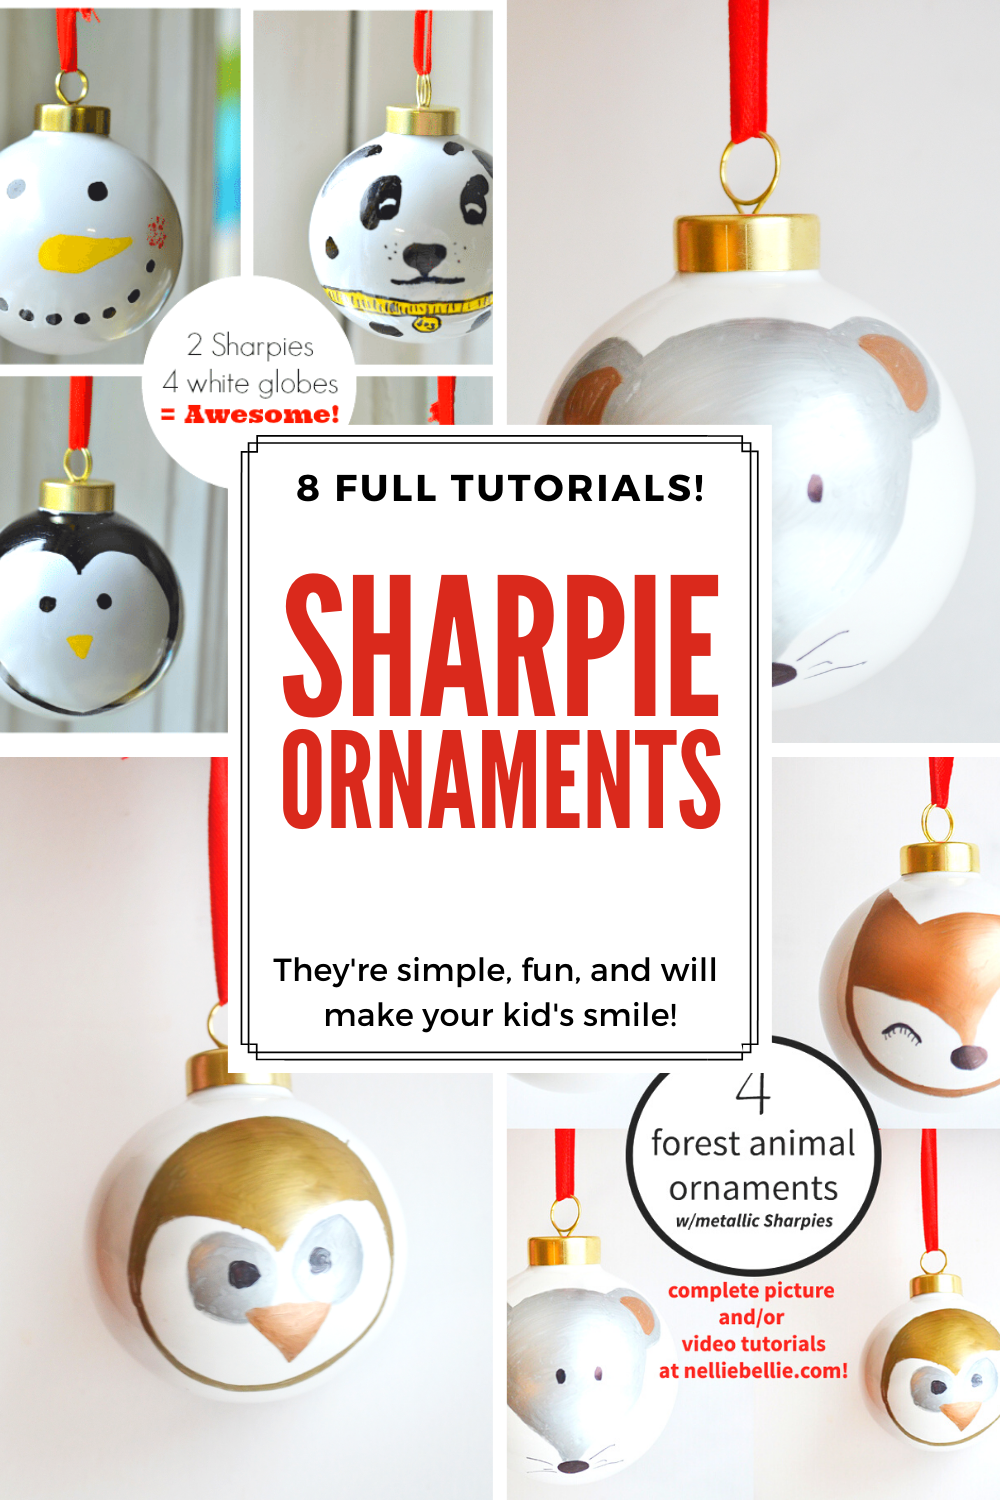
It’s the perfect time of year to start thinking about great DIY Christmas gifts for your friends and family! These adorable woodland animal ornaments made
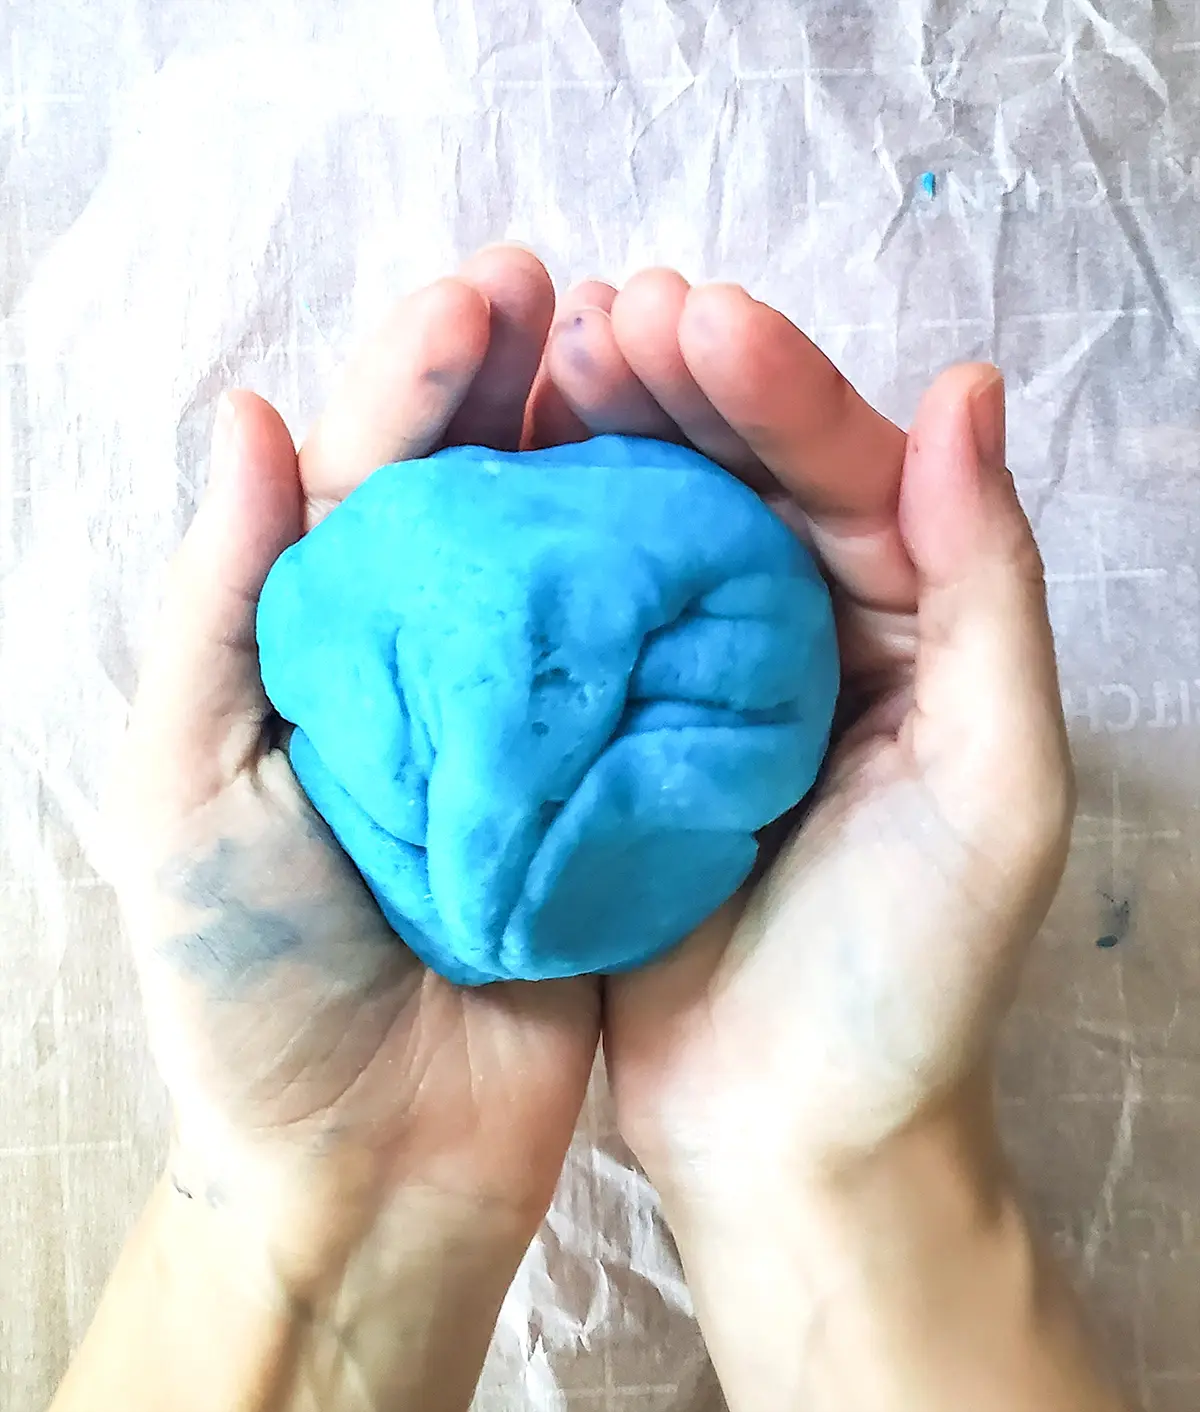
Make up a batch of homemade play dough for the kids! Give them a quick lesson in science, where food (or crafts) come from, and
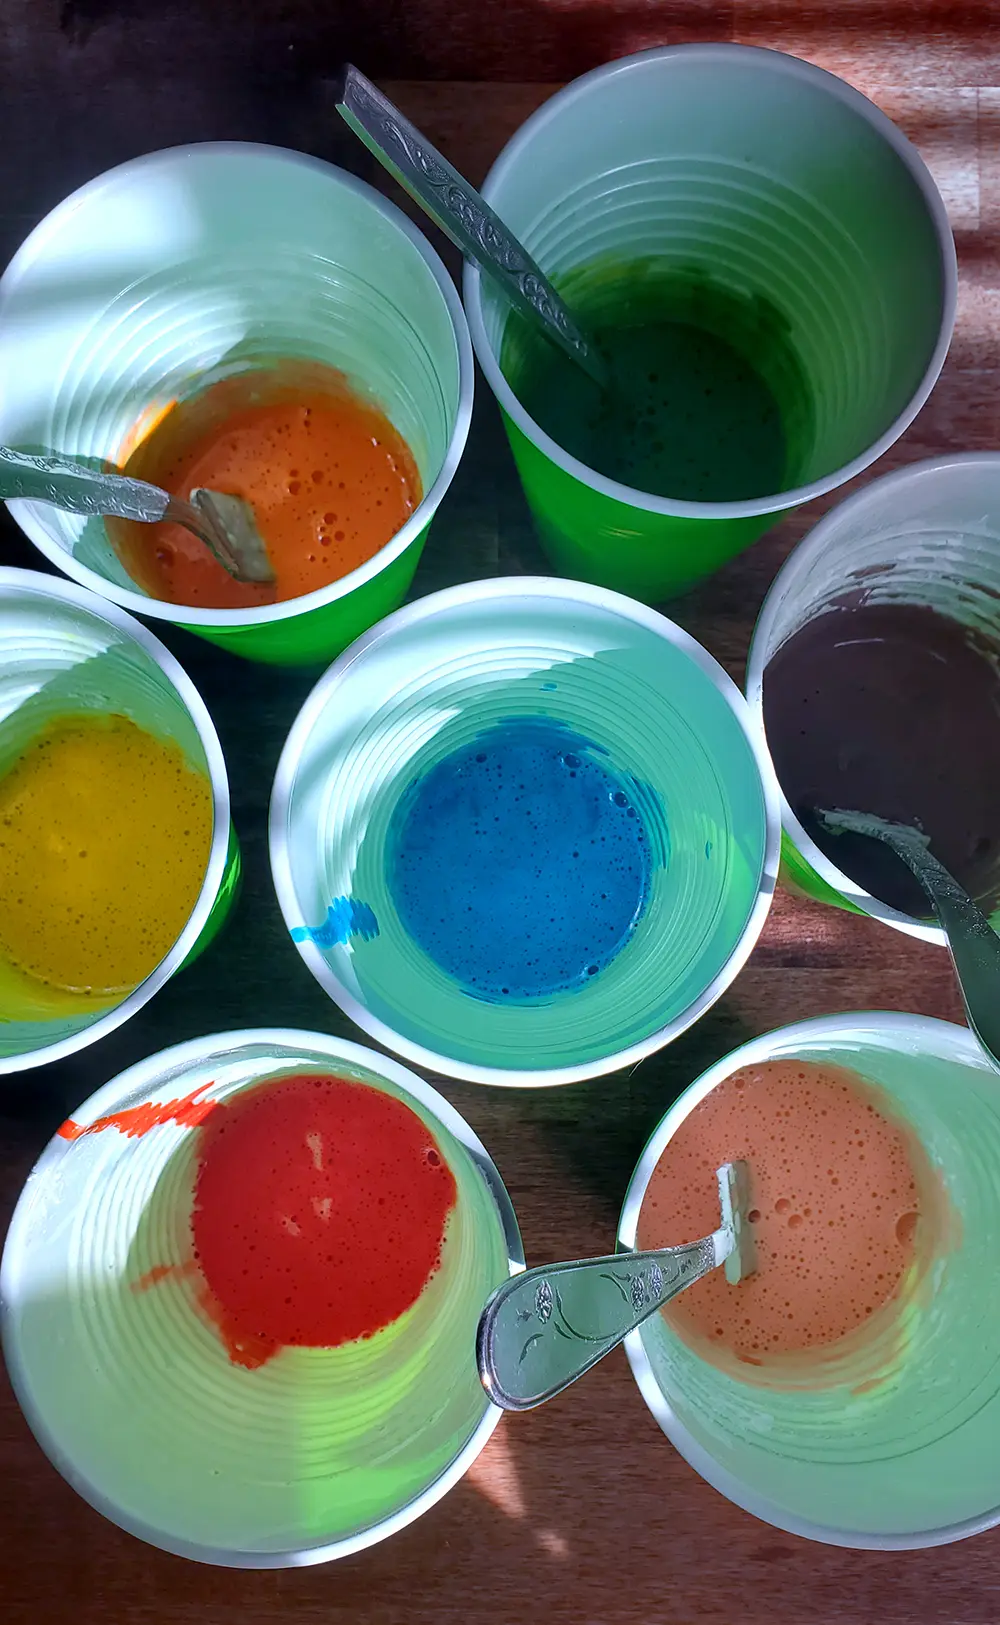
Only 3 easy pantry ingredients are needed to create washable window paint. A great kids activity to liven up your windows!
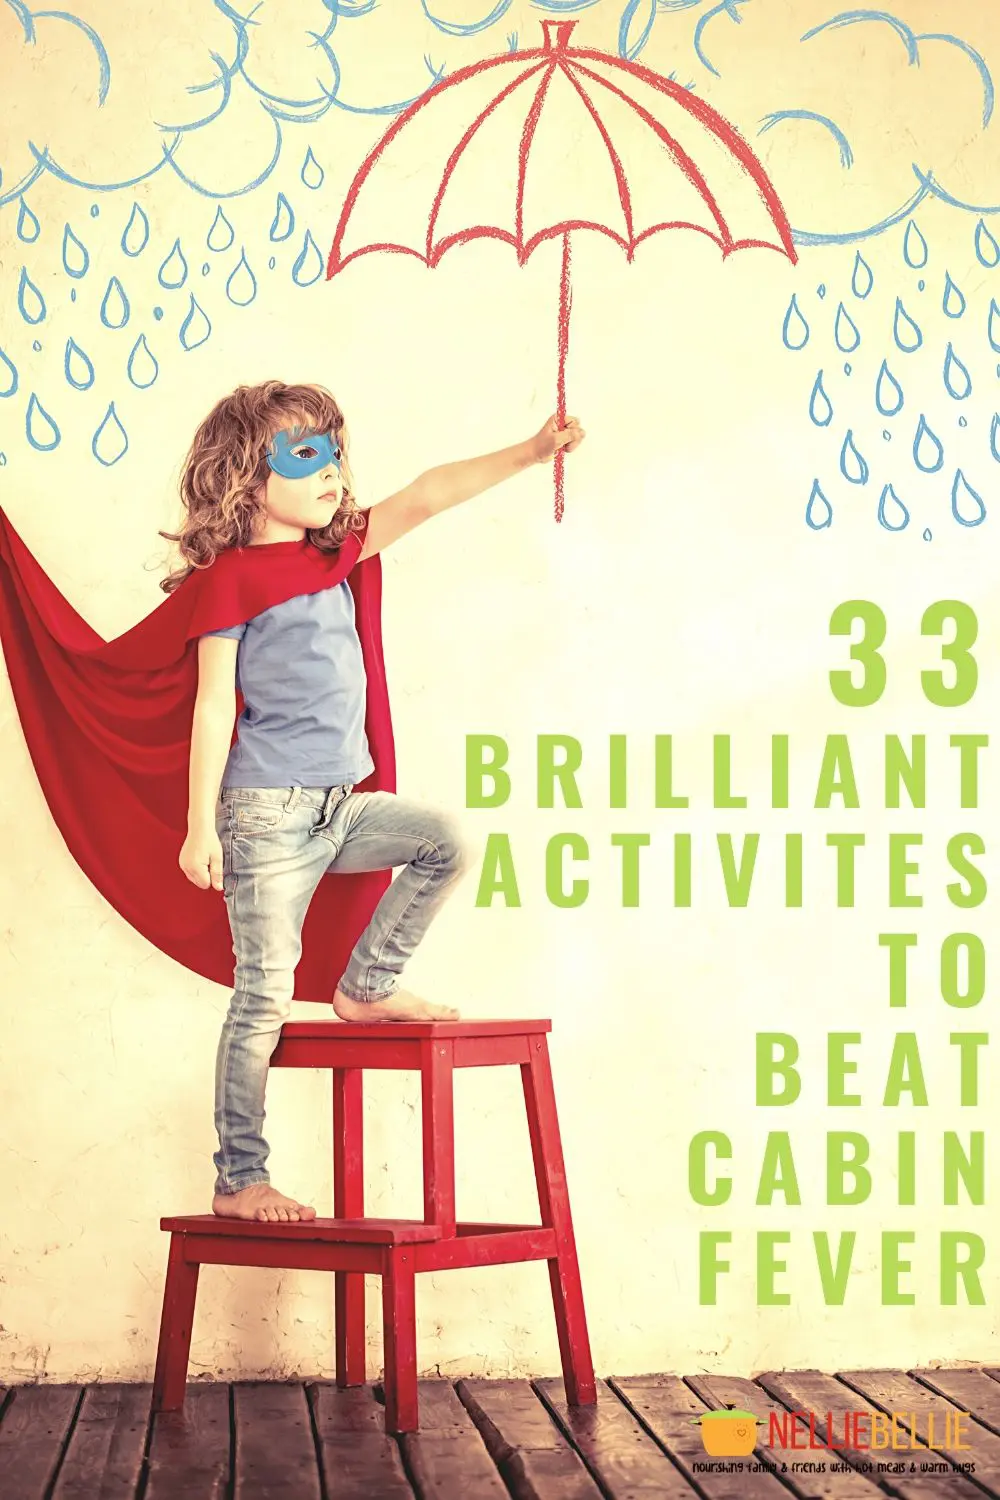
I’ve got EPIC and AMAZING ideas for helping beat cabin fever. When kids get a little stir crazy from being cooped up inside, pull out
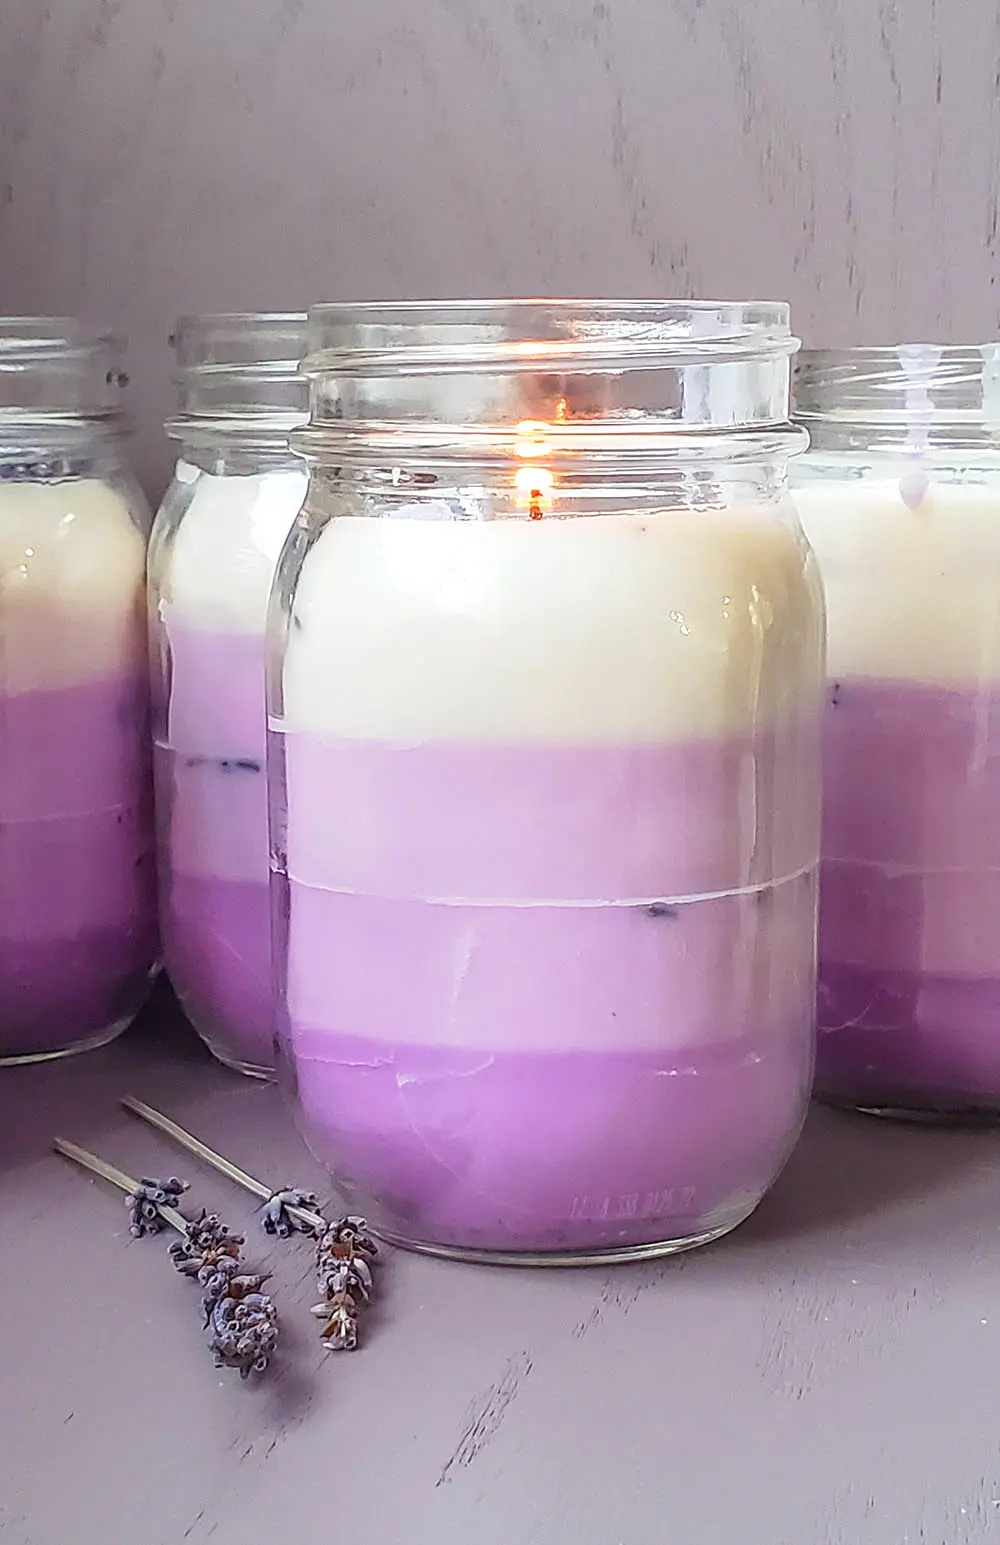
You CAN make your own unique candles with little effort and time! Pinky promise that you should check this out!