
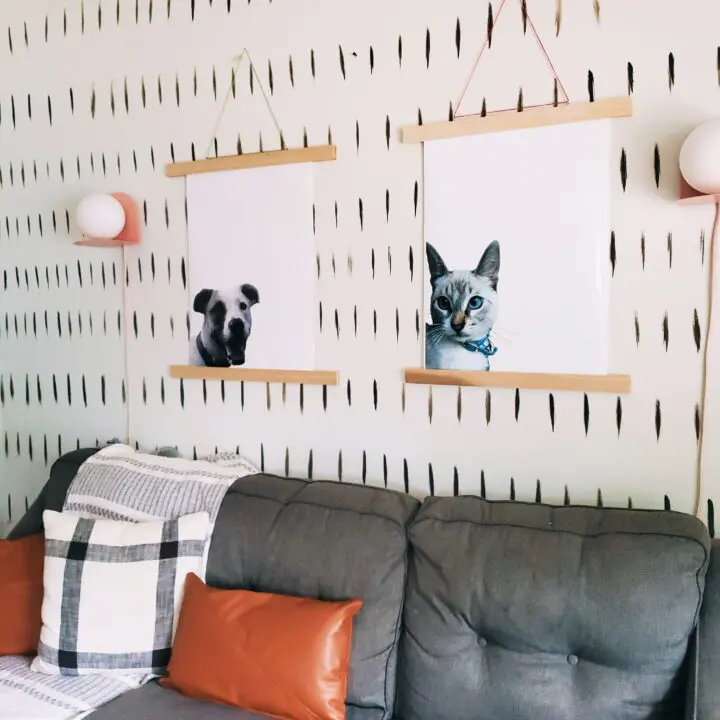
Create your own custom art featuring your favorite pooch! A great gift idea for your dog-loving friend. I have the full instructions for this DIY pet art including printables, video, and more! Follow along!
[cp_popup display=”inline” style_id=”54293″ step_id = “1”][/cp_popup]
[cp_popup display=”inline” style_id=”55131″ step_id = “1”][/cp_popup]
Create pet pop art by using some of the fun filters available on Canva or your phone’s photo apps. Do you want the full tutorial on how to use Canva to turn that photo of your dog you have on your phone into a work of art?
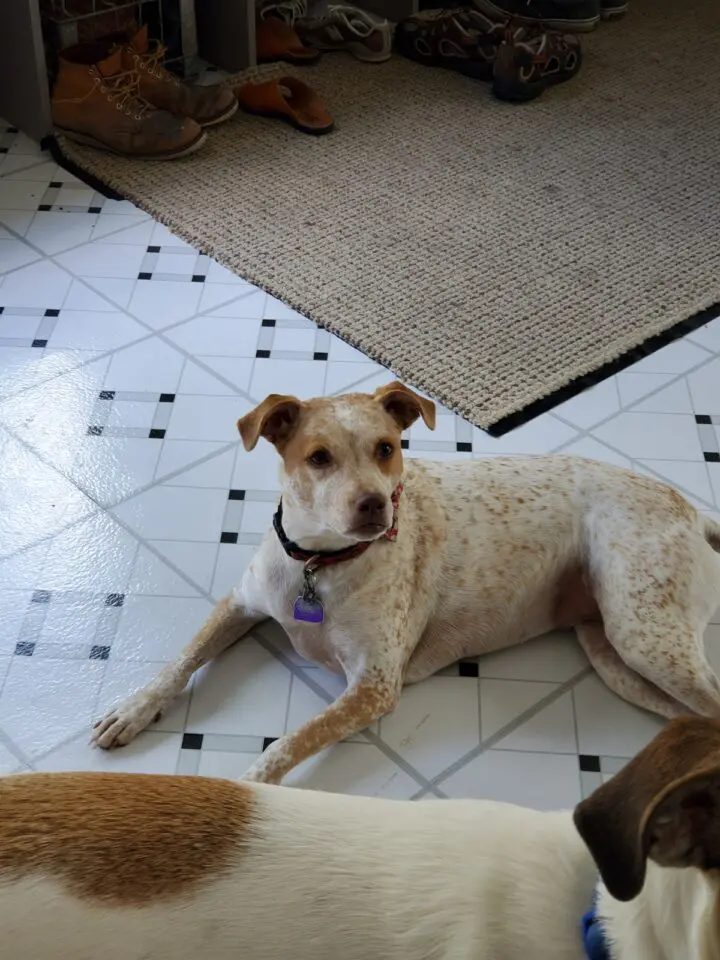
This is the photo I used…
And this is what I ended up with after a few quick tricks with Canva…
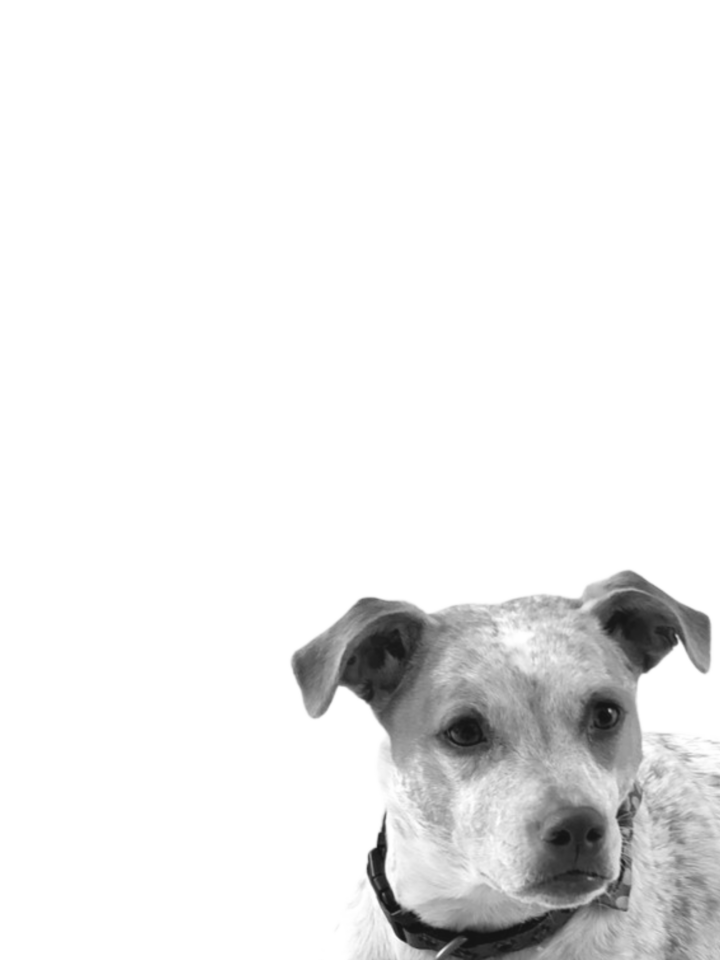
I KNOW…so fun! Your photo doesn’t have to be amazing. It DOES need to include your dog’s full head and preferably a good amount of their torso to allow room for you to put them into a corner.
The supplies you need for your DIY Pet Art:
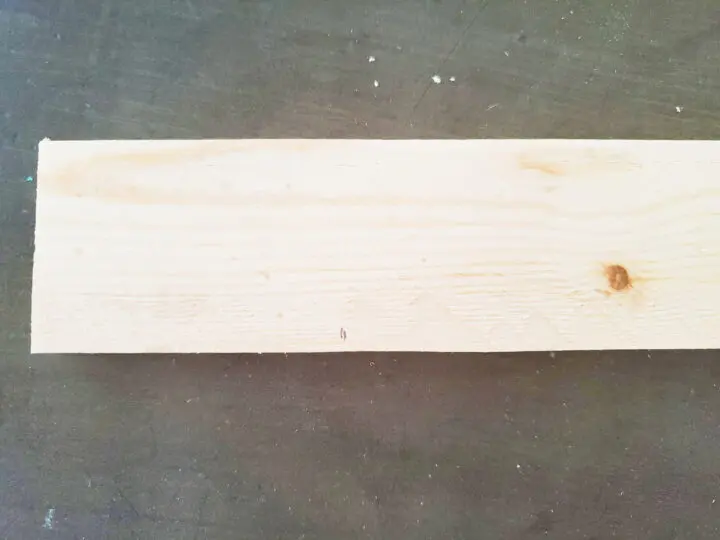
- 4- 22 inch long 1” x 2” boards (In the tutorial I used the ones from Menards but I’ve given you additional options):
-1 package of 2- 1/4inch by 2 inch by 4 feet board (Menards)
*¼ inch by 2 inch by 3 feet birch board(Hobby Lobby)
*2 in. W x 2 ft. L x 1/4 in. Oak Board (Ace Hardware)
*1/4inch by 3inch by 2 feet Balsa Wood (Michaels)
*–note that these may require 4 boards to achieve the right size needed per board and the finished result may be slightly different than mine. - –Eye Hooks (alternatively you could staple your string to the back of the board)
– I recommend size 5/64 by 3/16 or 3/32 by 15/16 → don’t worry, that sounds more complicated than it is. When you go to grab the eye hooks you’ll see what I mean1 - Twine (string or small rope would work, as well) I purchased a set of multiple colors
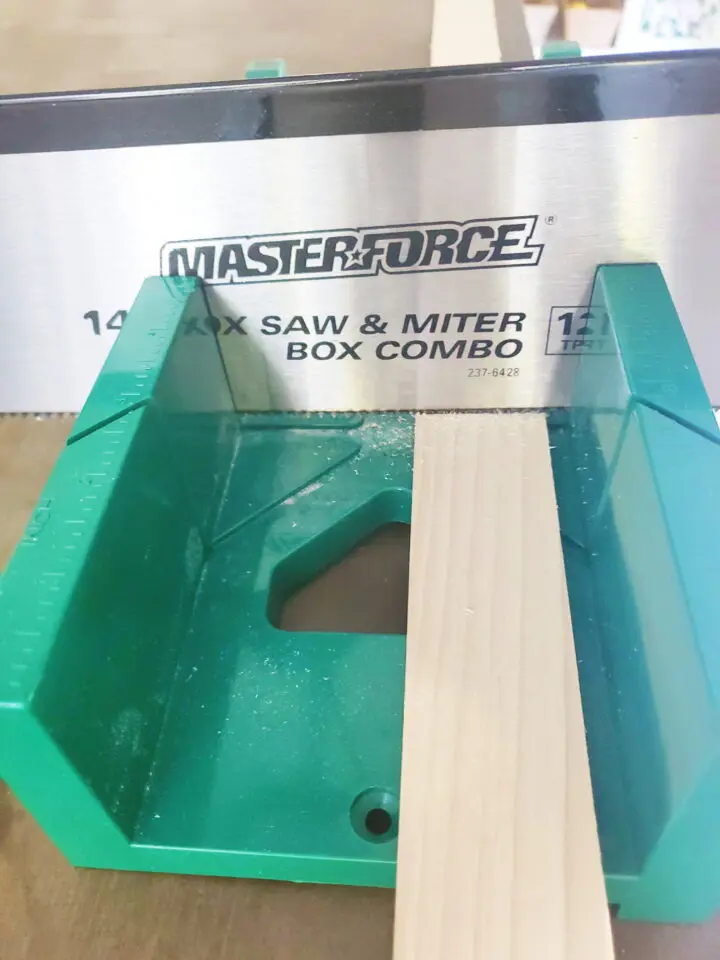
- Hand saw and miter box (or grab whatever saw you have on hand)
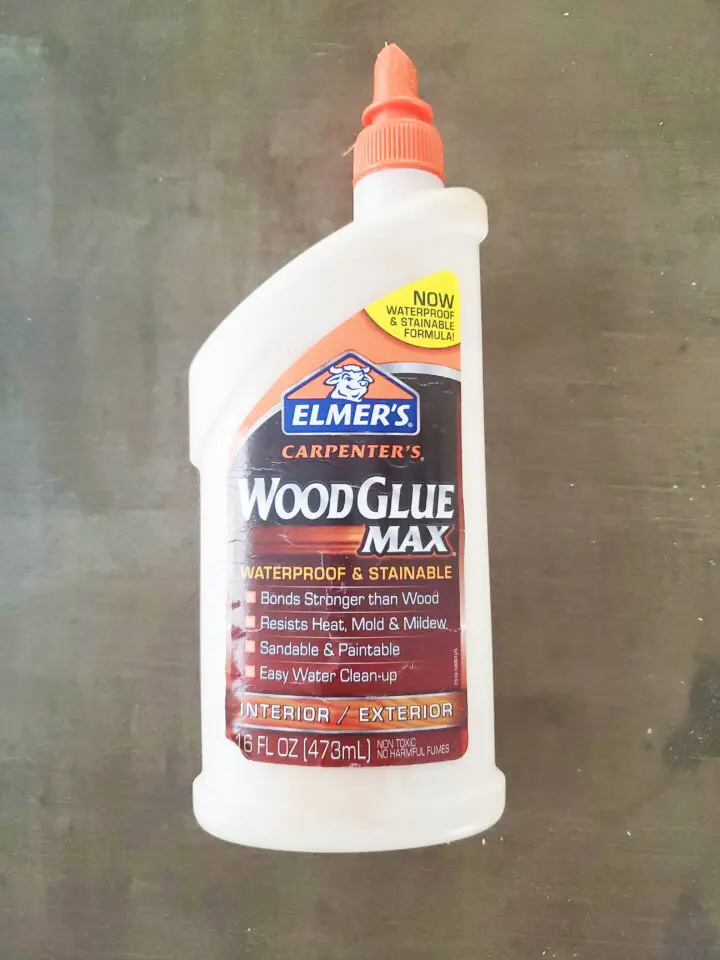
- Super glue or Wood glue
- Finished Poster of your Pet (see video & instructions available as a bonus download from Holiday Maker)
DIY PET POSTER INSTRUCTIONS
Preparing the Wooden Frame
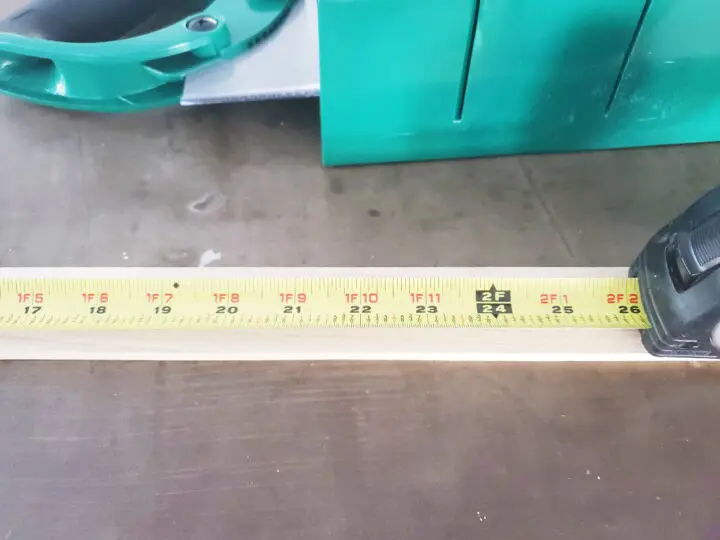
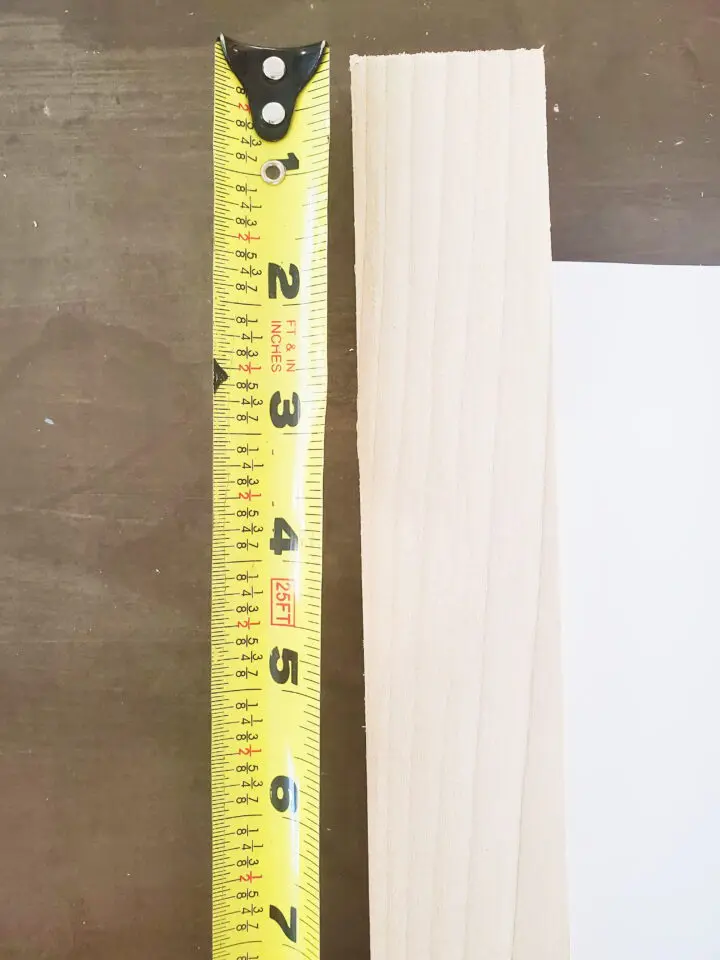
- Decide if you would like your framed poster to have a frame with overhang. Take your measuring tape and measure the width of the top of the poster. It should be 18 inches long if you made your poster the same size as the tutorial in the previous lesson. If you decide you want your overhang to be 2 inches on each side, simply take the number 2 and multiply it by 2, which comes to 4. This means you will add 4 inches in total to the length of the frame, coming to a total of 22 inches. Please be aware that most saws will remove 1/8th of an inch.
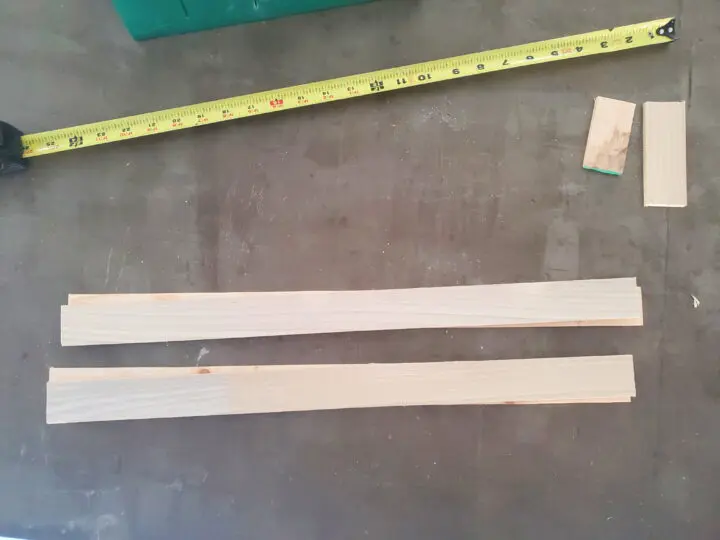
- Using your tape measure, measure the entire length of your piece of wood and verify that you have plenty of wood for your frames. In the tutorial, mine is 48 inches. Since I only need 22 inches for each frame ( I will need 4 pieces of wood at 22 inches each), I have more than enough wood.
- Using your tape measure, measure 22 inches and then mark that spot with your pen.
- To cut your wood, take your miter saw and place it in front of you, place your wood in the inside of the miter saw box and push the wood all the way to the back of the miter saw box so it is flat against the inside of the box and your mark indicating where to cut is lined up with the open slit. You can also flip your wood vertically if you feel it will be easier to saw, like I did in the tutorial.
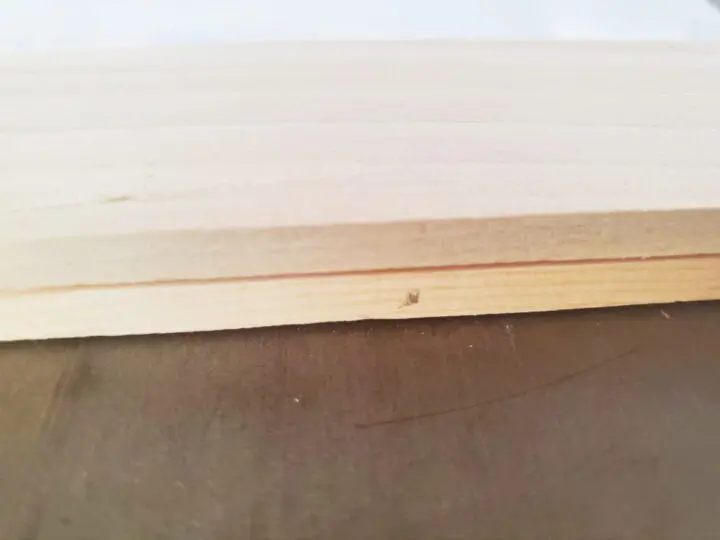
- Remove the guard on the saw, using one hand to hold the miter saw box with the wood, and one hand holding the saw, begin sawing back and forth until the piece of wood is cut. This will take awhile to saw. Your cut piece of wood should be smooth but if you feel it is rough, simply use sandpaper to smooth it down.
- Repeat the steps for all 4 pieces of wood you need for your frame.
- Take your poster and arrange it with the wooden frames to visually see if you like the length of the cut wood.

Attaching the Wooden Frame to the Poster
- Place 1 of the wooden pieces under the end of the poster, verify that you have an even overhand on each side. Place about ½ inch of the poster edge on the wood.
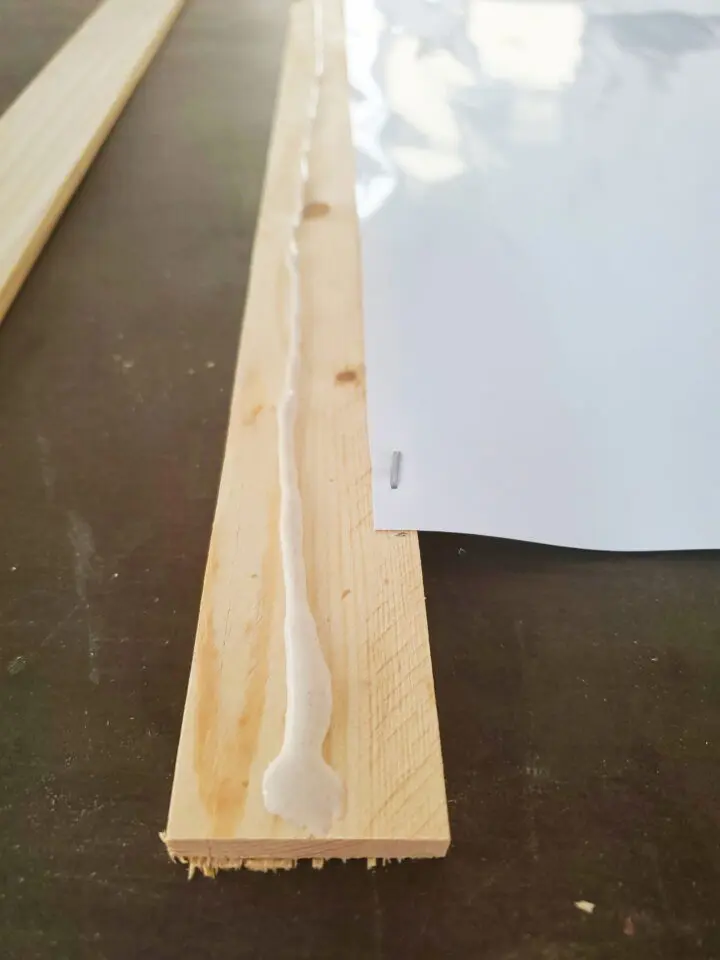
- Using either glue or a staple gun, secure the poster to the wood, starting from the middle and moving outwards. Always make sure to smooth the poster as you go to make sure there will be no wrinkles in the final product.
- Add another piece of wood on top of it, drizzle a strip of glue onto the wooden part of the frame and place another piece of wood on top. Make sure to line it up so it’s even with the bottom piece of wood and then press it down.
- Hold the wood together for 30 to 60 seconds to help the glue to set.
- Repeat the process of attaching the wood to the other end of the poster.
- Place wood clamps or heavy objects onto the wooden frames until completely dried.
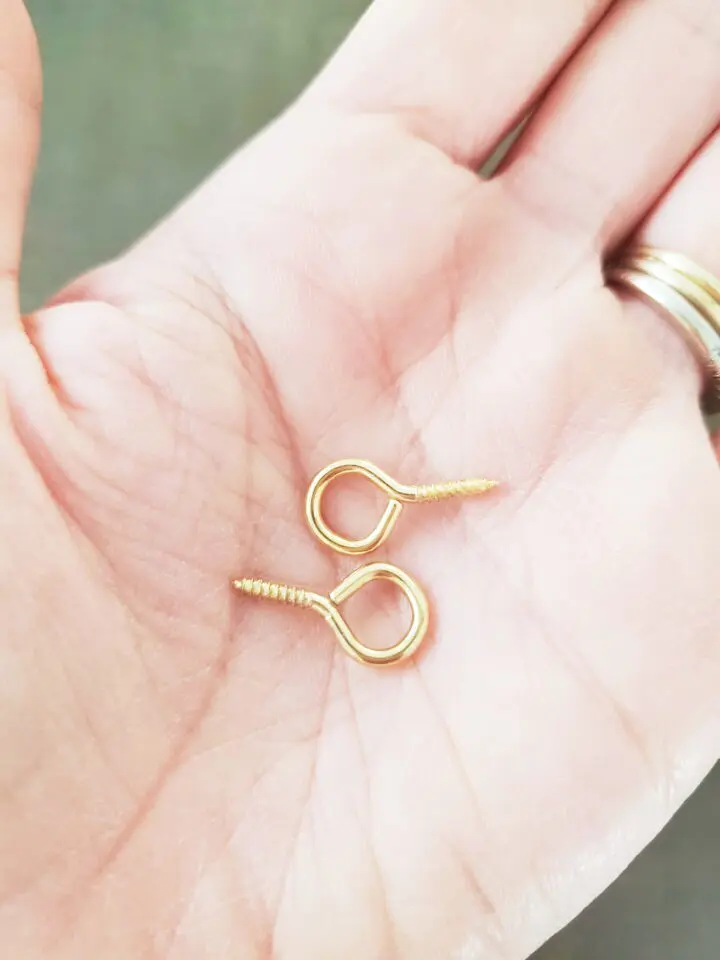
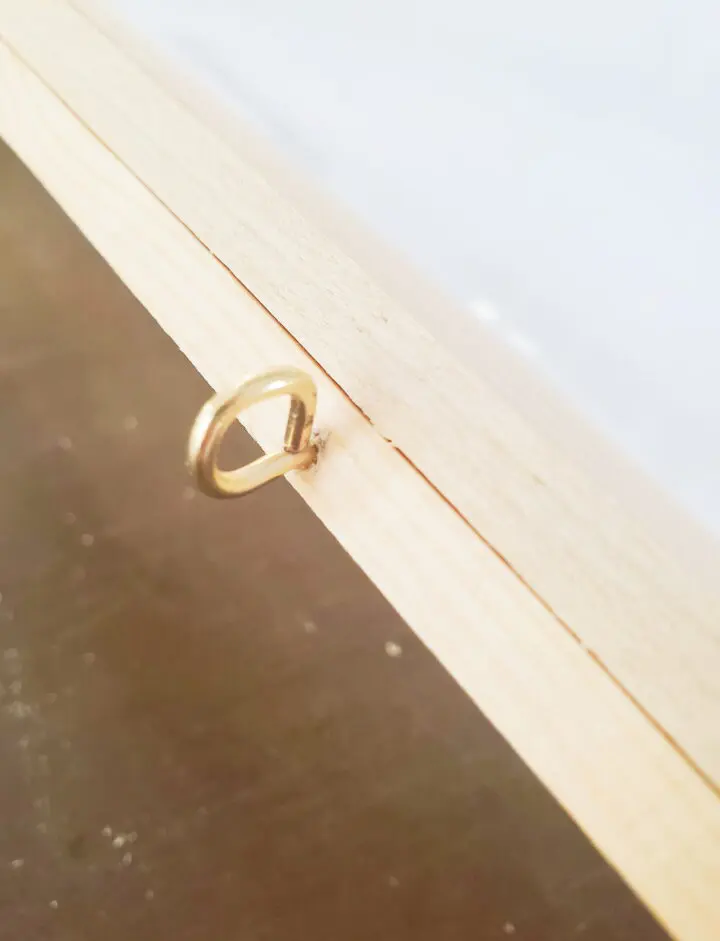
Adding the Hooks
- Measure the top frame of the poster, it should be 22 inches, now divide by 2, which equals 11, now divide by 2 again, which equals 5 ½.
- Measure 5 ½ inches on both sides from the end of the frame going inwards. Mark the spot with a pen somewhere it won’t be visible.
- Take the frame and hold it vertically, like how it would be hanging, take your eye hook and gently begin to insert it into the top of the wood.
- Repeat with the second eye hook.
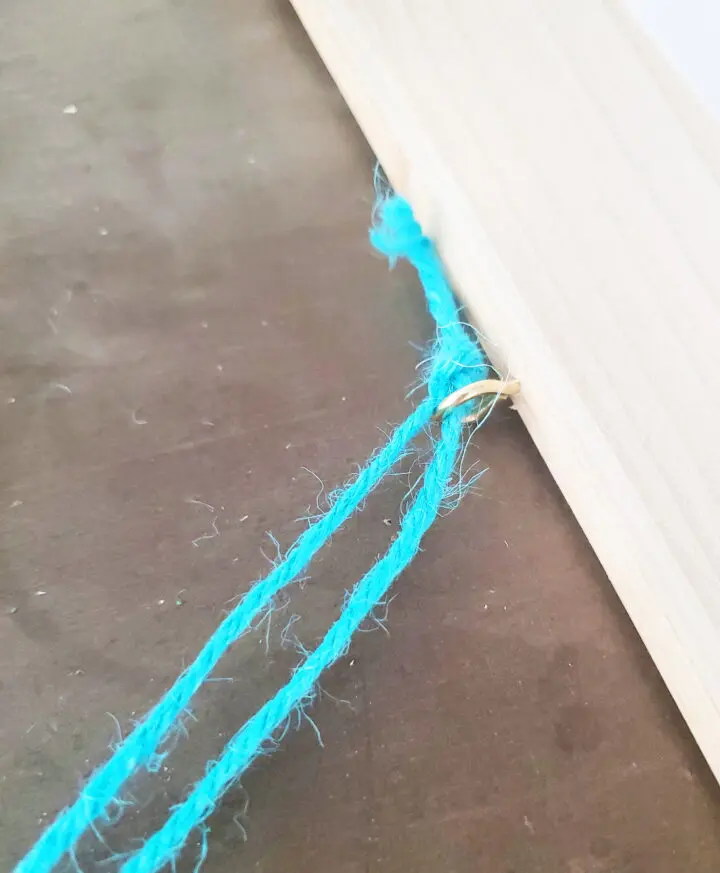
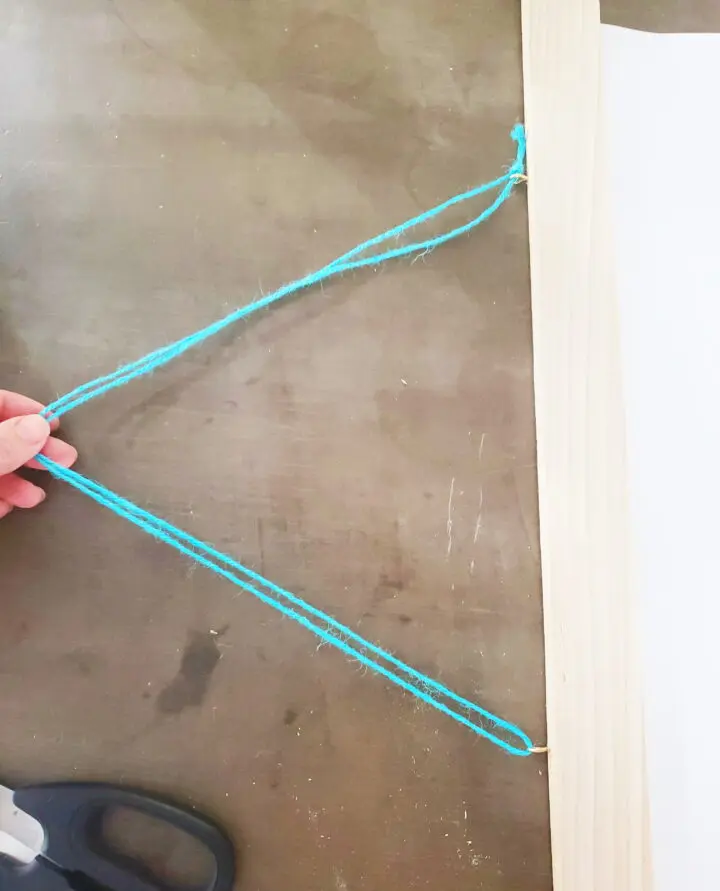
Hanging
- Make sure the string or rope you have chosen is able to fit through the eye hooks.
- Cut one piece of string 2 to 3 feet long.
- There are multiple ways to hang the poster with the string. You could place the string through the eye hooks and then tie it once. You can also tie it individually to each eye hook.
- Now your poster is ready to be hung in your home.
FRAMED PET POSTER TIPS AND QUESTIONS
If you’ve never made a framed poster of your pet, don’t worry! Below I have included some common questions and helpful tips.
EYE HOOKS
I recommend purchasing a picture hanging kit so you will have eye hooks and all the variety of hooks you need for future projects. You can use eye hooks of any size but the smaller they are the harder it can be for you to manually screw them into the wood plus you need to make sure the length of the screw part is long enough to keep the eye hook in place. I recommend large eye hooks since they are easier to screw in and the screw part is long enough to hold it in place. If you are unable to find eye hooks, you can staple the string or rope in place.
WOODEN FRAME
You can purchase the wood for this project at any craft store. It usually comes in a package of 2 pieces. Don’t feel you need to use the specific wood I used. If you have another kind that you would like to try…go for it!

HOW TO TURN THE FRAMED PET POSTER INTO HOLIDAY DECOR
Change the string to a holiday color like red or green, attach a holiday inspired hat made with felt, a holiday collar, or add a holiday message!
IF YOU DECIDE TO MAKE MULTIPLE FRAMED PET POSTERS
I highly suggest creating the photos for all your art at the same time so they are similar to one other. In the same way, make the poster frames at the same time so they are the same lengths.
[cp_popup display=”inline” style_id=”54293″ step_id = “1”][/cp_popup]
[cp_popup display=”inline” style_id=”55131″ step_id = “1”][/cp_popup]
Other $30 BIG IMPACT projects:
- easy DIY Pet Art (Full tutorial, video, & PDF)
- easy DIY Barn Quilt ANYONE can make!
- DIY Song Lyric Art (canvas & Sharpie!)
- DIY Photo Display Board
- Painted Dropcloth Rug
- easy Shoe Organizer Vertical Indoor Garden
- Hi DIY Doormat –no crafting skills needed!
- Must-have Guide for Stenciling a Wall
- Homemade Soy Candles
- Chalkboard Accent Wall
Don’t worry…I’ll make sure you get this! Try this…https://www.nelliebellie.com/wp-content/uploads/PDF-Pet-Poster-Artwork-Longer-Video.pdf
You could try using the eraser tool, instead. Be sure to zoom into the picture to get as clean as you can. Let me know if that works for you. I have heard that since I created that video Canva changed their free options…so not cool :).
There has been a huge influx of visitors. I hope this is what you need: https://www.nelliebellie.com/wp-content/uploads/PDF-Pet-Poster-Artwork-Longer-Video.pdf
Hello! I watched your tutorial on MakerFest and LOVED it!
I want to download your tutorial, instructions, and supplies list from your site but all it does is spin.
HELP!!!
I don’t want to miss out on this one!
Respectfully. Renee
I was trying to create the poster but it seems that I have to have paid version of Canva for removing the background. Is there any way round it?
LOVED your MakerFest video.
I am having trouble downloading the Pet Art and supply list… Is it because SO MANY people are downloading?
Thx so much for the fun class.. Love your website!
Pattie