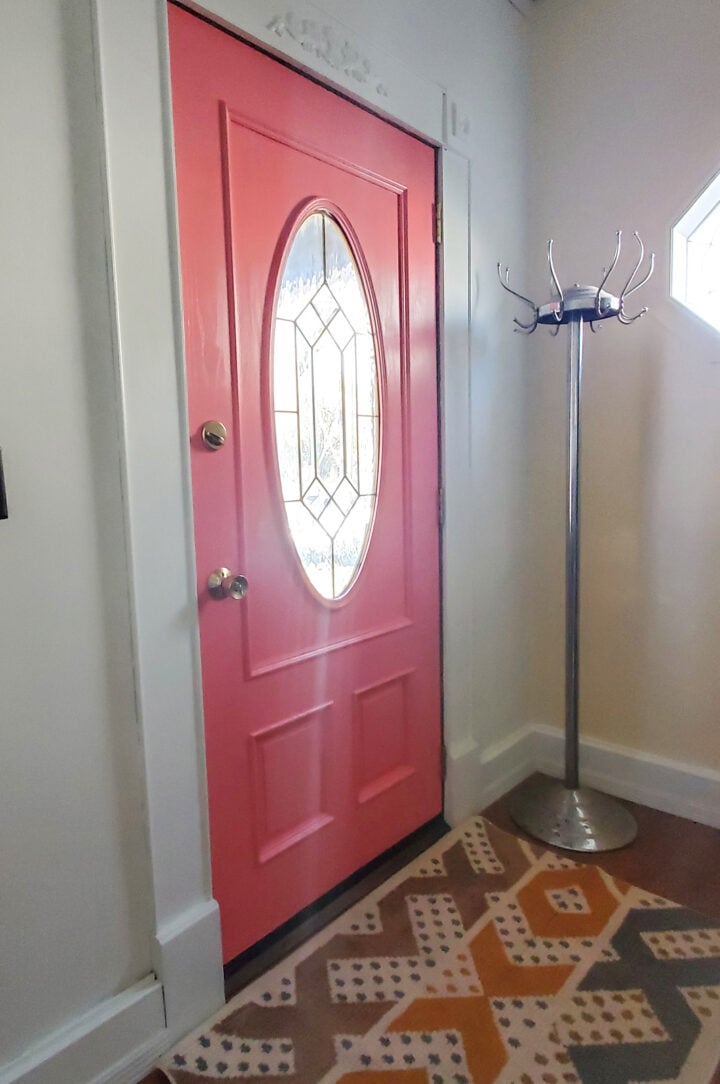
With some paint, a brush, and painters tape you can add a big impact to your home! An afternoon and a bit of patience is all it takes to add a personal touch to your doors.
I’ve been wanting to get my hands on this front door for quite some time and never seemed to get around to it. I had lofty goals of replacing the entire door with a new one that included new sidelights. But when we started learning how involved that project would be I decided to stick with our current option until I have a better plan.
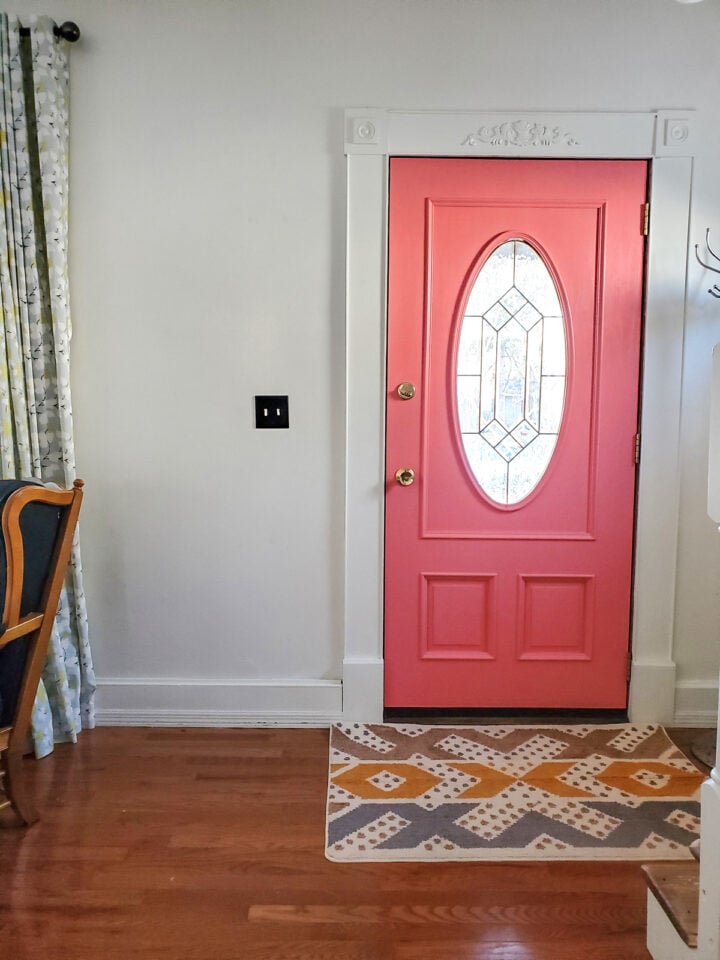
So the quickest and simplest solution to updating a current door…paint. This is the color Coral Clay from Sherwin Williams. Honestly, it’s not very coral or clay. It IS very very pink. I didn’t intend to have a pink door but now I’m loving it. A happy mistake! And the color changes with the lighting. Sometimes it is a soft pink leaning much closer to the coral and other times it is CRAZY hot pink!
Other $30 BIG IMPACT projects:
- easy DIY Pet Art (Full tutorial, video, & PDF)
- easy DIY Barn Quilt ANYONE can make!
- DIY Song Lyric Art (canvas & Sharpie!)
- DIY Photo Display Board
- Painted Dropcloth Rug
- easy Shoe Organizer Vertical Indoor Garden
- Hi DIY Doormat –no crafting skills needed!
- Must-have Guide for Stenciling a Wall
- Homemade Soy Candles
- Chalkboard Accent Wall
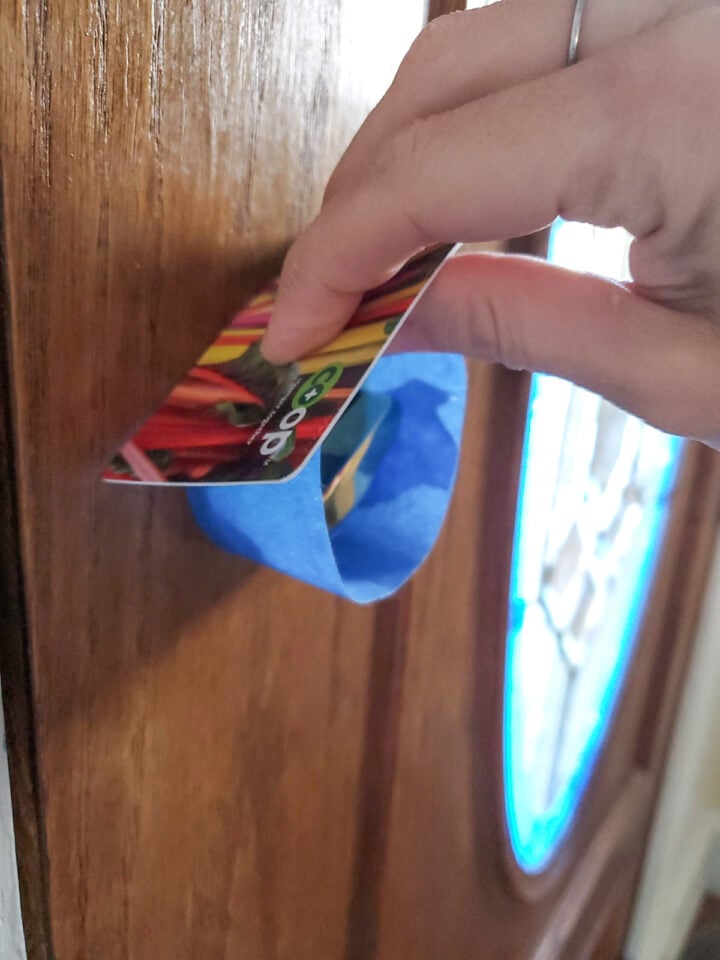
Tip: Use a credit card to press your painters tape into the surface to keep your paint lines clean when you remove the tape.
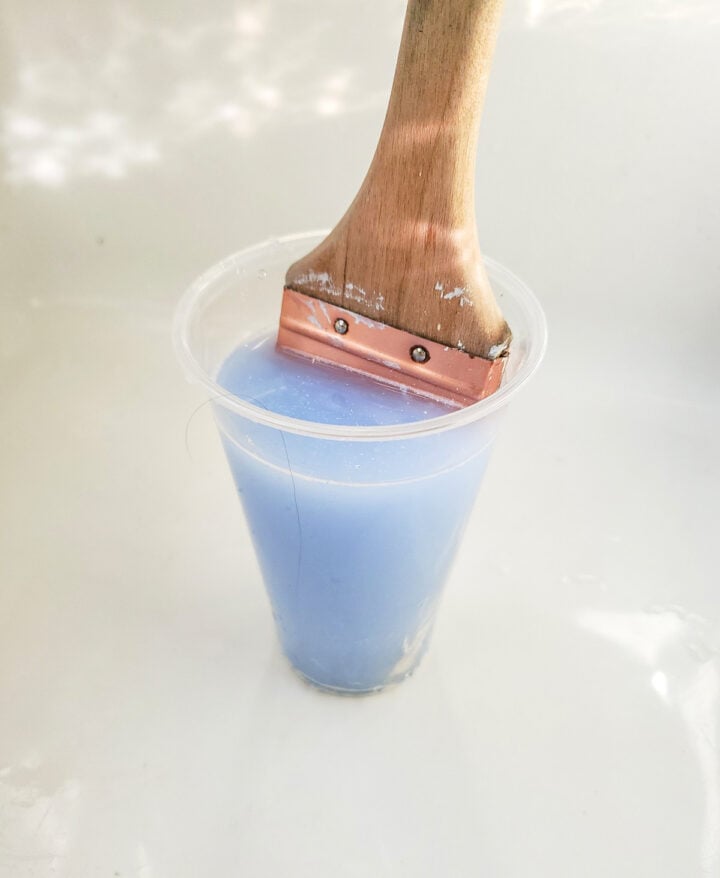
Tip: A quality angled brush is a must! Good quality brushes really do make a difference in how the final result looks. Take care of the brush and you can get good use out of it and make it worth the extra cash.
Tip: Soak your brushes in fabric softener and a bit of hot water to clean them and keep them soft & fresh.
Tip: If you have a smooth door try using a foam roller to keep your lines super clean and without brush strokes.
Tip: If you aren’t using a primer/paint combo be sure to use a paint primer so that your hard work will last a long time!
Tip: Glossy paints are easier to clean, usually a good idea for high traffic doors!

Tip: use a razor blade or small knife to clean up any leftover paint that has seeped under the painter’s tape.
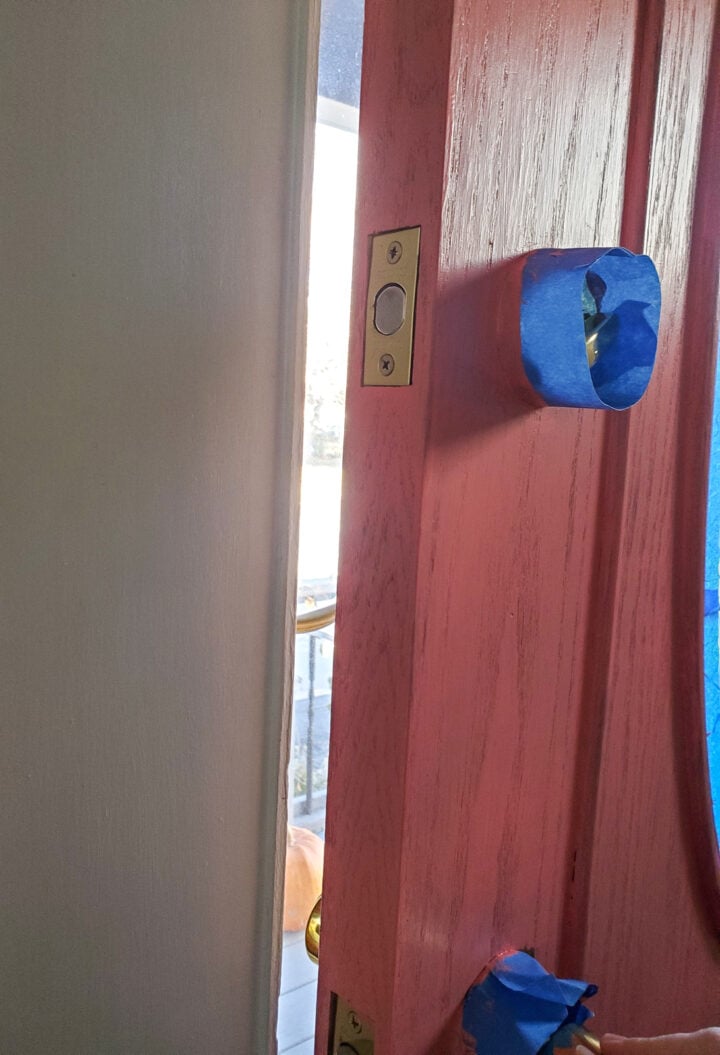
Should I paint the border of the door that swings inside?
I think so. It makes the job look clean! But your preferences are what counts!

Materials needed:
- Interior paint
- angled paint brush (I recommend a 1 or 2″ width)
- small foam roller (if your door is smooth, particularly)-optional
- painter’s tape
- straight edge-optional
Instructions:
Step 1: Clean and dust the door to remove any debris (or cobwebs, in my case :)).
Step 2: Sand the door (especially if you are painting a steel or plastic smooth door) to prepare it for paint.
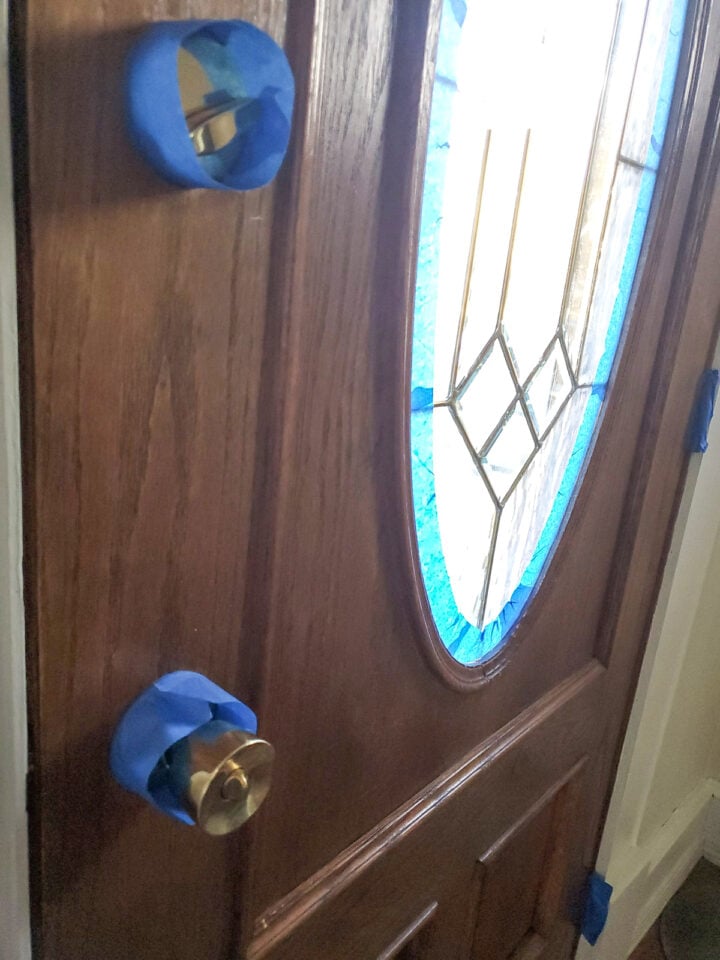
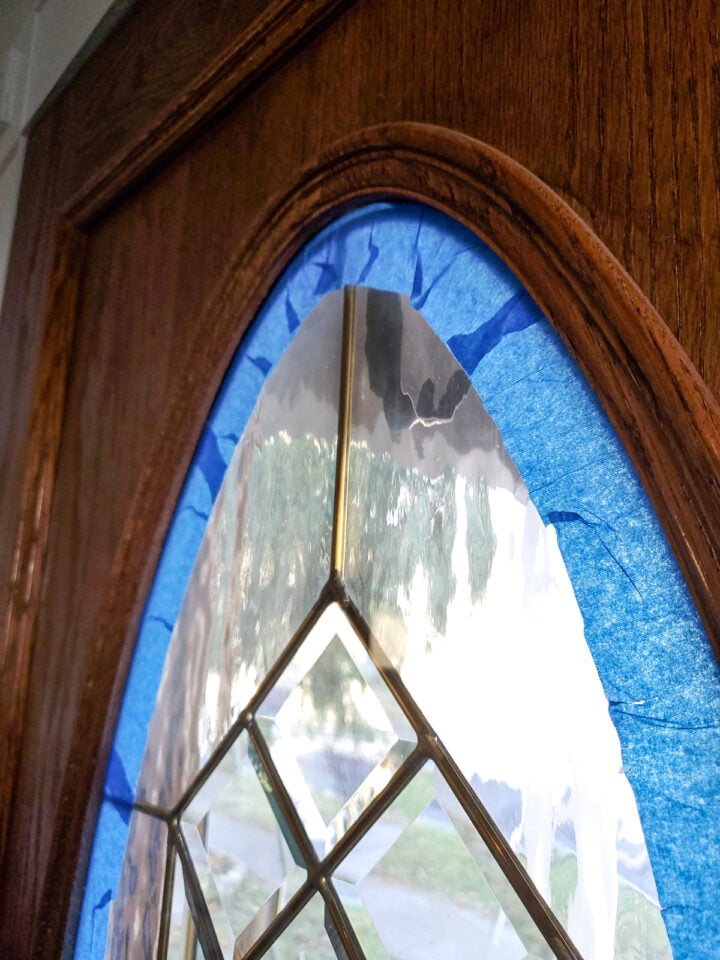
Step 3: Tape off the door hardware (optionally, you can remove the hardware), hinges, any glass, and trim. Use a credit card to smooth and press the tape into the surface.
Note: If you are skilled at painting you may decide to skip taping the trim like I did. However if you rarely paint, do yourself a favor and tape any areas you don’t want to accidentally paint.
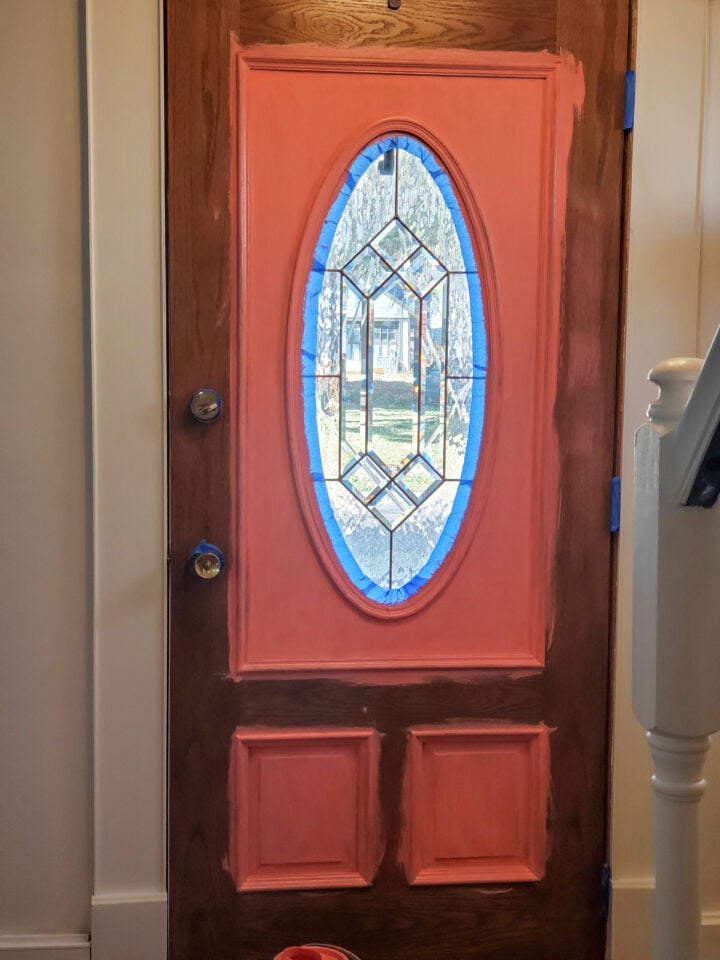
Step 4: Paint any panels on your door first.
Use a foam roller if you have a smooth door that is steel, plastic, or another surface other than wood. If you have a wood door, a good paint brush works well. You’ll still need to use an angled brush to cut around the window and hinges.
Step 5. Follow up with the rest of the door keeping your strokes clean and straight.

Step 6. Let your first coat dry well before painting your second (or third.
The process of painting a door with any kind of windows or trim can be tedious. Don’t be tempted to skip coats! Add an additional coat, if you think it’s needed, right now while you have all the materials out…you’ll be glad you did!
Step 7. Let the paint dry and remove the painters tape.
Step 8. If needed, clean up dried paint edges with a straight edge or sharp knife.
