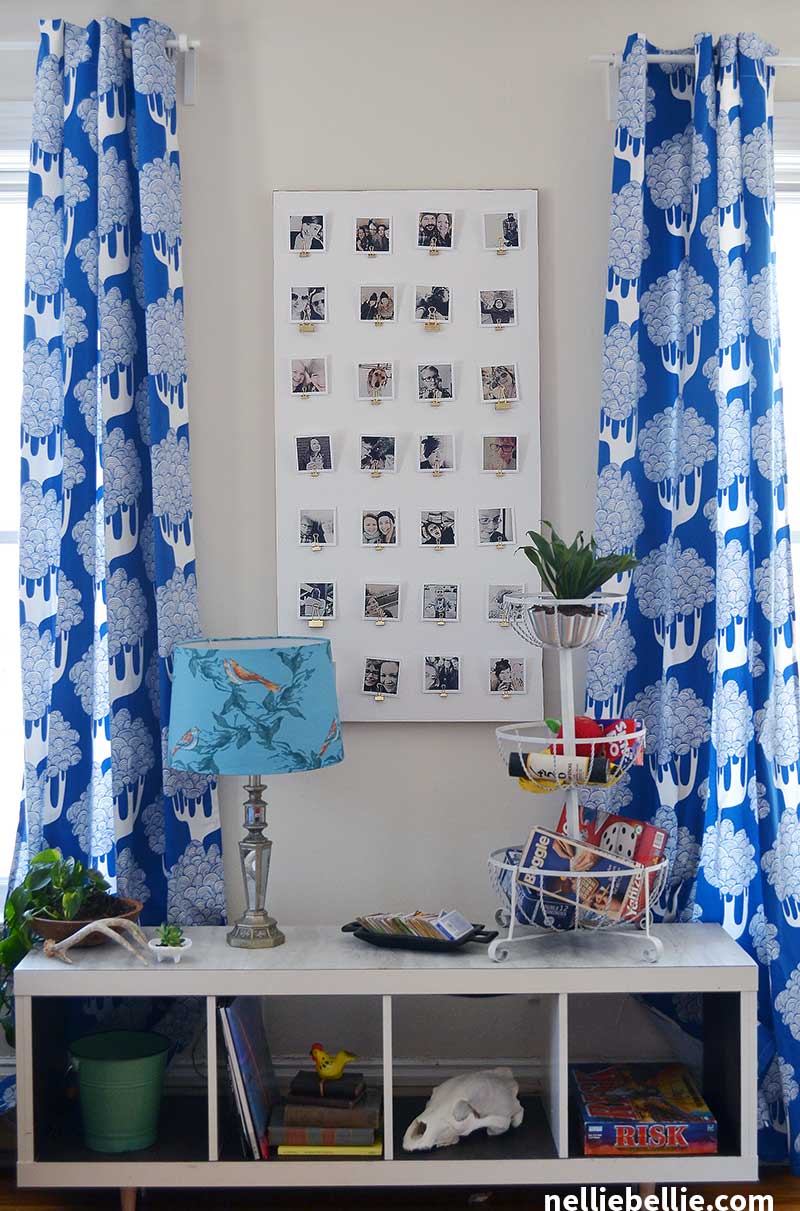
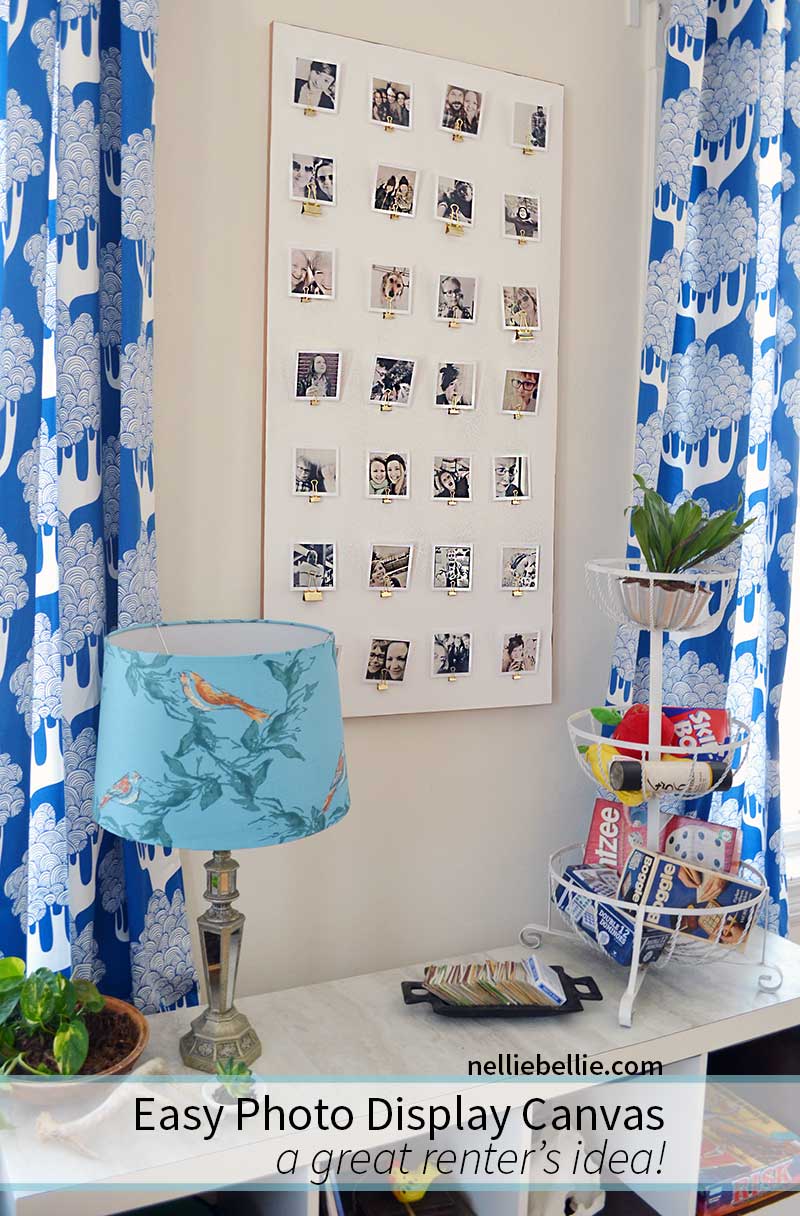
This DIY Photo display board is easy to make and looks amazing for display photos without damaging them! A great idea for renters, as well!
This project is one of our 30 for $30 High Impact Projects Anyone Can Make! Other projects from the series:
- Indoor Shoe Organizer Garden
- Homemade Candles anyone can make!
- easy DIY Barn Quilt
- DIY Painted Doormat
- Must-Have Guide to a Stenciled Wall
- DIY Stamped Floorcloth (from Dropcloth)
Many of you that have been hanging with us here at NellieBellie for a long time know that we moved from a big home in the country to severals in a historic town outside of Minneapolis, MN be before ultimately buying our current home several years ago.
One of the challenges of renting was turning our rental apartments into a home that felt personal. I never realized how much I took for granted my ability to paint and drill holes in the wall whenever I wanted. When we were renting, I missed painting. And gosh darn, I missed drilling holes in the wall! All you renters…you hear me!
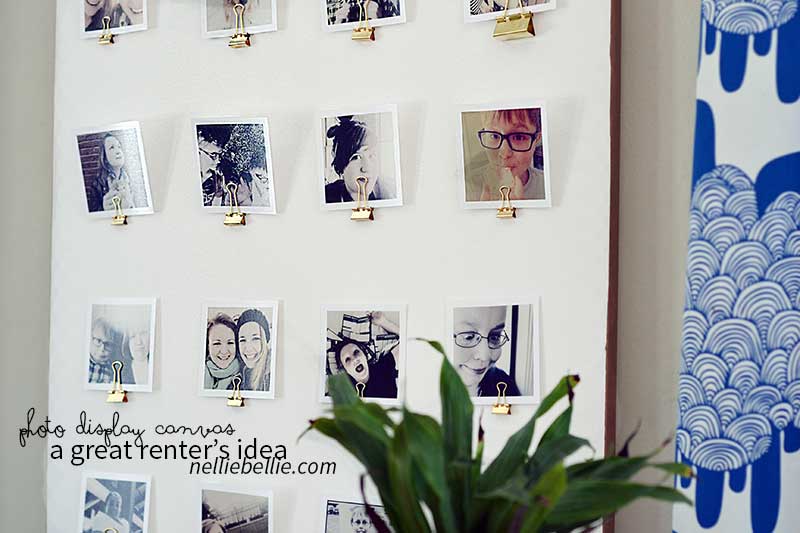
This photo display only requires 1 nail hole because the canvas is very light. 1 nail hole for 30 photo’s…win!! Better yet, use Command Hooks for the win!
Tip: Apply the same filter (I use Afterlight on my Iphone for filters and photo editing) to each of the photos. This will give you a uniform, artsy look for your display. I’m a big fan of the vintage filters.
 Supplies:
- 2′ by 4′ canvas (easily found at a craft store. Watch for sales to keep this cost down!)
- 30 binder clips
- super glue (or equal adhesive)
- photos (I used small squares of Instagram photos)
- optional: craft paint and brush
Note: The concept of binder clips on a board works for ANY size canvas or board. Use what you have, what you find on sale, or what is gifted to you!
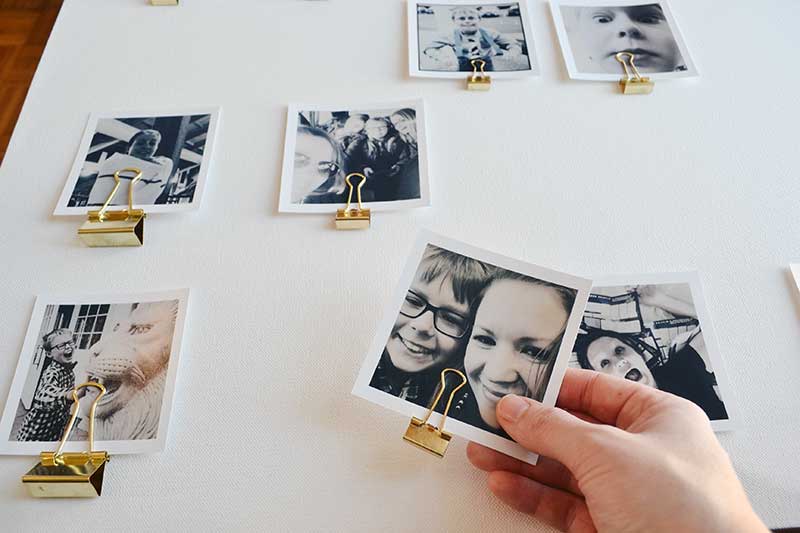
- Put your images into the clips (so that you have a better visual of the finished product) and lay out your images and clips how you want them to be for your finished photo board. I went 4 across and used 28 images. The size of your images will dictate how many across you can do.).
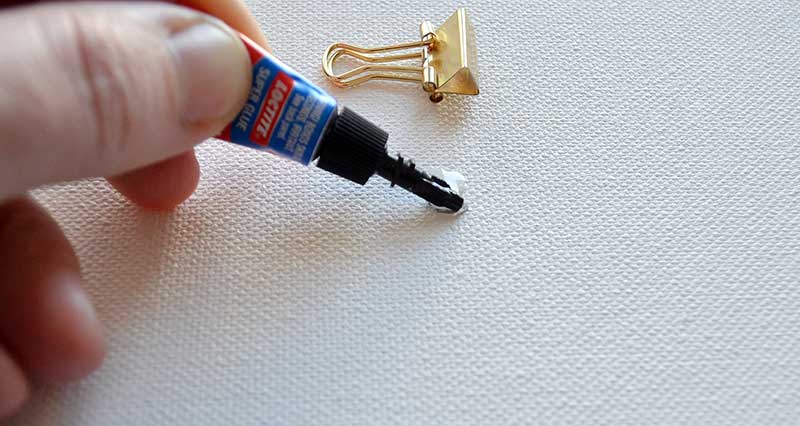
- (below) Remove the image prior to glueing on the binder (believe me, you might accidentally glue the image to the canvas–or something?), set the binder aside, apply glue to the canvas where you want the binder to be positiond, and press the binder back into the glue, hold in place for about 1 minute.
Optional:
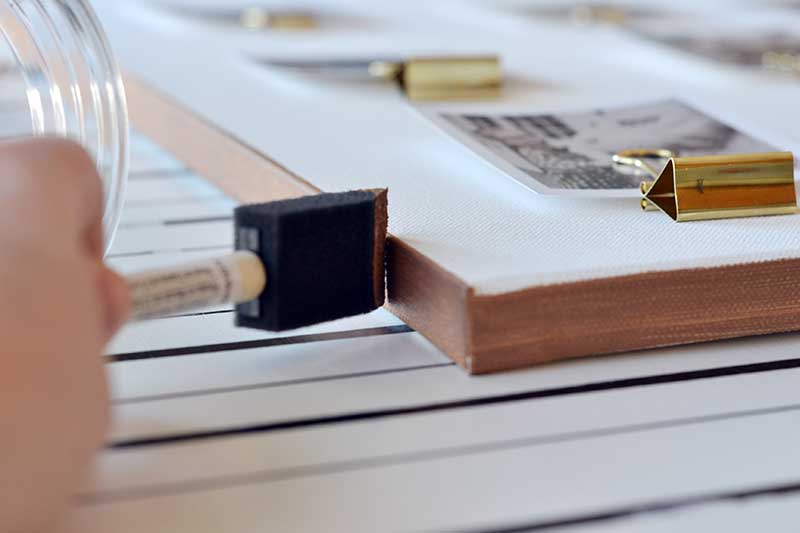
Apply a stroke of craft paint along the edge of the canvas. I like this because it gives a nice finished look instead of looking like I just stuck a canvas on the wall (well, I kinda did, didn’t I.). It only takes a few minutes with a sponge brush. Ribbon or fabric would be equally charming!
I love the gold binder clips on this…I think they look like mini plaques under each print.
P.S. Isn’t my family the cutest!





You could try using the eraser tool, instead. Be sure to zoom into the picture to get as clean as you can. Let me know if that works for you. I have heard that since I created that video Canva changed their free options…so not cool :).
Hi Janel
I watched the video you did for the Jennifer Maker Fest using Canva. I downloaded the App and uploaded my image but when I try to remove the background a pop up appears about a Canva pro free trial. Do I have to purchase this in order to remove the background?
Thanks
Phyllis
Thanks, Haley!
As a renter, I have the same problem! I’d love to paint walls and hang more pictures, but just don’t want to deal. This idea is perfect!
Thanks!! I think my family is pretty cute, as well. And that photo display helps a bit :).
Super cute (the photo display AND the cute family!)! :)
Thanks! We love the gold, too (though, to be honest, it was accidental!).
Beautiful!! I adore the gold – it makes my heart go pitter-patter xx