

Scroll to the end of this post for the skimmable, quick-fix list of tips that you need to stencil a wall with success and as little frustration as possible! Hang with me if you want ALL the info to make your next wall stenciling a success!

If anyone tells you that stenciling is soooo easy and the most amazing thing ever you run away from them pronto.
It’s not. It is quite tedious and frustrating.
Stenciling a wall IS highly personalizable, budget-friendly, easily changed, easy enough that ANYONE can do it (yes, I see you…YOU can do it too. ), and with materials that are easy to find.
Stenciling truly is a dream for anyone wanting a high-end look in their home without the high-end costs that come with wallpaper installs and removal.
You can get a complete room change with a bit of paint, stencil, and time. In a few hours you can have a HUGE impact on your space!
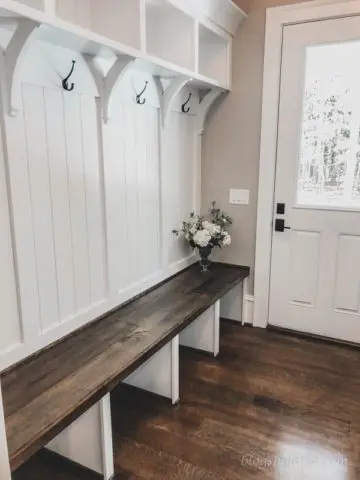
I teamed up with Cutting Edge Stencils to stencil this wall in our Mudroom/Entry room. Their stencils are soooo good that I knew one of their stencils would be what I used to create the focal wall in this space.
Truly, check out their stencils even if it is just for inspiration or Pinterest boards. Chances are it will get you rethinking your weekend plans.

Materials
1. Stencil
2. Latex paint
3. Foam stencil roller
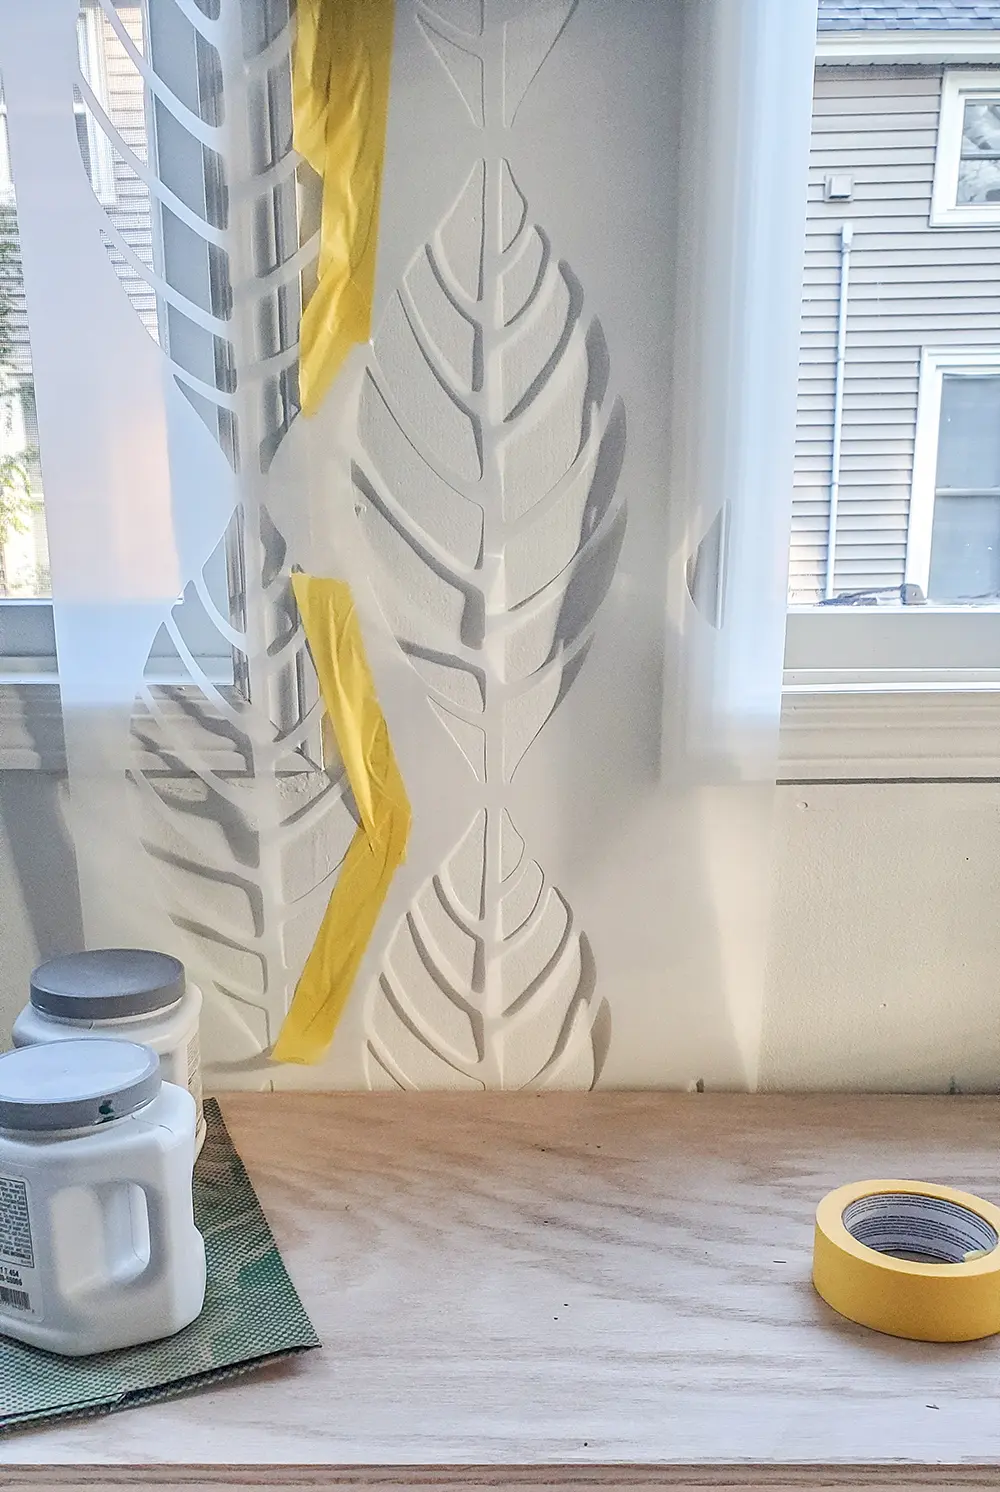
4. Painting tape
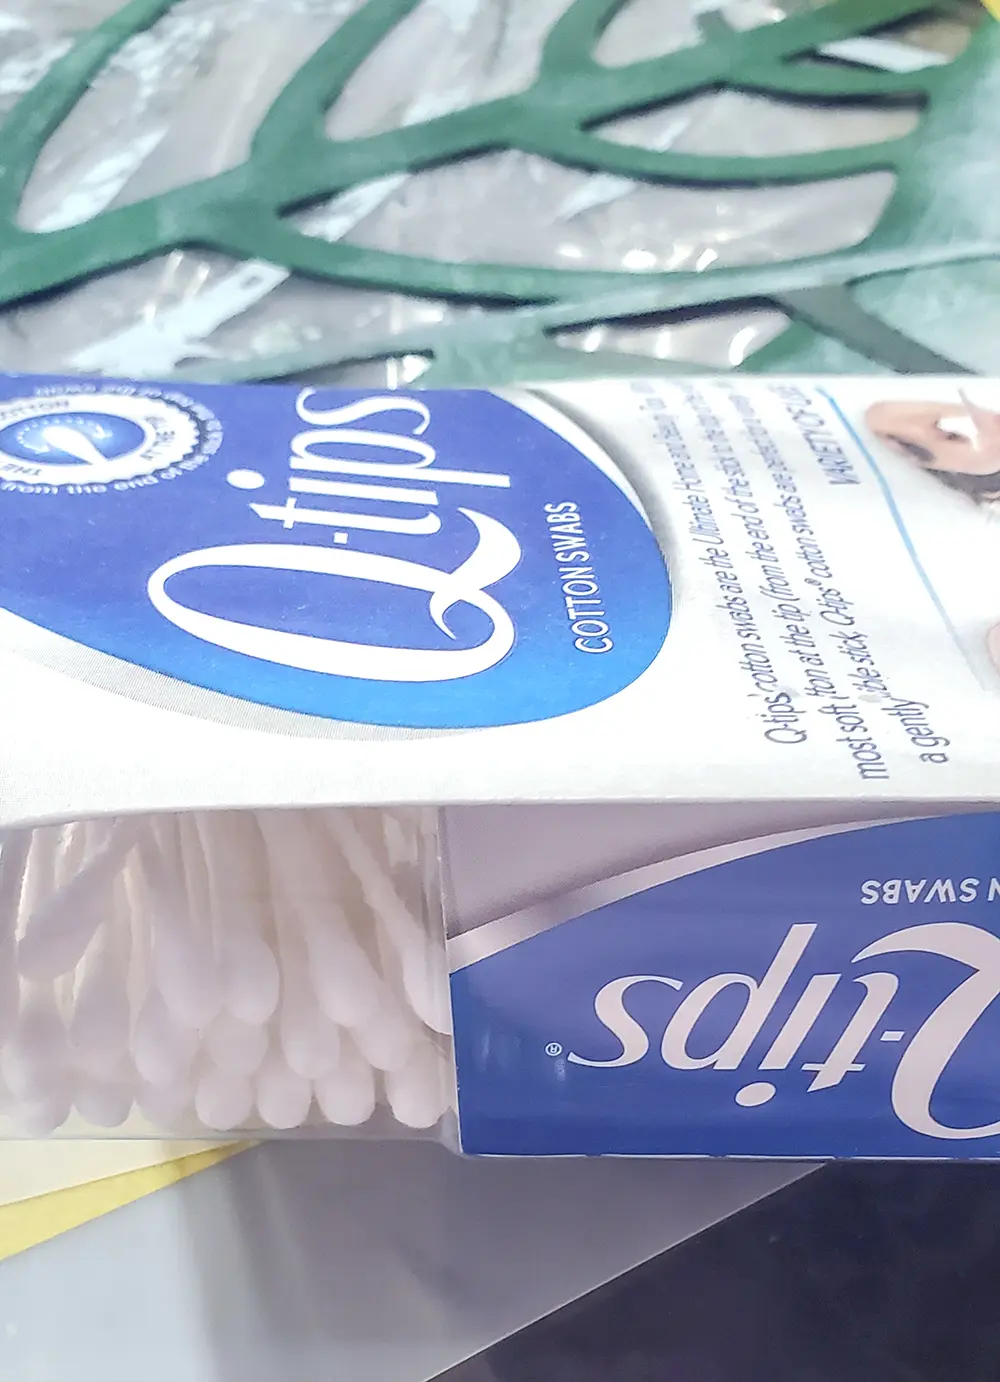
5. Q-tips
Choose your stencil pattern carefully.
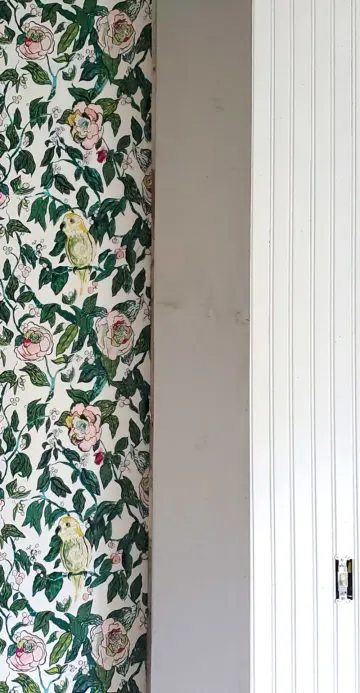
The pattern you choose determines how well you have to line up each stencil, how easily you can cover mistakes, and how forgiving the stencil will be. Graphic patterns are often the hardest while floral patterns can be the most forgiving.
If you are new to stenciling, I recommend a floral or easy allover print that isn’t graphic or exact in its design.
Choose your stencil size carefully.
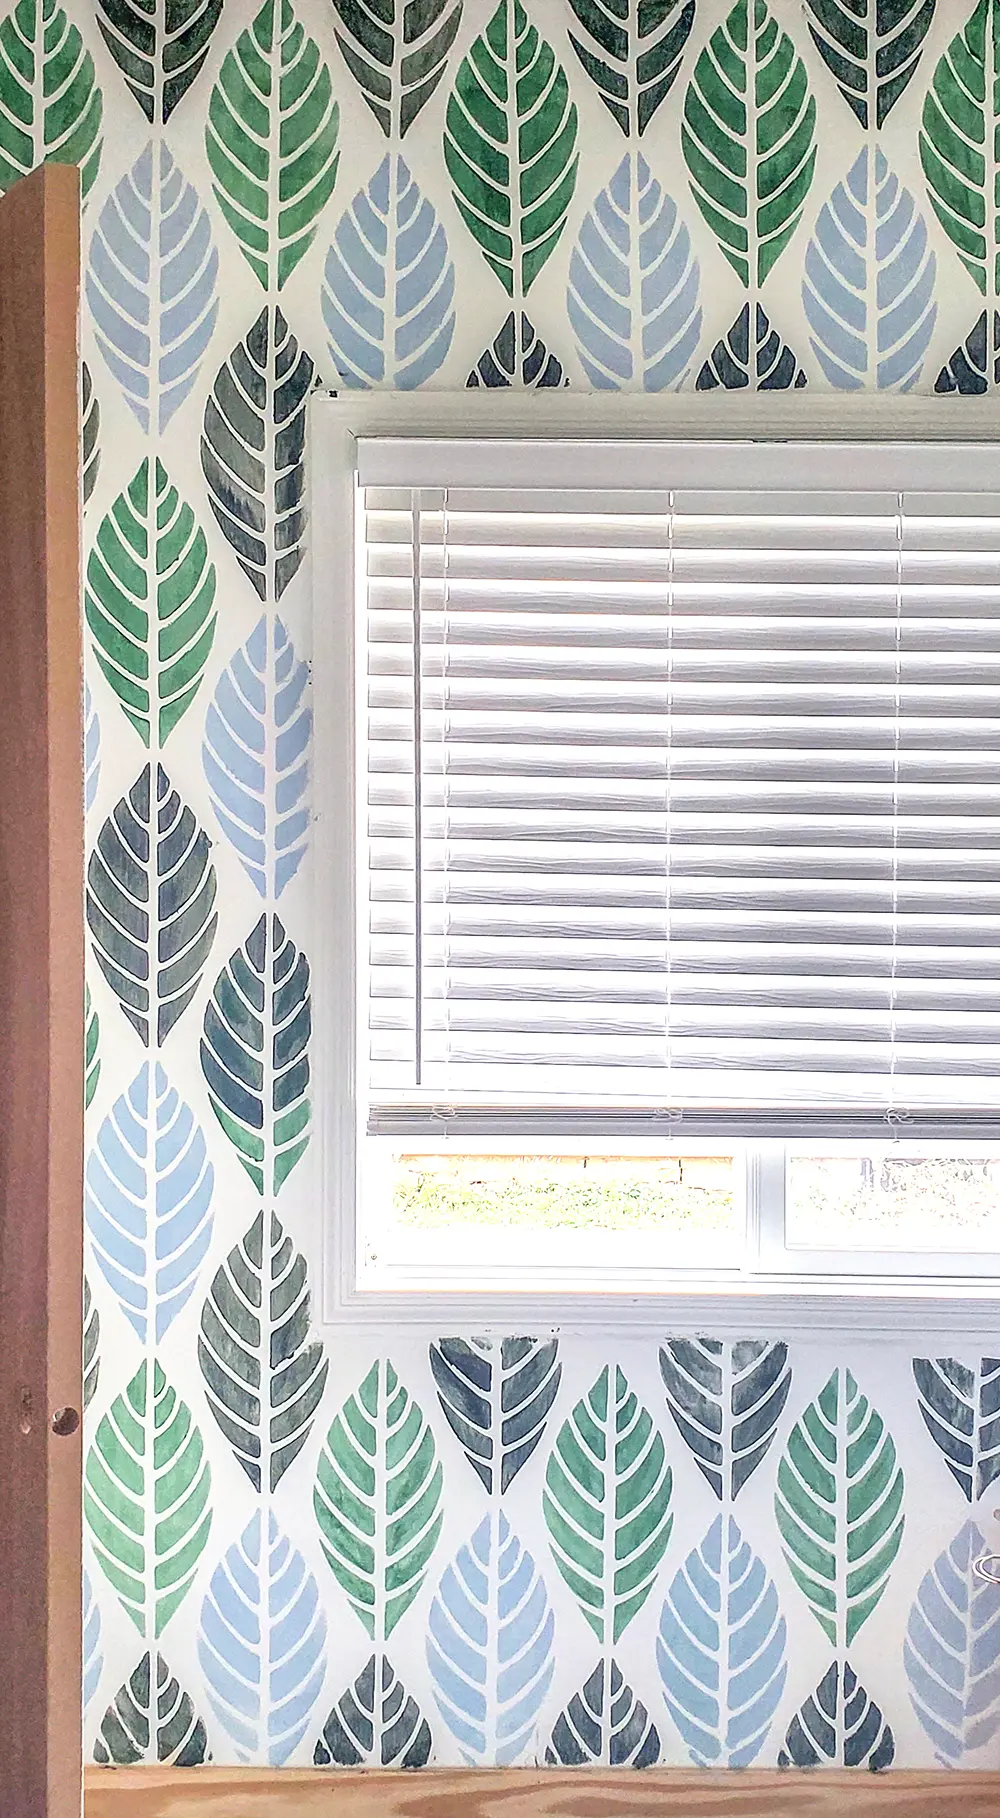
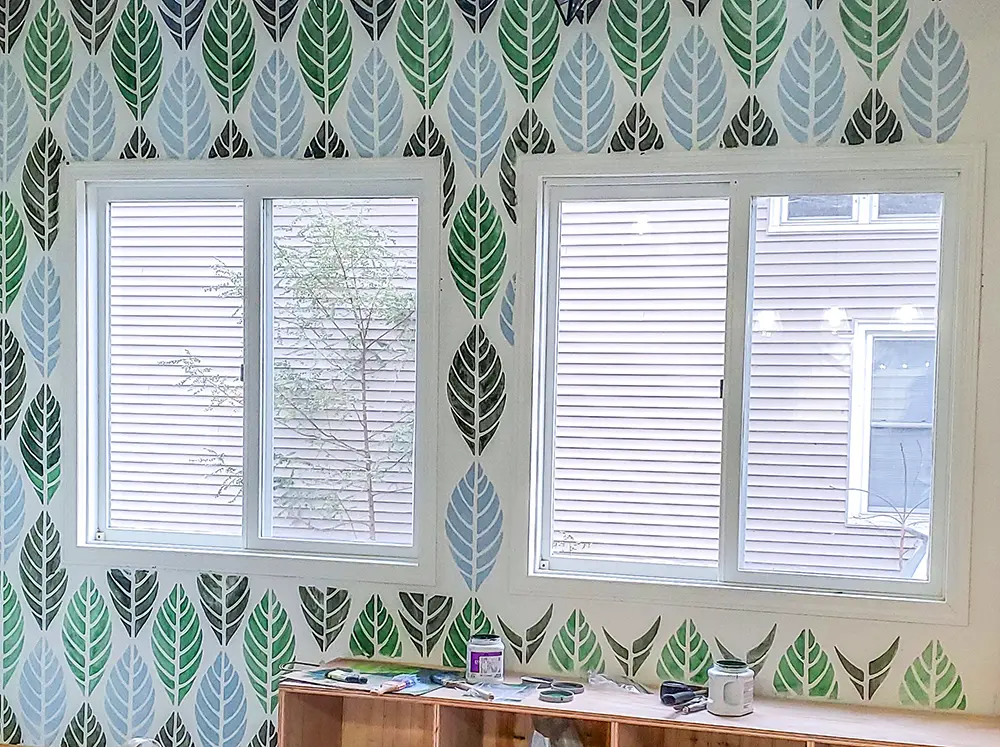
The SIZE of pattern you use also needs to be taken into consideration. If your wall, like mine, has windows and doors and lots of corners…the large designs require more time and patience however, can be wonderful on a large expanse of wall.
Generally, if you are new to stenciling I would recommend a smaller print for walls with many windows and corners. Save the large prints for large expanses of empty walls.
This stencil required me to be very patient and careful around each of those windows and corners. A floral pattern would have been more forgiving along all of those.
Think about your starting point.
In the case of my design, I wanted to line up the design in the center of the two windows and to allow for an easy section between the window and bench. I started with the row between the windows first and continued from there.
If using an easy allover pattern, it is recommended that you start stenciling from the ceiling and work your way down. However if you are using a graphic or eye-catching pattern start your stencil where your eye MOST needs to see it line up properly.
Note: if this is your first stenciling project start your stencil in the area least visible, if you can. This gives you the chance to learn before you get to the more important area.
Keep your roller/brush super dry!
It is sooo hard to keep your brush or roller loaded with only the tiniest amount of paint. Our instinct is to load it in a similar way as you would when painting a wall. Big mistake!
The trick to having little to no seepage is keeping your brush/roller almost dry. Yes, you have to load it CONSTANTLY and have loads of patience. But it truly is so important!
Exercise utmost patience!
Although stenciling is not hard or expensive comparatively to many other projects, it requires serious patience if you want to have good success.
Take your time lining up your stencil, keeping your stencil clean and free of paint build-up, taping it correctly, using as little paint as possible, and then touching up your mistakes.
Basically, however time you THINK it will take…double or triple it if you want it to be something great.
Keep your stencil clean.
You WILL get some seepage no matter how hard you try. It just happens. After you have stenciled a section and seen that seepage happened, wipe down the stencil before moving to the next section.
Wiping your stencil down will help make sure the color doesn’t transfer to the wall on the next stencil AND will keep dry paint build-up from keeping the stencil from sitting against the wall nice and tight.
Single color designs are easiest.
A single color will be the fastest and easiest allowing you to cover the space quickly and easily. However, multiple colors can look amazing!
To use multiple colors, I would recommend using a foam brush in a small size for each color. If the wall is large, have several brushes on hand so you can replace them if they get a bit crusty (which they tend to do quite quickly). Simply pour a bit of paint on a disposable plate and use the foam brush for each color.
Caution about using multiple colors:
- Be sure to clean off any seepage or wet paint from the previous stenciling to avoid mixing colors.
- Be very mindful of any color patterns you want to use. Similar to measuring (measure twice, cut once)…checking twice means you only have to paint once.
- If you DO make a mistake it is often okay to simply leave it. Just move on with the pattern as if you did it the correct color. Your eye will not see the mistake—I promise! However, if it is going to drive you crazy, repaint the stencil the base color and then redo the stencil. Do NOT try to simply stencil the correct color over the incorrect color.
P.S. If you look carefully you’ll see a color mistake I made :).
Plan for touch-ups.
You are going to absolutely need to do touch-ups. Just plan for it and don’t freak out over mistakes. A simple touch-up with paint and a q-tip will take care of it.
I prefer to use q-tips for touch-ups because they are easily disposable, small, and easy to control. You WILL need to apply several coats of touch-up in many instances. How many coats depends entirely on the color of your base and the stencils.