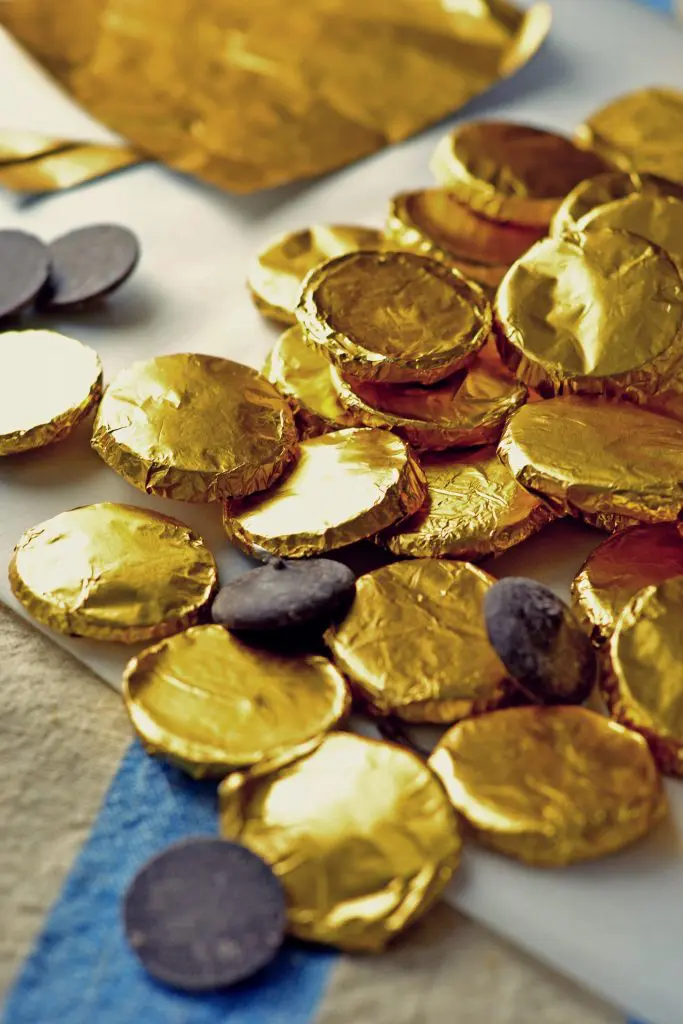
These are sooo much faster and easier than you are thinking right now. Truly. And they taste much better then the cheap-o version you pick up in the store. Frankly, these chocolate coins can taste as good as YOU want them to. You are the one controlling the quality of the chocolate. So, if they taste gross it’s all your own fault. Don’t you love being in control of all the ingredients! For my purposes, candy melt works just great. And believe it or not, the candy melt STILL tastes better than the cheap-o gold coins. Imagine what good quality chocolate would taste like?
“We are a participant in the Amazon Services LLC Associates Program, an affiliate advertising program designed to provide a means for us to earn fees by linking to Amazon.com and affiliated sites.” Find our full disclosure here.
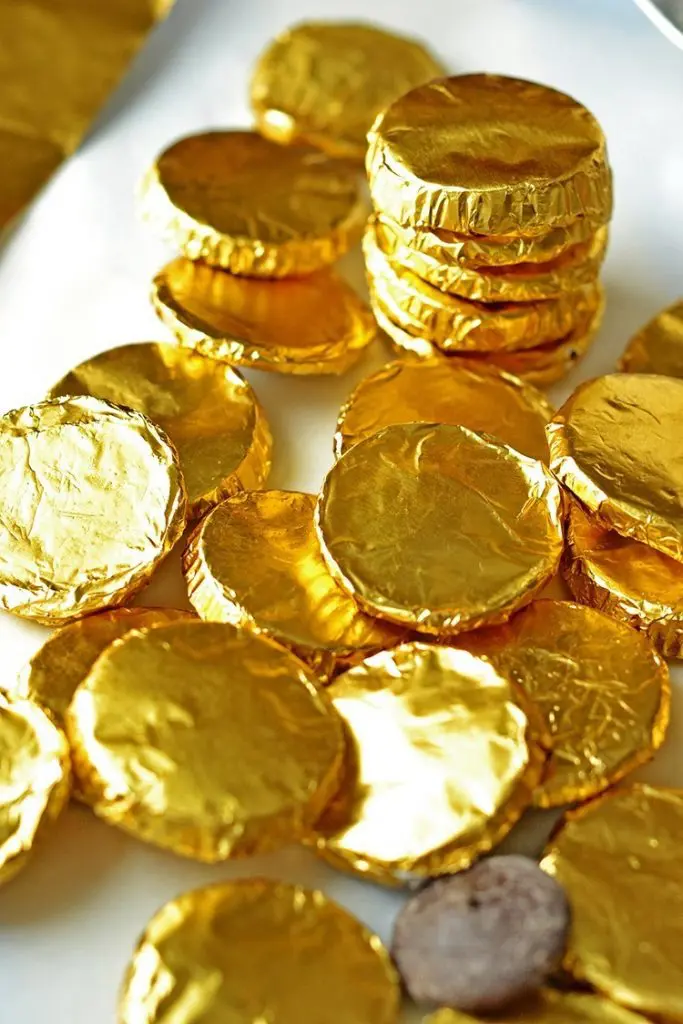
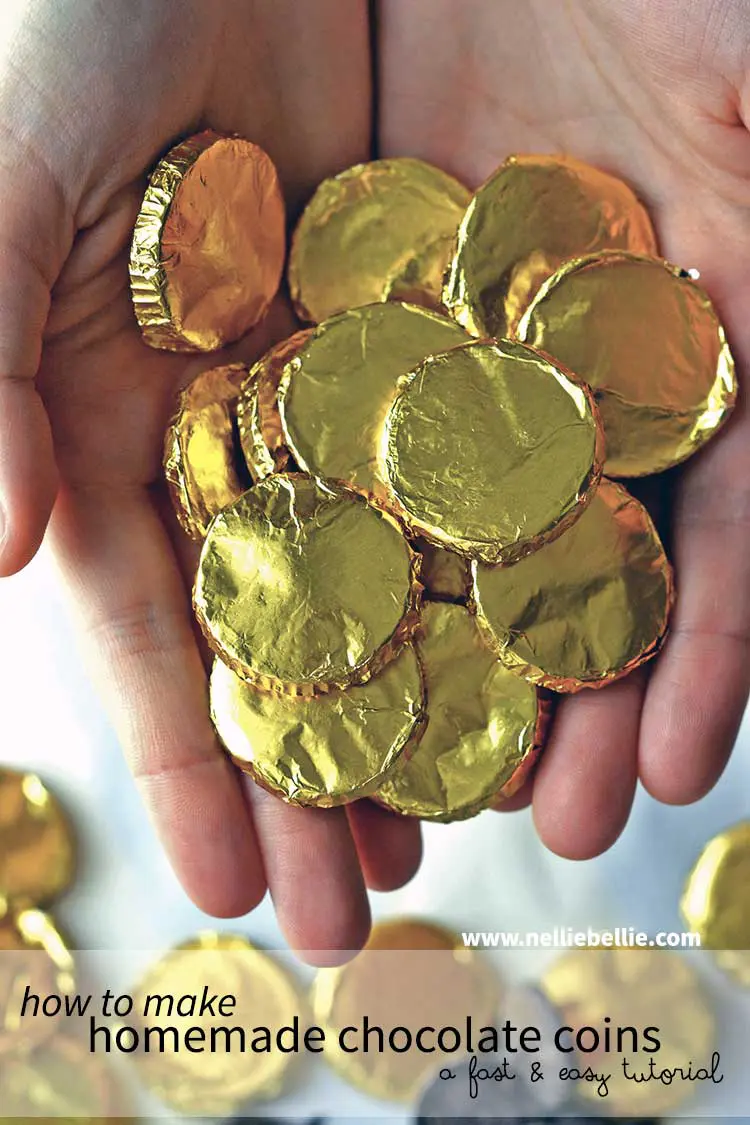
I’m seeing chocolate coins worthy of bringing to work, or baby showers, or bachelorette parties. Where they are gobbled up like crazy because of how tasty they are!
The liners, foil, and even candy were all purchased from Michaels, but can be found at many, many [easyazon_link identifier=”B074RFS8GK” locale=”US”]other stores[/easyazon_link].
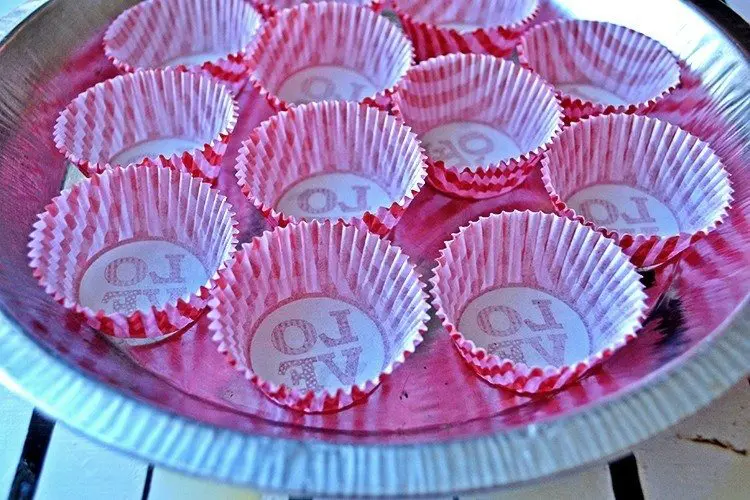
The trick to these homemade chocolate coins is using [easyazon_link identifier=”B00IE71910″ locale=”US”]mini cupcake liners[/easyazon_link] as your candy forms. Put the liners in a little army formation and pipe (or pour) the chocolate into the liners. The ridges from the liners work perfectly to create your little coin edges. And the liners come off nicely when it comes time to wrap them in gold foil.
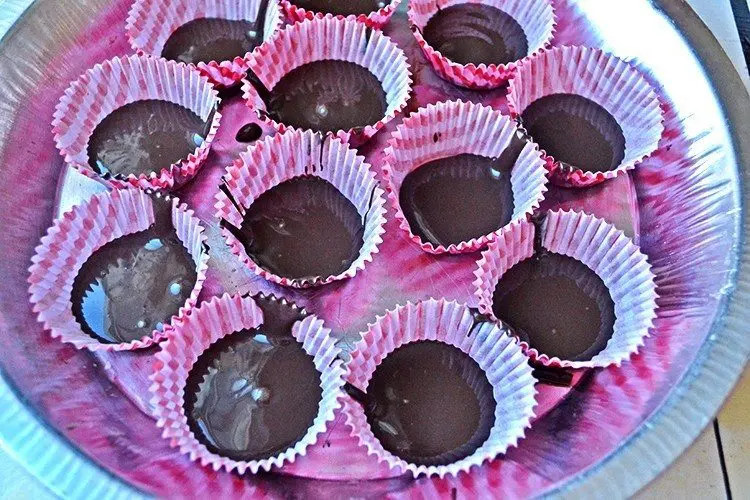
I used a funnel to pour the chocolate into the liners. Try a plastic bag with the corner cut off, a pastry bag, a small pitcher, even simply using the spoon method.
If you are using chocolate that isn’t candy melt, test how the liner comes off the cooled chocolate before filling all of them. If it sticks more than you would like, lightly spray the liners with cooking spray.
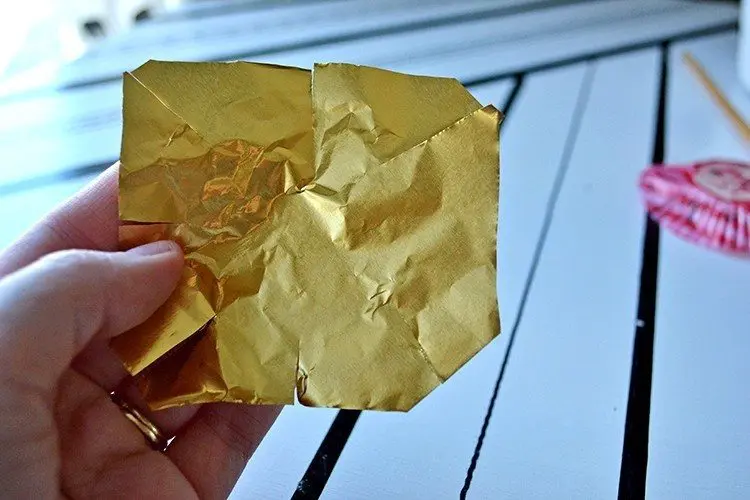
I found that the best way to get those little round chocolate coins wrapped up nice and neatly in the gold foil was to employ the windmill cutting technique. Cut the size of the squares down (if necessary), cut the corners off the square, and then cut slits along the sides. This allows you to fold a circle rather then the squared corners you generally get when folding. Squared corners on a coin just don’t work. Not very coin-y.
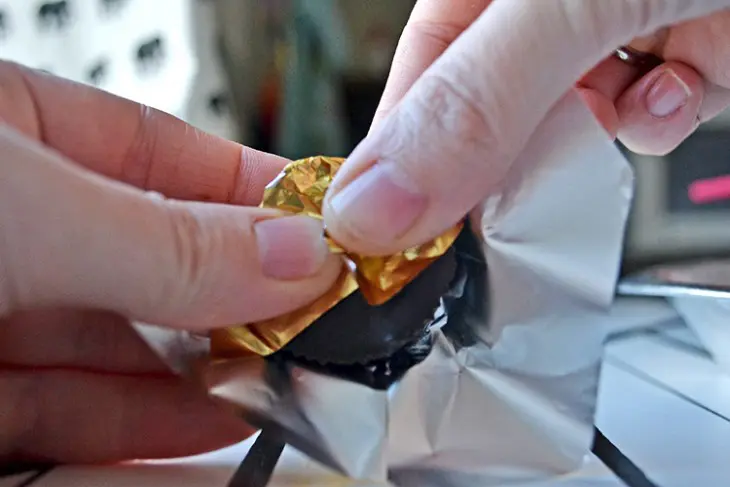
Now you can fold the paper into the center and it will create a tighter fold and look nice and neat!
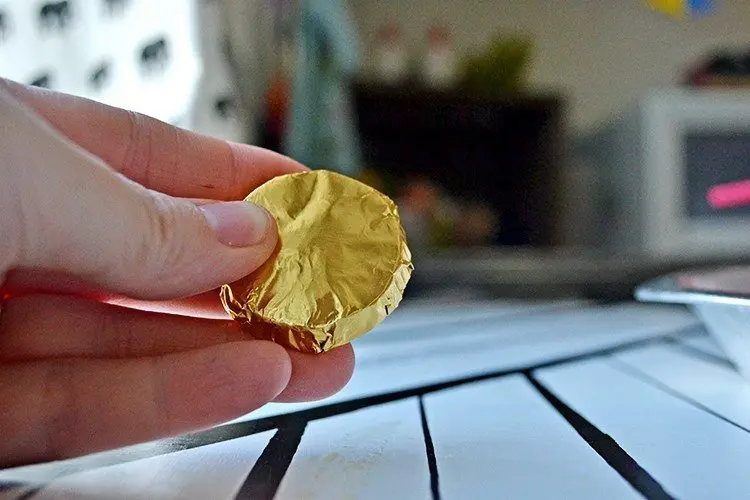
There ya go. A neatly folded gold chocolate coin. Take that to the bank!

Notes:
- It is a really good idea to chill or freeze the chocolates before you remove them from the liners. This makes them much easier to handle when your warm fingers come into contact with that chocolate. Less messy!
- If you over-spray your liners (If you need to do this, hopefully you won’t) the chocolate will be messy when handling. The best way to combat this is to freeze them before wrapping.
- I find that filling the liners just until the bottom is covered is the thickness I like best. Test it out for yourself!
- After you fill your liners, give them a bit of a tap to help the chocolate settle and smooth out.
- For the best looking chocolates, place the bottom of the candy (the bottom in the liners) at the bottom of your wrapper when you go to wrap it. Meaning, use the bottom as your pretty side.
- Store the coins in a cool place until ready to eat or gift.
- I use THESE gold foil wrappers…
If you like these chocolate coins you might also like:
chocolate stir sticks
microwave fudge
easy petit fours
Why not? Chocolate coins work great for anything requiring….chocolate coins :). Give it a try!
Hey, I was wondering if these would work for a Hanukkah celebration. This year, my family forgot to get some chocolate coins for Hanukkah!
I am so happy to hear that! Great idea with the coin, by the way, so clever. It’s so frustrating to find items in the store for people with nut allergies so I’m terribly glad that he could participate. How sweet. Lots of love to you and your boy!
Hi Nellie,
I made them with the gold cupcake liners (because Michael’s was out of the foil) and it was a snap! My son has a life-threatening nut allergy so he wouldn’t have been able to participate with the rest of the class when the leprechauns came this morning to leave their gold coins! Thanks so much for the tip. I went a step further and placed a real gold coin into the liner and then used a popsicle stick to rub over the face on the coin so that there was a face on the coin. It worked out perfectly!
It really depends on how large you make your coins. I like to do mine with about 1 1/2 tablespoons of melted chocolate. Which, I believe, translates to about 1/2 an ounce of chocolate chips or baking chocolate.
How much chocolate did you use per coin? My friend is doing a project and he needs the numbers.
Thanks for asking! I should have put that into the post, added it now. I get these … http://amzn.to/1KhqWDR Usually you can find them at Michaels and sometimes Walmart, if you don’t have time to order them. Good luck!
Hi there! these will be perfect for my little ones birthday! Where did you get your wrapper?
Hey, that’s a great idea!! I hadn’t thought of that. Give it a try and let me know how it goes. It might completely remove a step, altogether. And anytime you can make something simpler… yay!
Thanks for this tutorial on making chocolate coins! Great for those with special dietary needs. I was wondering, do you think it would work to just make these in gold foil mini cupcake wrappers and fold them around the “coin” once hardened?