Okay, truthfully this is about 75% of the kitchen remodel. By far the largest and most important part AND absolutely worthy of a reveal. This kitchen remodel/revamp (at what point can you call it a remodel?) has been a whole lot of blood, sweat, and tears.
No really. I totally bled multiple times. Painting. It makes me sweat and I am soooo not a sweater. <—that is a strange and odd sentence. And I’m leaving it because it might make you giggle how odd it is. I have also cried. Tears of joy over my sink. And hardware. And counters. And pain (remember the bleeding) and frustration. We ended up painting those upper cabinets 5 times because I had been given the wrong brand of paint (good paint matters!).
I am proud to have Home Depot sponsor this content. All opinions are mine. Always and forever.
This is where we started when we bought this 1880 home a little over a year ago (scroll down to see the after)...
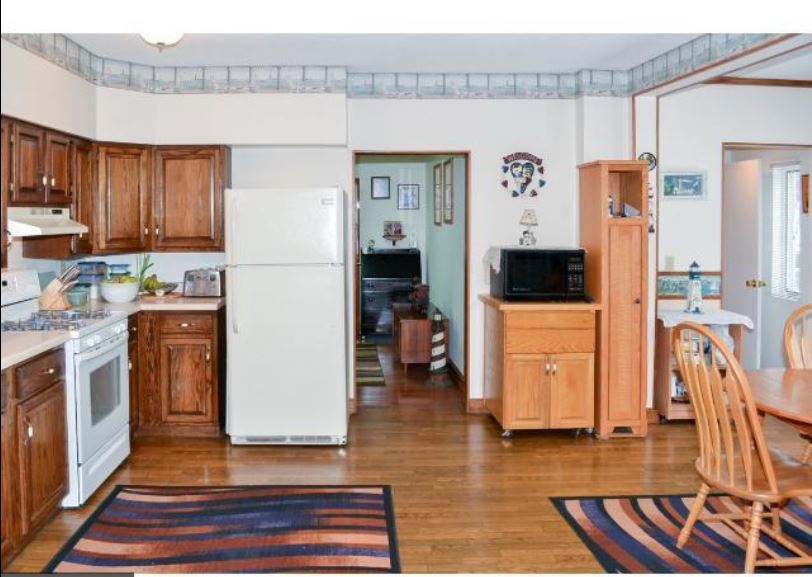
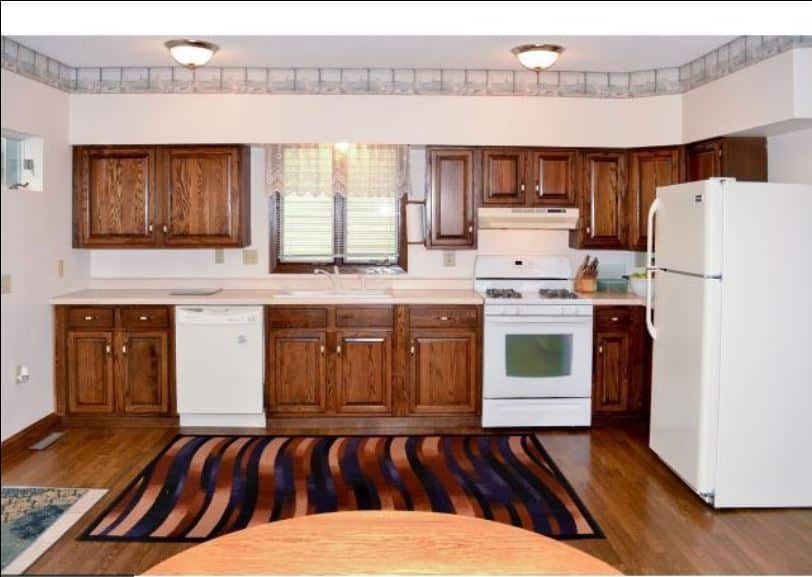
The kitchen is a huge space! But there was only a bank of counter on the one wall with an odd little corner next to the fridge. There was a whole lot of unused space! I know this kitchen worked wonderfully for the people who owned it prior to us but, for us, it needed more function. We USE the kitchen. Alot.
Here is the timeline of how things went down:
- The fridge was moved and the wall between the dining room and kitchen was opened up.
The dining room side was finished and looked gorgeous! But the kitchen side…not so much…


- We added an island.
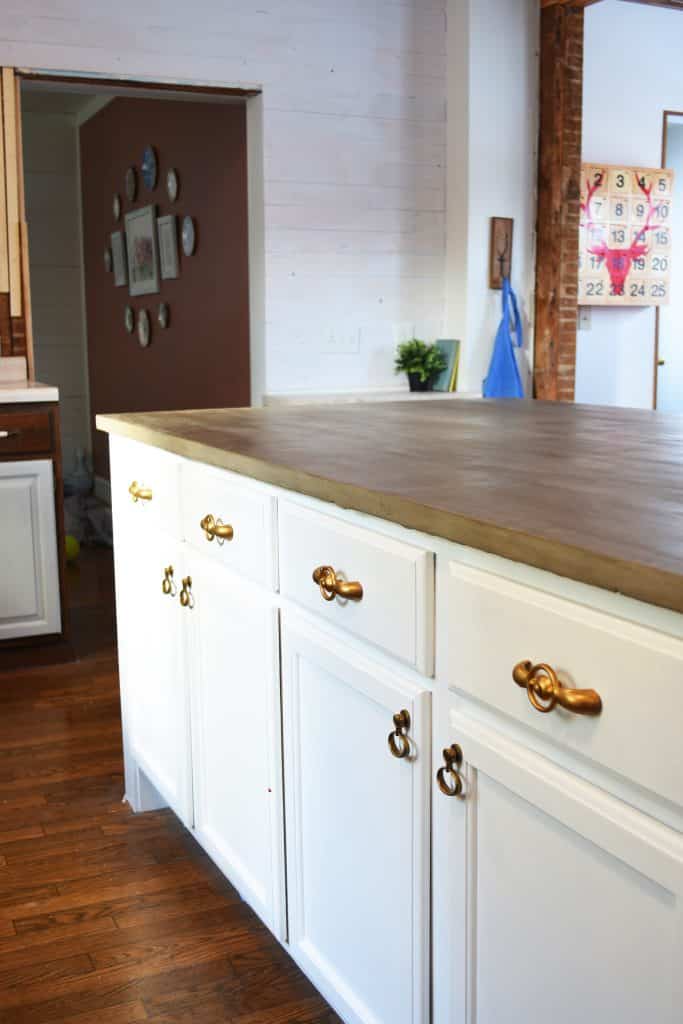
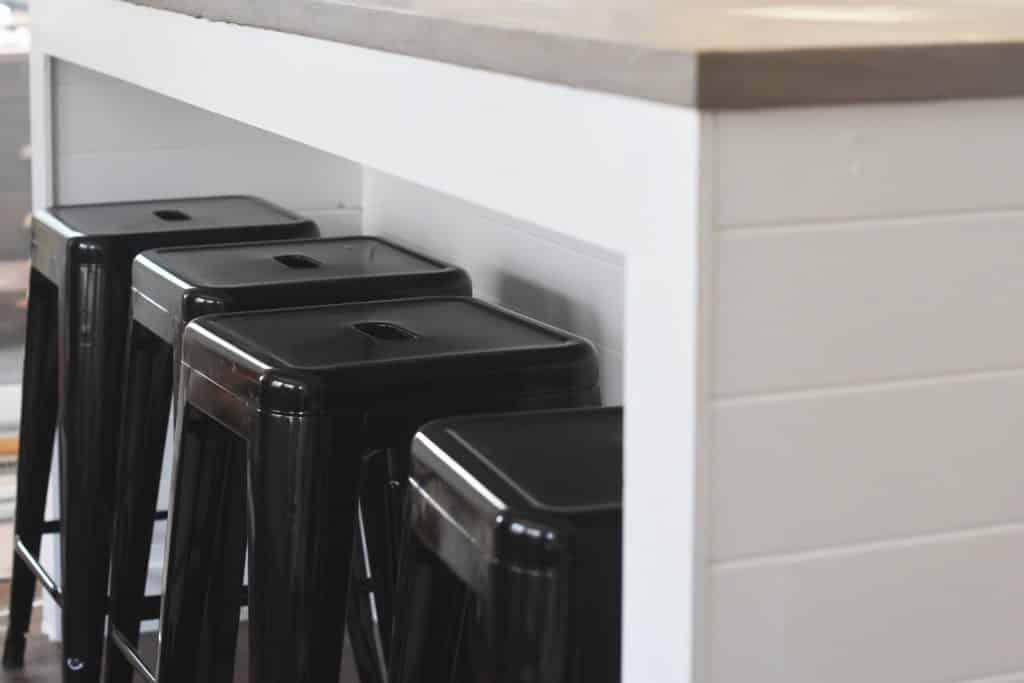
Almost immediately after moving in I had put a table in the spot I wanted an island. After moving the fridge and opening up the wall a bit, it was even more obvious that an island would be perfect. You can see in the above photo that we put in our “dry run” island to test out the size and placement before we built it. She is a beauty with an easy DIY cement counter top (yeppers, I’ll have a tutorial on that soon!)!

- Added car siding to three walls.
You can see it in the below picture (it is the same that we used in the dining room). I love this stuff for adding immediate texture and interest to the walls. It is also super handy to cover nicks and messes on the wall without having to repair walls. - Painted out existing cabinets and installed new.
We were able to salvage a majority of the cabinet boxes with the exception of a couple.
I decided to paint the uppers the same color white as the walls and trim and then change it up and paint the lowers a forest green.
- Update the hardware.
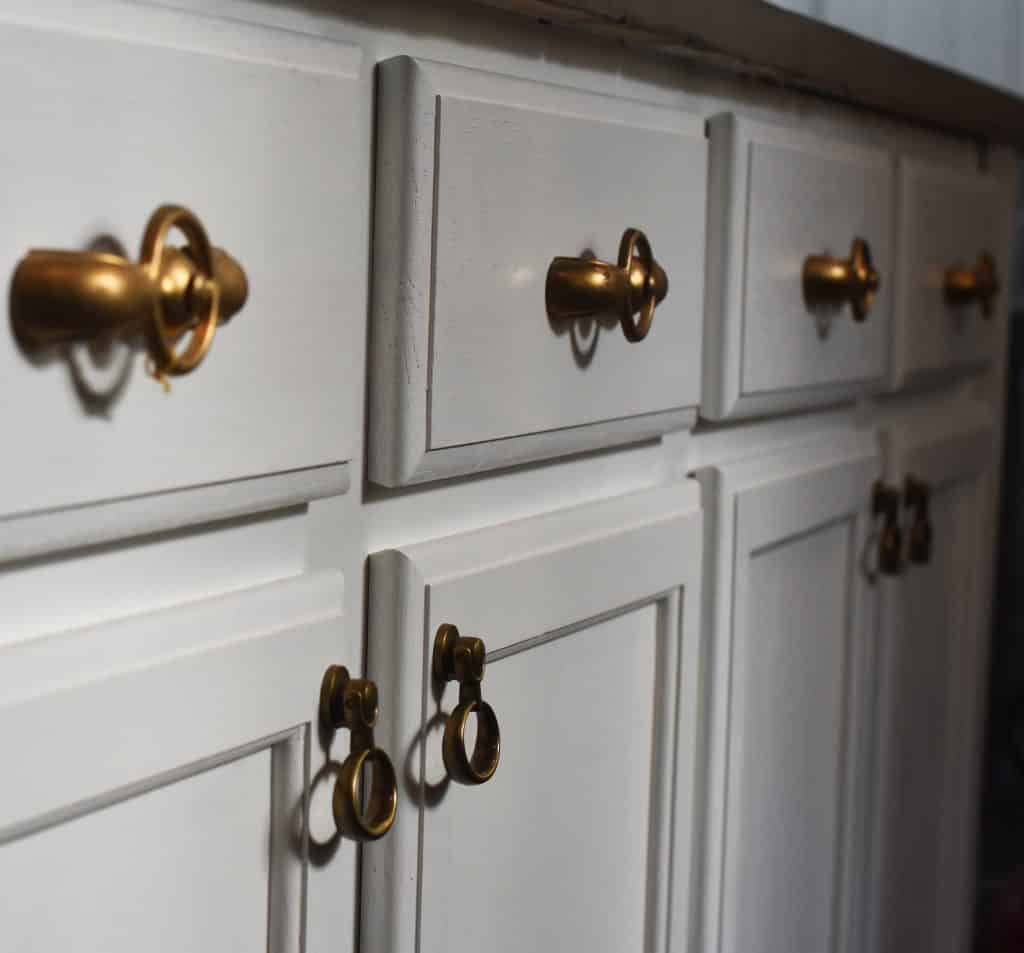
I came across vintage brass hardware at a local antique store and fell in love with them. In fact, the hardware has been a central piece of the finish choices we have made. The dark green on the lowers was chosen with this hardware in mind. And the brass hardware and the white paint looks soooo elegant!

- Top with butcher block counter tops.
The icing on the cake was this weekend when we finished up installing our butcher block counter tops. And, OMG…they are amazing! I knew I loved butcher block but am ecstatic on how absolutely charming they look in our kitchen.Did I mention we did them ourselves? Totally did. And it was so much easier than you are thinking. Trust me!The full tutorial is over on the Home Depot Blog (<—- eeek, Nate is super stoked about being over there! What guy wouldn’t want to have their project FEATURED BY HOME DEPOT. You will totally see him and his MN beard over there)
- New sink and faucet.
That sink! It is my hopes and dreams. I totally cried when it was installed. I know, pathetic and loser-y and all the words. Nevertheless, it’s true. I love it. Oh wait? You want to see? It’s over on the Home Depot Blog too. (I KNOW, and you can leave a comment and whine at me about click bait or some such thing. But really, I truly want you to go over and check out that tutorial. I am soooo proud of it. And Nate needs all the comments on his beard he can get.)And…the after (more pics are on the Home Depot Blog 😊):

There is still plenty to do, mainly the floor (that is vinyl to look like wood) and ceiling. Right now, thought, we are enjoying what we have accomplished. In fact, the first morning after we were done I woke up before my alarm clock to get downstairs and bake a batch of scones. Whoa!









I love it too! It’s a Kohler white porcelain that I ordered from Lowes. I will absolutely get it again!
Where did you order your sink from?! I love it!
This is Cushing Green by Benjamin Moore and is a deep forest green color. It changes a bit in different lights. I love it and have used it in other parts of our home.
Love it! I am considering painting our lower cabinets a similar green color. Do you know the name of this one and where it’s from?
We do all the work ourselves :).
I Absolutely love it!!!!
Absolutely gorgeous! Do you & your husband hire out?