
If you have ever had to make a cake for a little girl on her birthday AND if you made the mistake of asking what she wanted, you probably got this answer… “a Princess Birthday Cake”.
And then you proceeded to try to figure out what the heck a Princess Cake means.
We think it means a combo of these ingredients…sugar, pin, purple, sugar, sprinkles, pink, purple, and more sugar.
Probably exactly.

This cake is NOT the cake to make the adults happy.
No.
Zero of the parents that bring home their little children from the birthday party after eating this cake will be impressed.
In fact, they will be less than impressed by the sugar content :).
But guaranteed…they will be making a Princess Cake for THEIR little girl at their next birthday.
Because, that is just how this little girl thing rolls.

Keep it easy on yourself and use boxed cake mixes and food coloring to get the desired “Princess colors” for this cake.
You are already pulling the Super Hero Mom act just by MAKING this cake. No need to over-do it.
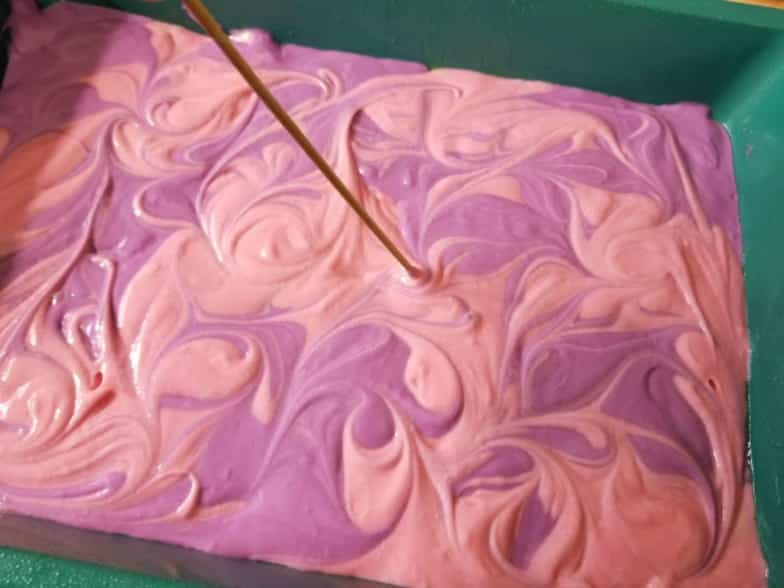
Use the How to Marble a cake method to achieve those desired swirls.
Tip: Don’t over do it or you’ll get a muddy looking cake instead of seeing distinct swirls!
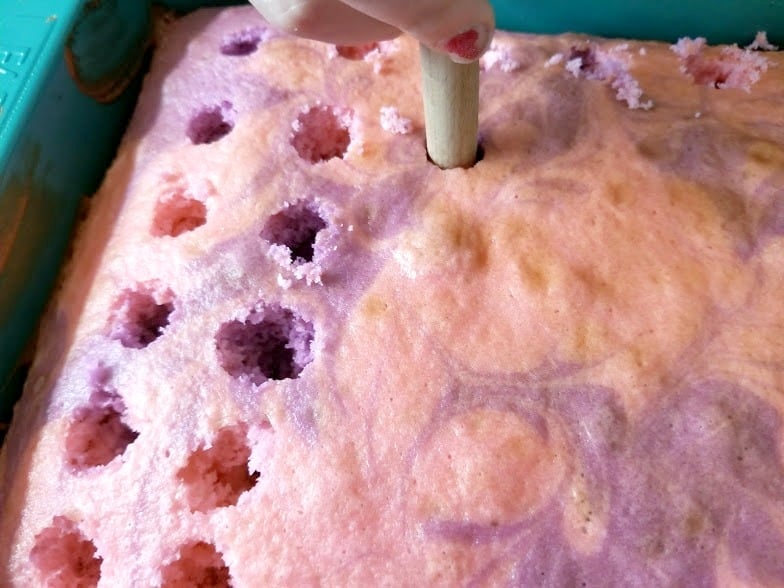
After your cake is baked, and cooled a bit, use the handle of a wooden spoon to poke into your cake.
Pour your instant pudding over the top of the cake and let it seep into the holes.

Frankly, adding the pink and purple candy melt might be just too much. But I’m already this far into this that we might as well complete the Princess Birthday Cake fantasy.
And those little children are heading home later, anyways.
Note to self…do NOT serve this cake the first day of a sleepover party.


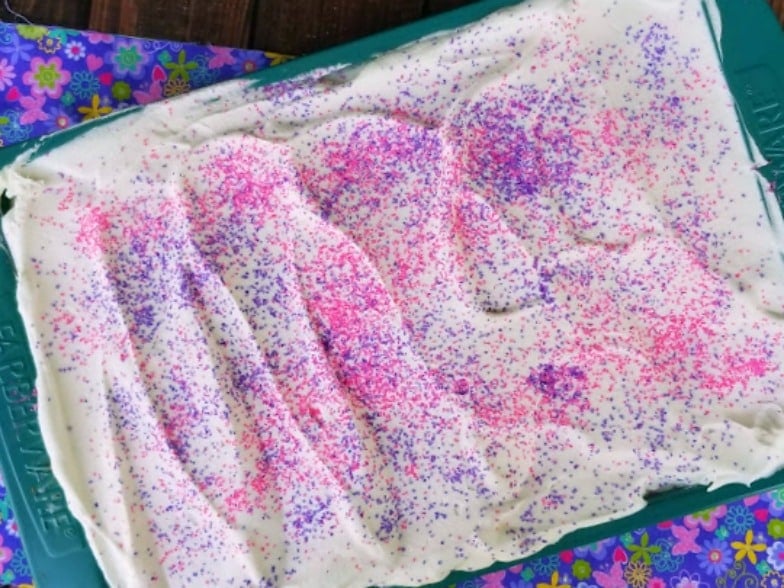
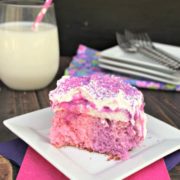
Top the whole thing with whipped cream and, of course, sprinkles in pink and purple.
That, my friends, it what your little girl is asking for when she asks for a Princess Birthday Cake.
I call it a swirl poke cake and totally use the same method with a few other flavor combos. Decidedly less sugar and pink and purple varieties.

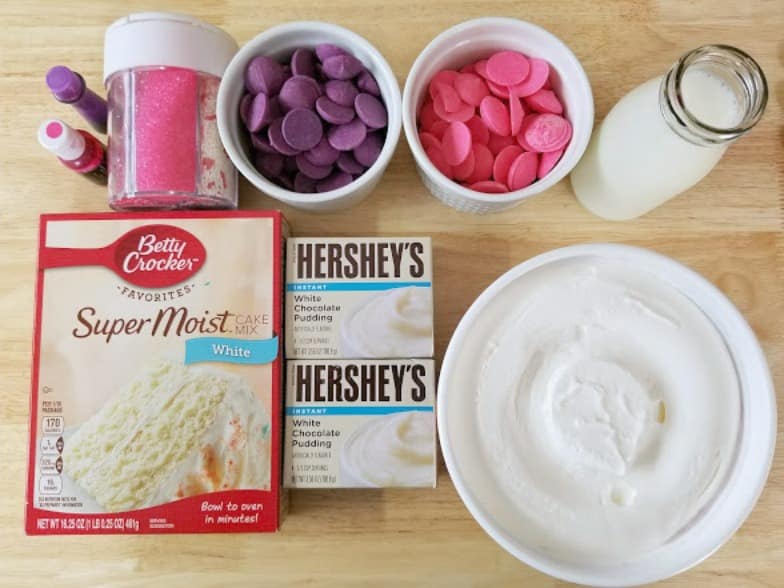
Ingredients
Method
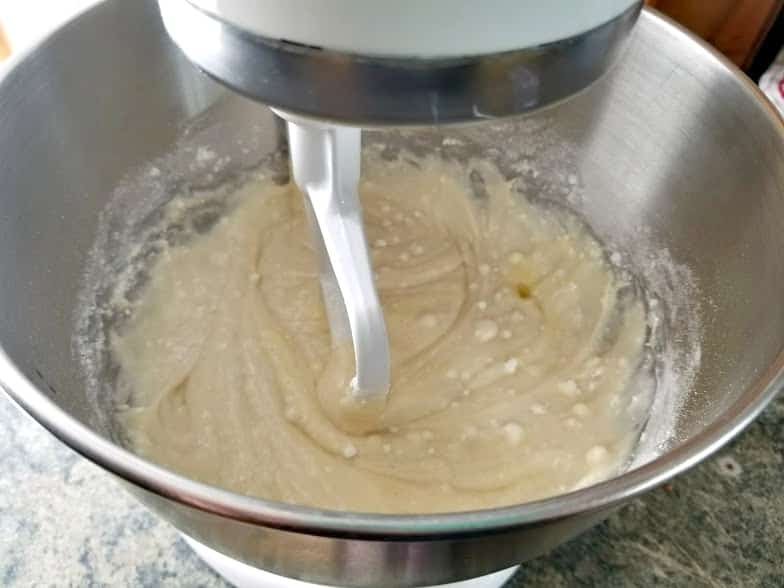
- In a medium mixing bowl or stand mixer, prepare white cake mix according to package directions.
- Separate mixture evenly into two bowls.
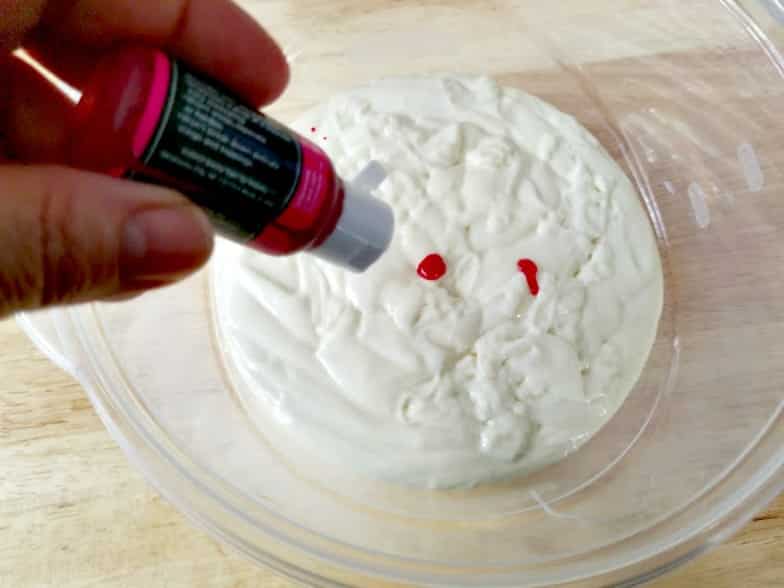
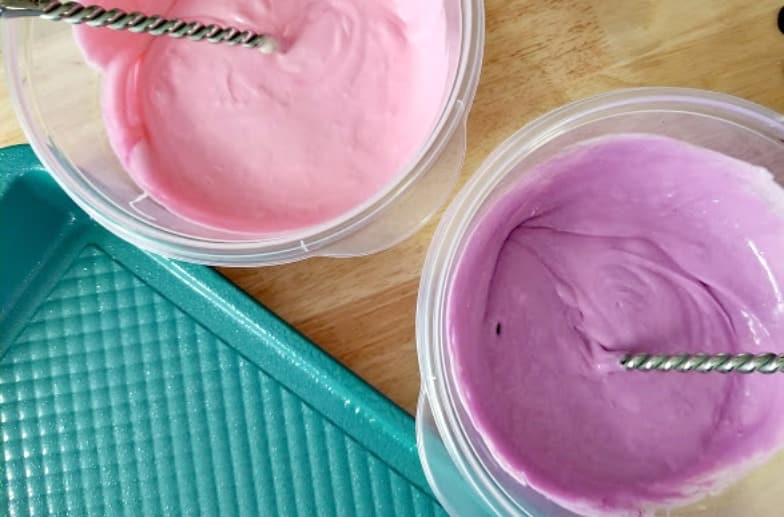
- Add a bit of purple food coloring to one bowl until you get the color you would like. Repeat with the pink coloring.
- Mix coloring thoroughly until well blended and smooth
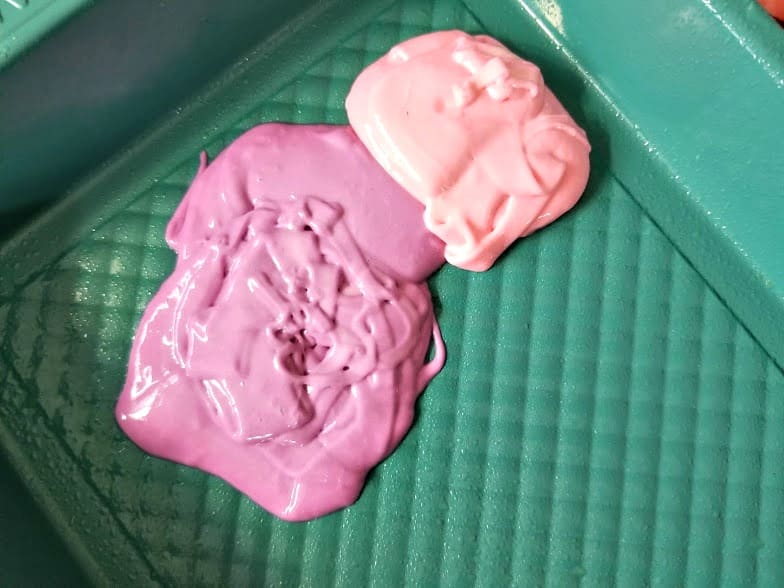
- Spray 9x13 baking dish. Spoon your colored cake mix in random “plops” into the pan.
- Using wooden toothpick or skewer, make swirl patterns into the mixture. Do not be tempted to "overswirl" or your cake won't show its pattern well.
- Bake according to package directions and allow to cool completely.
- Poke holes into the cooled cake with the round end of a wooden spoon.
- Prepare both boxes of pudding according to package directions. Pour the pudding over the cake. It will fill the holes you poked and form a thin layer on top of the cake.
- Add candy melts to two separate bowls. Add 1 tablespoon of vegetable oil or heavy whipping cream to each bowl. Melt in 30 second intervals in microwave until completely melted and mix until smooth. Drizzle the melted candy over the top of the cake in whatever pattern you like. Let cool.
- Evenly spread the whipped topping to the top of the cake
- If desired, sprinkle the colored sugar or sprinkles over the top of the cake.
- Refrigerate until set, about 60 minutes.