Simple. Easy. Recycled. Best three words you can hear about a project, wouldn’t you agree?? Yes, these t-shirt drink coasters deserve all 3 adjectives. Simple. Just 3 steps and no crafting “techniques” that might be hard to understand. Easy. Cut, braid, twirl. Seriously, that’s all. Recycled. Use up those old t-shirts that not even the thrift store wants!
The best part is that you will end up with cute and adorable coasters that you actually WANT to have in your home. Have your kids whip up a few for Grandma on Mother’s Day or for the family room table that always has glasses set on it.

Materials Needed for the t-shirt drink coasters:
- old t-shirts
- tape
- superglue
Step 1.
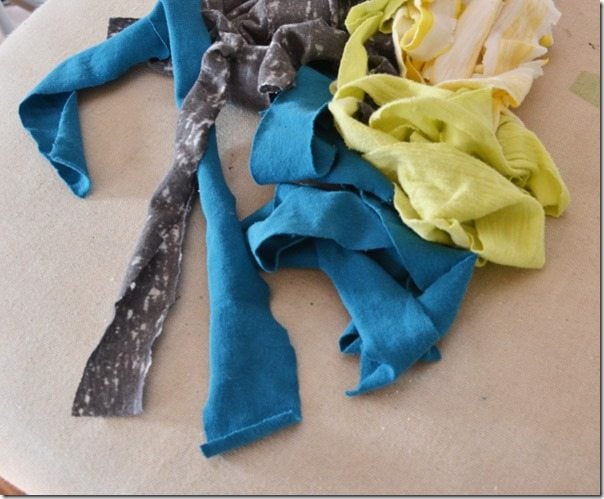
Cut your t-shirts into strips. You’ll have the best coasters if you only use the seamless parts of the shirt, so discard the sleeves and hems. Your t-shirt strips can be a wide range of widths, but ours were about an inch wide. The wider you cut them, the chunkier your coasters will be. But the more narrow you cut them the longer it will take to braid and finish them.
Step 2.
Braid the strips of t-shirts. Knot them on each end. We knotted the top and then taped the top down with duct tape as we finished our braiding. You will want to add a knot on your strips as close to the edge as you can, so you don’t have a ton of excess.
Step 3.
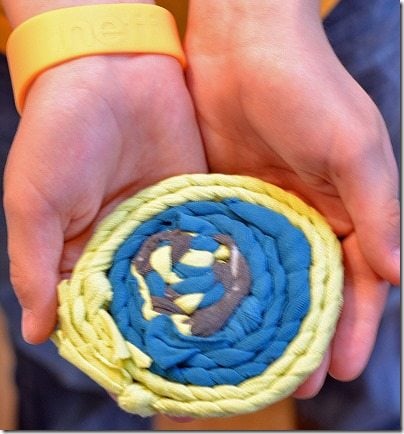
Roll up the braided t-shirt strips, adding a drop of superglue occasionally as you go. When we say occasionally, we mean about every inch or two of braiding. You’ll want to use more superglue in the very beginning and the very end, just to make sure the coaster doesn’t start to unravel.
(Levi wanted to show off his coaster.)
These really are that simple. Why make it more complicated then it has to be? These would be adorable packaged up cute for Mom or Grandma for Mother’s Day!
Note: to make these even sturdier a piece of felt on the bottom might be a great idea!






Such a great idea! Thanks for sharing.