Making your own air dry clay for Christmas ornaments and other crafts takes hardly any time and effort. Don’t buy it in the the tub, make it yourself with only 3 easy ingredients in this easy air dry clay recipe!

Try homemade play dough! I have the BEST Homemade Play dough Recipe for you to try. I know you’ll love it.
I’ve been using this Crayola Air-Dry clay for years and often have a tub laying around ready for crafting. A GREAT option if you would rather not DIY your own.
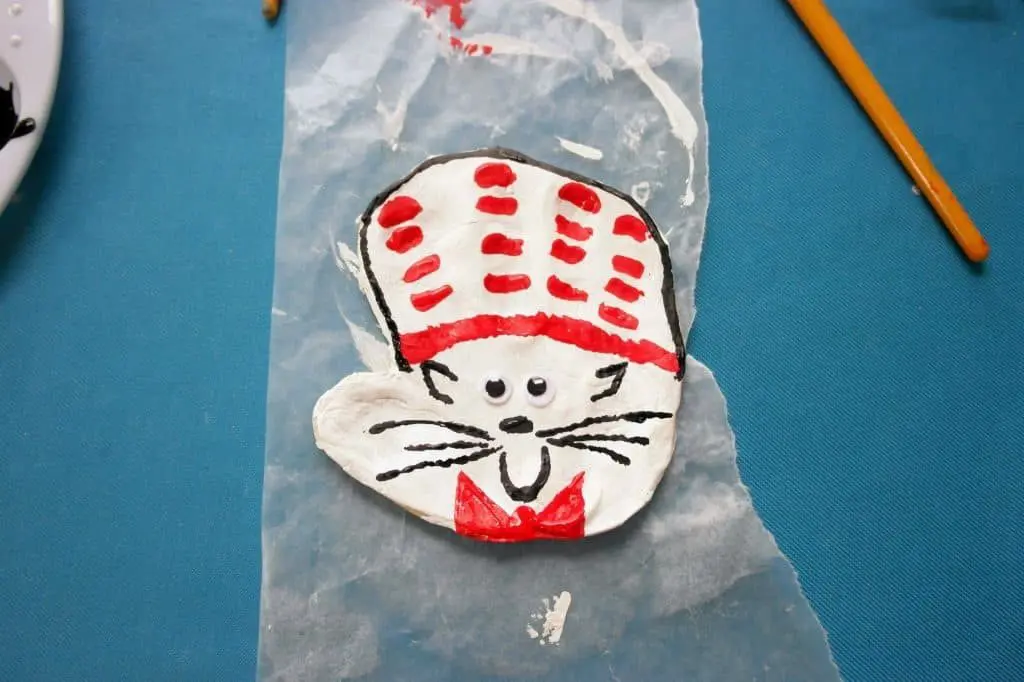
Many of us as children have used air dry clay to make handprint crafts for school projects or Mother’s Day projects. But as adults? Sadly, most haven’t looked at clay since their childhood.
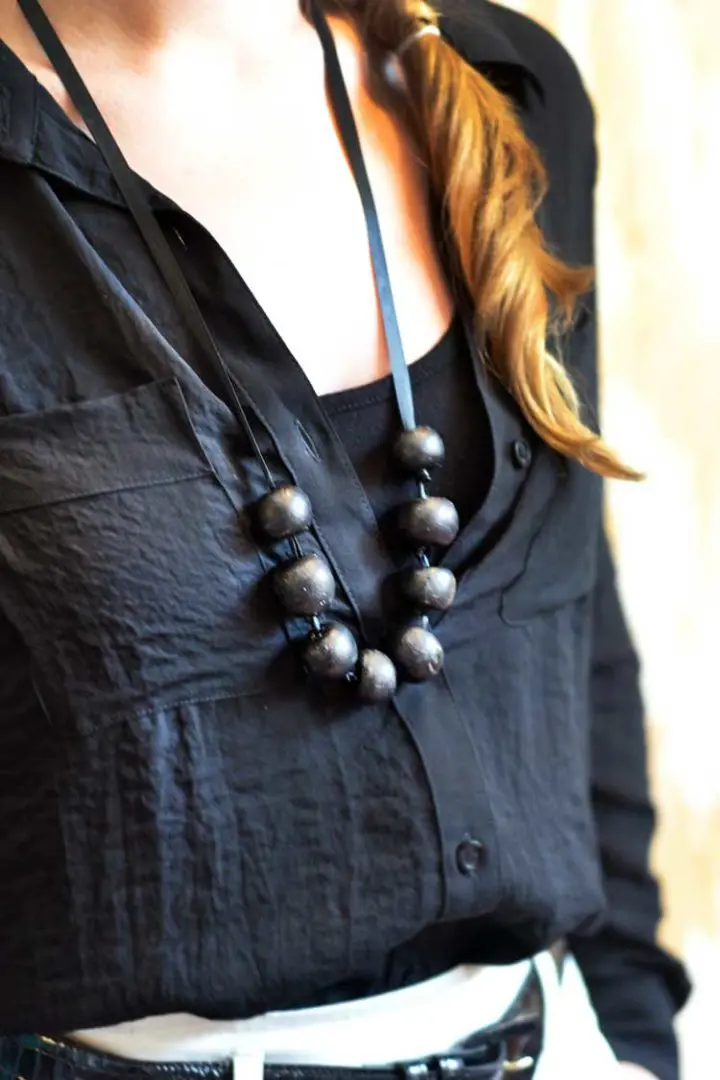
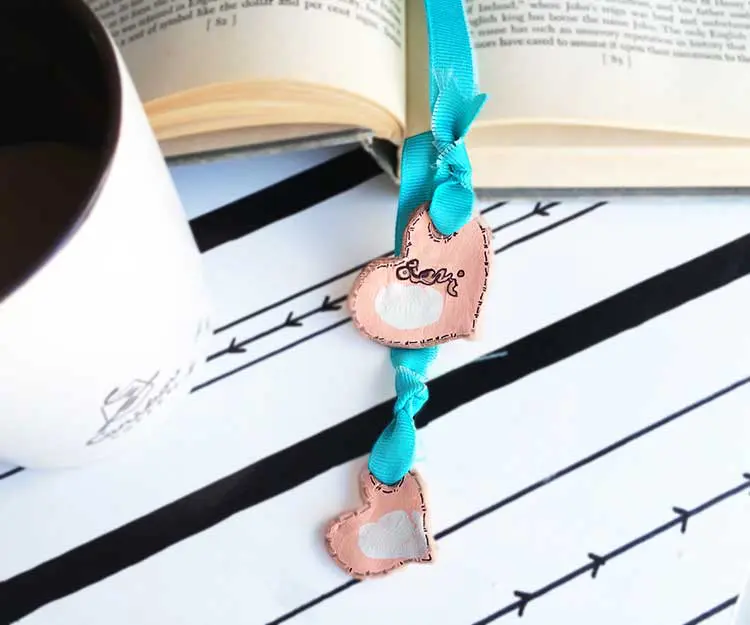
Gosh, though! It is so useful for making beautiful ornaments, bookmarks, beads, and household crafts. Rethink clay, will you? Especially if you aren’t a crafty person, you’ll love how easy it is to make and use! And the best part, homemade clay doesn’t cost very much to make. You don’t have to feel bad about tossing it in the trash, if needed!
Main Ingredients for Air Dry Clay Recipe:
- Baking Soda Baking Soda is the star of homemade clay. Using baking soda clay rather than salt dough gives you a pretty opaque finish and less cracking in the end result.
- Cornstarch Be sure to knead your dough thoroughly to keep the cornstarch from clumping and leaving little beads in your dough!
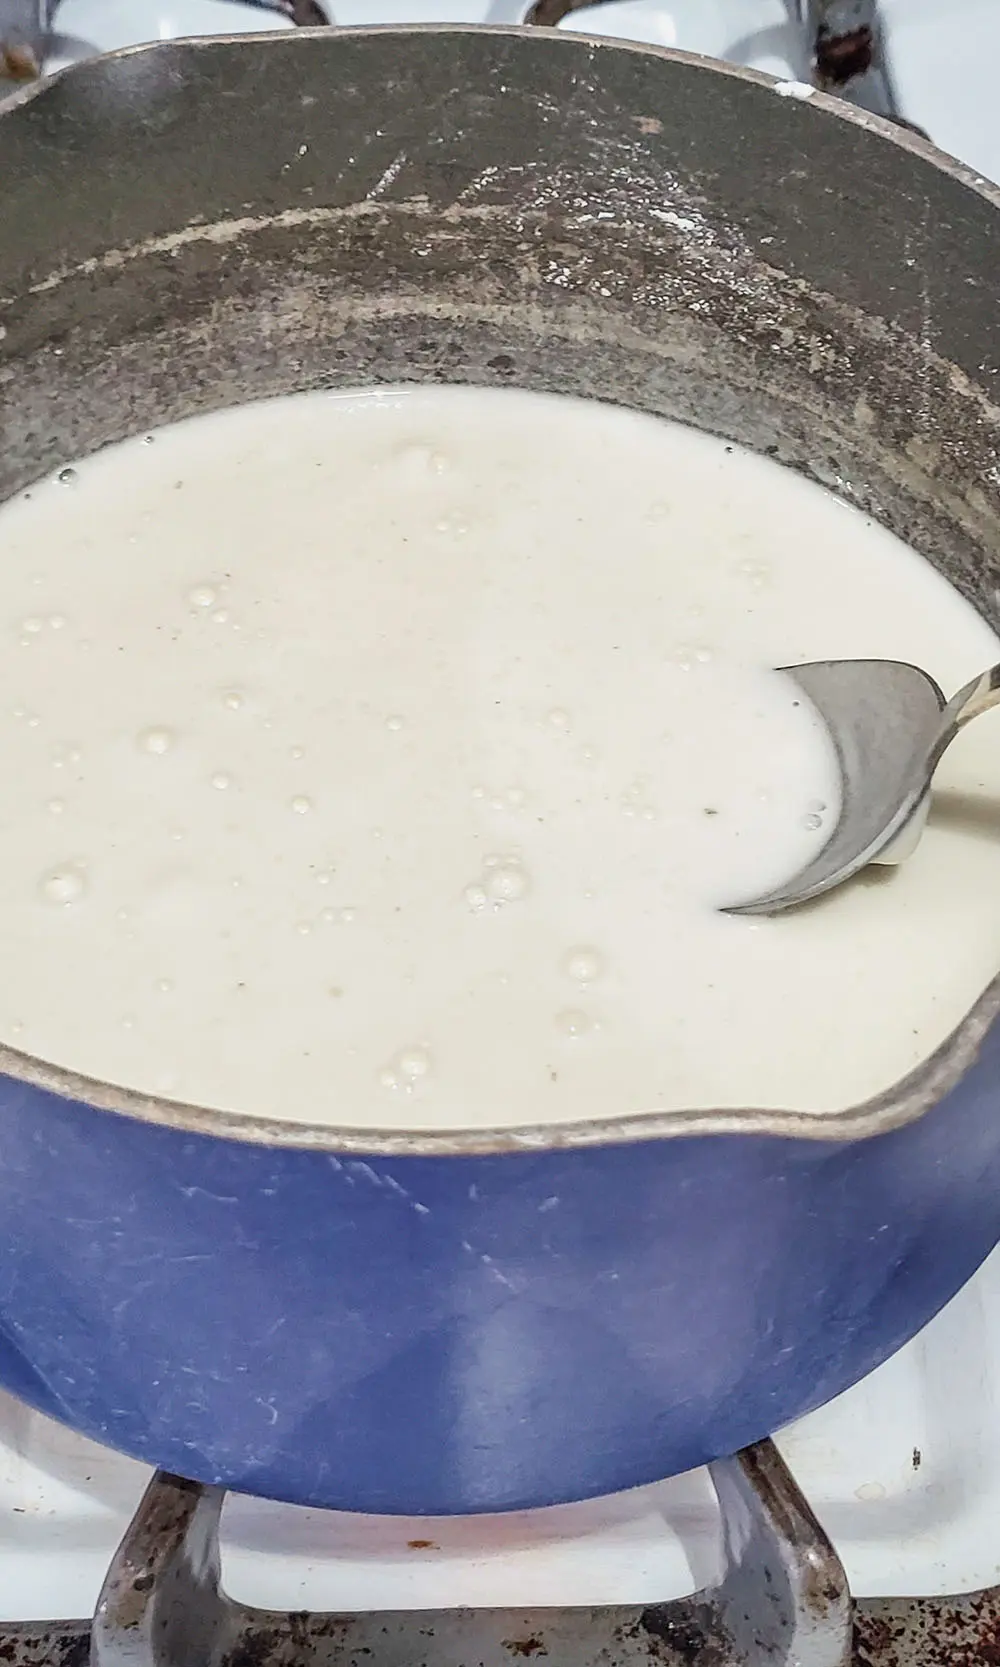
- Water The beautiful part of this recipe is that if you find your dough too thin and runny you can simply cook it a bit longer to allow that water to evaporate. It is so easy!
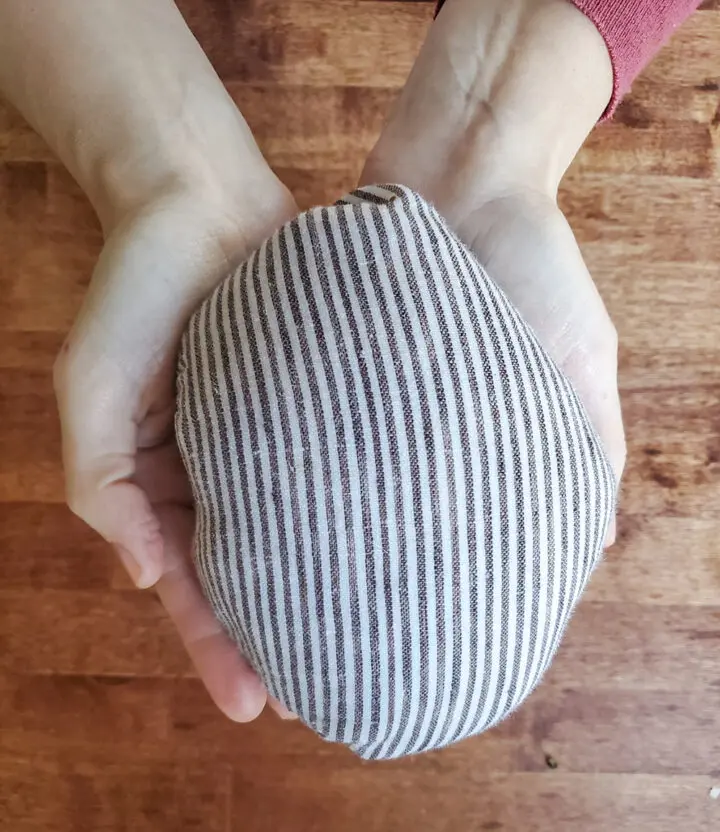
Keep your clay out of the air as much as possible!
With a name like Air Dry Clay you can imagine what air does to the clay, right. Dries it out! And it happens quite quickly.
Work the clay in small batches and keep the clay that isn’t being used in a damp towel, tightly wrapped in plastic wrap, or otherwise stored airtight.
Don’t overcook your recipe.
As soon as the clay takes the texture of mashed potatoes and the liquid is gone…pull it off the heat. Keep stirring it while it cools down a bit. Overcooking it will make that clay a bit more fragile and hard to work with.
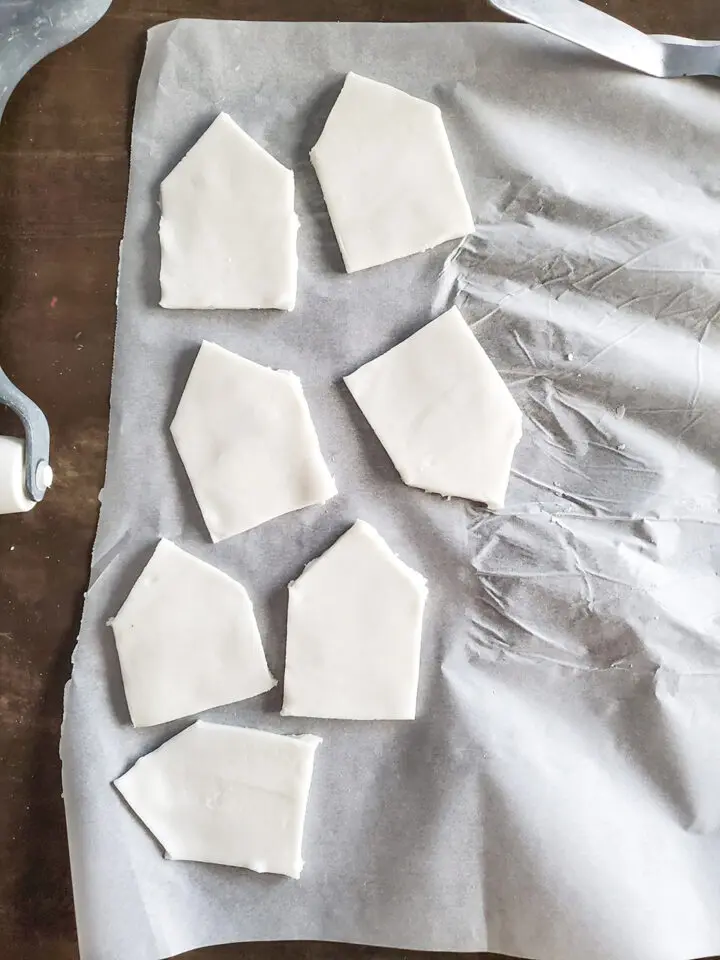
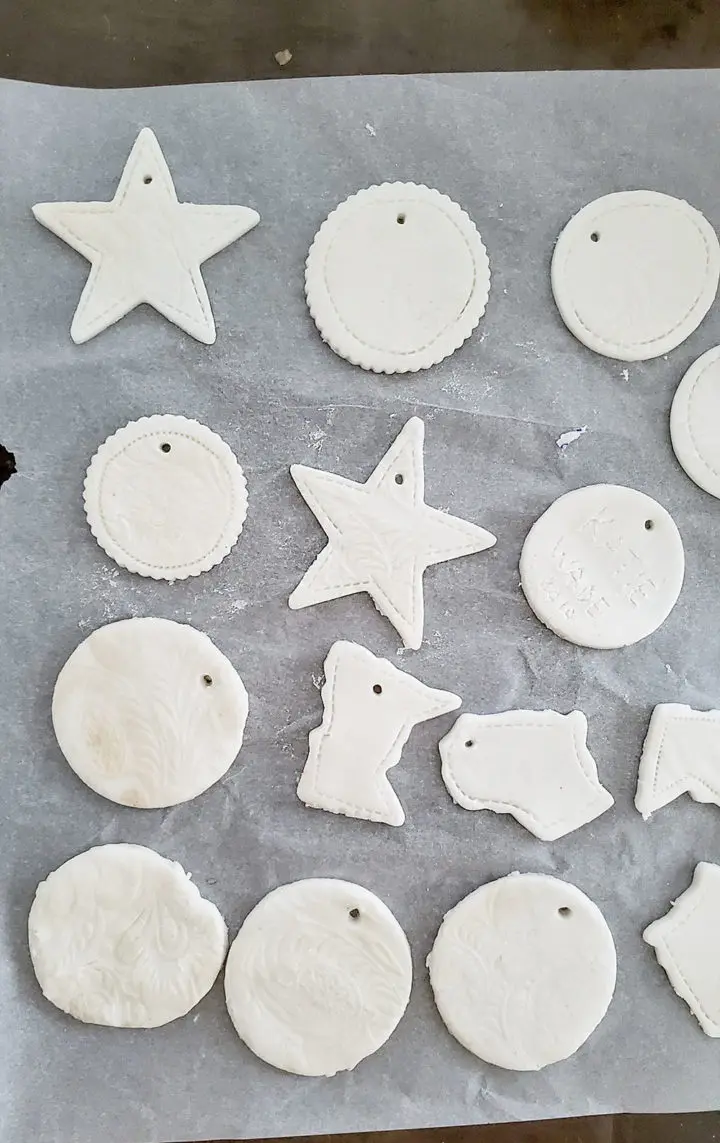
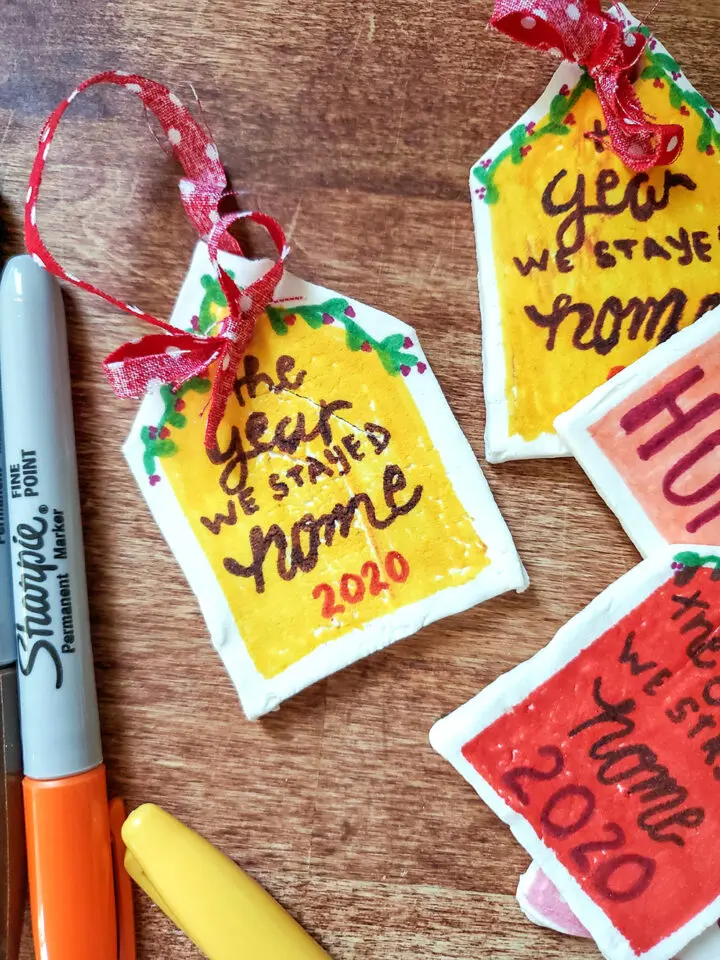
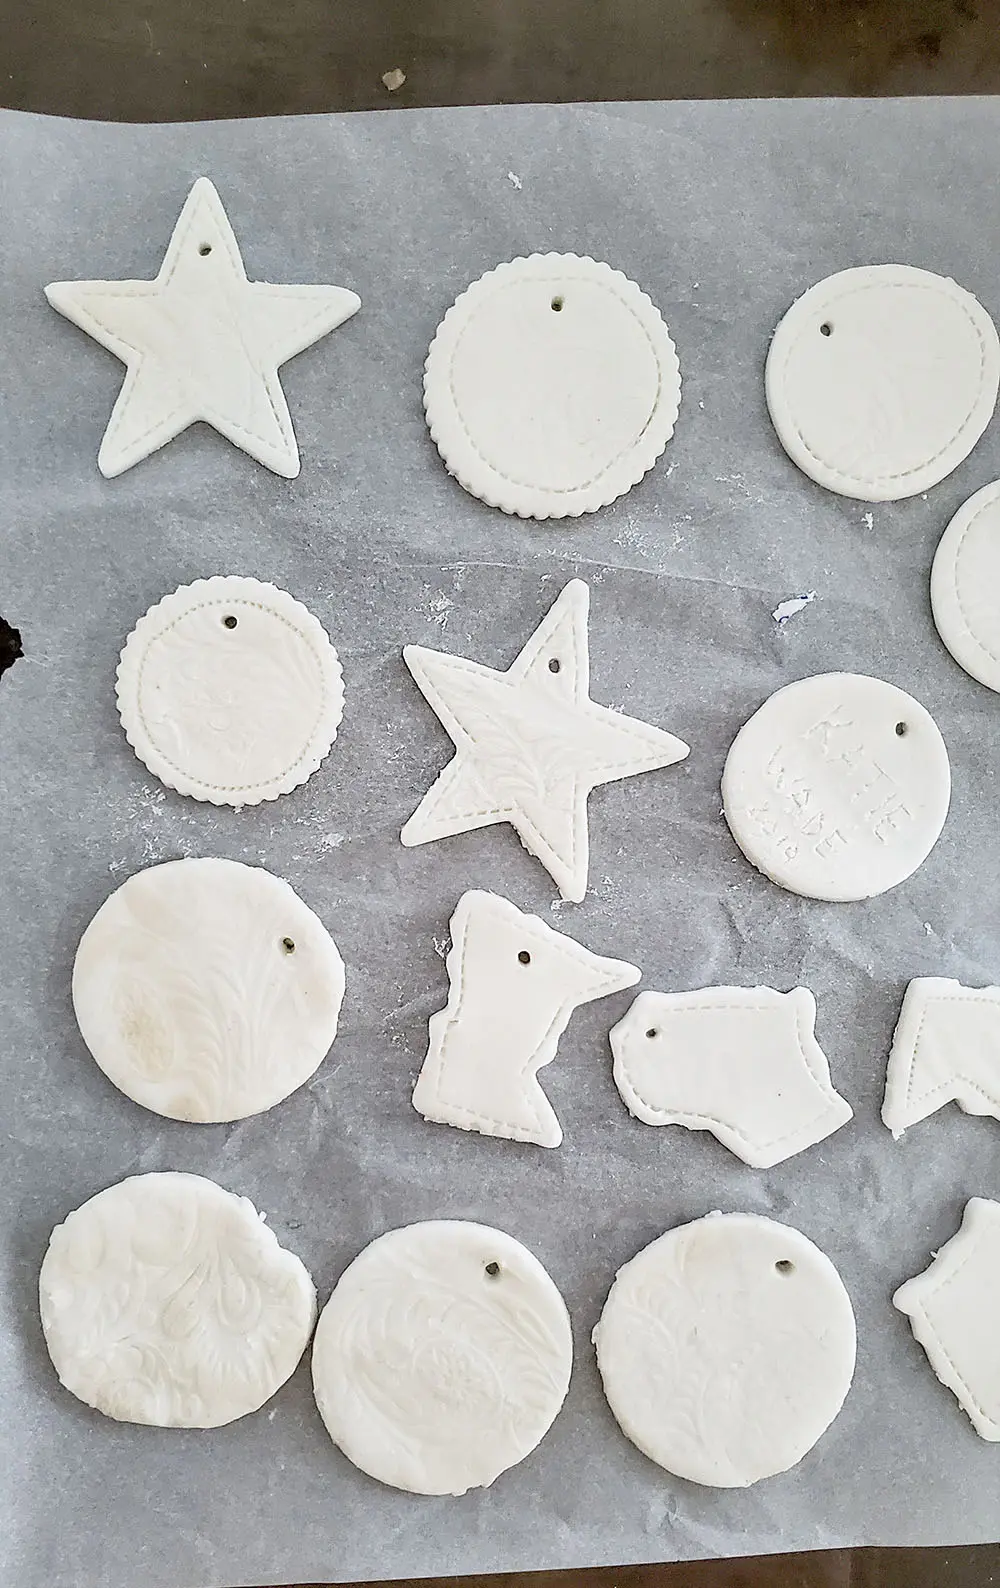
Use your clay much like sugar cookie dough for ornaments.
Roll out your clay to the same thickness as you would for sugar cookies (about 1/3 inch), cut them with the same cutters, dust the cutters with flour if needed, and then set them aside to dry. If you have ever made cut out sugar cookies…you can make clay ornaments with no problem!
Repair any tears or cracks with a damp finger.
Similar to sugar cookie dough, a quick wipe with a damp finger will heal up any tears or cracks in the dough.
For thicker objects like bowls, add several more days of drying time before painting or using the object.
Similar to baking in which the thicker the cookie or cake the longer it takes to bake, the thicker the clay the longer it needs to dry.
Fair warning: thicker creations can crack during the drying process. I don’t recommend making anything thicker than 1/2 inch, if at all possible. But hey, maybe you will find a technique that works!
Give your clay creations several days to dry completely before painting.
For ornaments that are the same thickness of sugar cookies, about 2 days of drying time should be what you aim for. Let them dry a day, flip them over, and dry another day.
Anything thicker than 1/3 of an inch should have a day added on to the drying time for every 1/2 inch of thickness, or so. Remember to flip it every so often!

SAMSUNG CSC
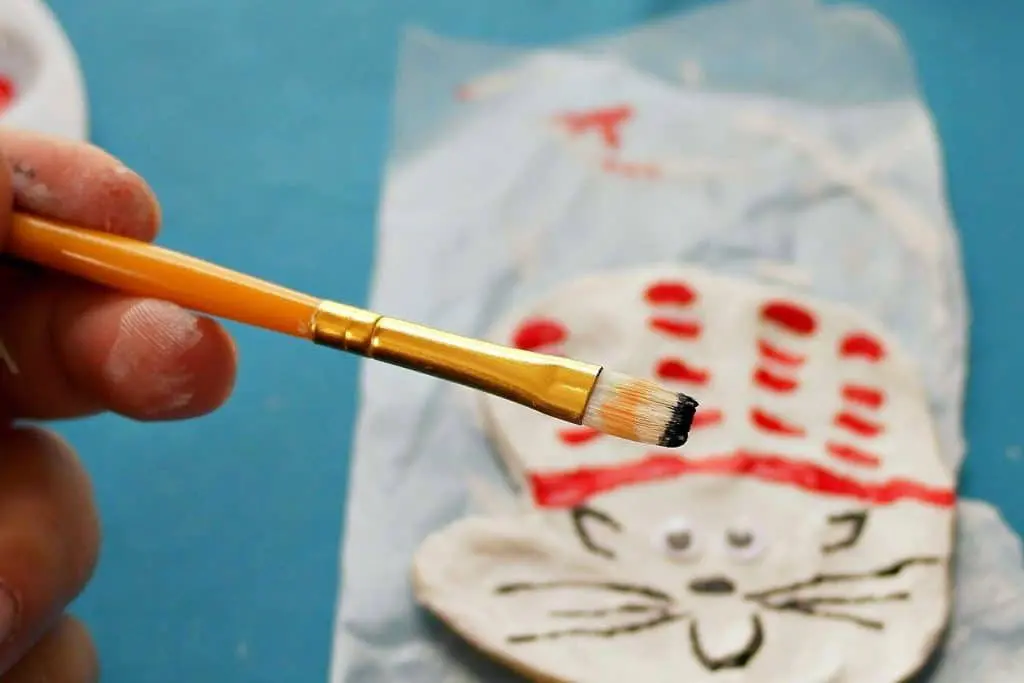
What should I paint the clay with?
Whatever you like! I used acrylic paint for some of mine and colored Sharpies (I swear by these gorgeous colored Sharpies for most of my crafting) for others. Use whatever you have on hand, is inexpensive to get, and you feel comfy with. In honesty, the white is gorgeous as well!
Use parchment paper.
Like sugar cookie dough, when you roll the clay between parchment paper layers you will find it much easier, it rolls cleaner, and it doesn’t stick as much.
Can I dye my clay different colors?
Of course! I recommend that you add the dye into the cooking process, if you are using one color. If you want to use multiple colors you will need to separate your clay and knead the coloring in with your hands. Sorry, it will be messy! I prefer to use gel food coloring for both clay AND food ;). THIS SET has vibrant colors and is easy to use.
DIY Air Dry Clay Recipe
Ingredients
- 2 cups baking soda
- 1 cup cornstarch
- 1.25 cup water
Instructions
- In a medium saucepan on medium heat, add all of the ingredients.
- Bring to a boil stirring constantly.
- Turn the heat down to low and boil gently, stirring constantly, until the liquid is gone and the consistency is like mashed potatoes.
- Remove from heat and continue stirring while it cools down a couple of minutes.
- As soon as you can handle it, plop it into a damp towel and shape it into a ball.
- Wrap the ball in the damp towel to cool.
- When you can handle the clay, knead it several times until smooth. Let cool in the damp towel or use it immediately.
- Wrap it and store it when cooled if not using it right away.
Had so much fun with this recipe. Made great ornaments for the christmas tree. Defiantly make sure to only take out what you are going to use right away because it drys out fast.