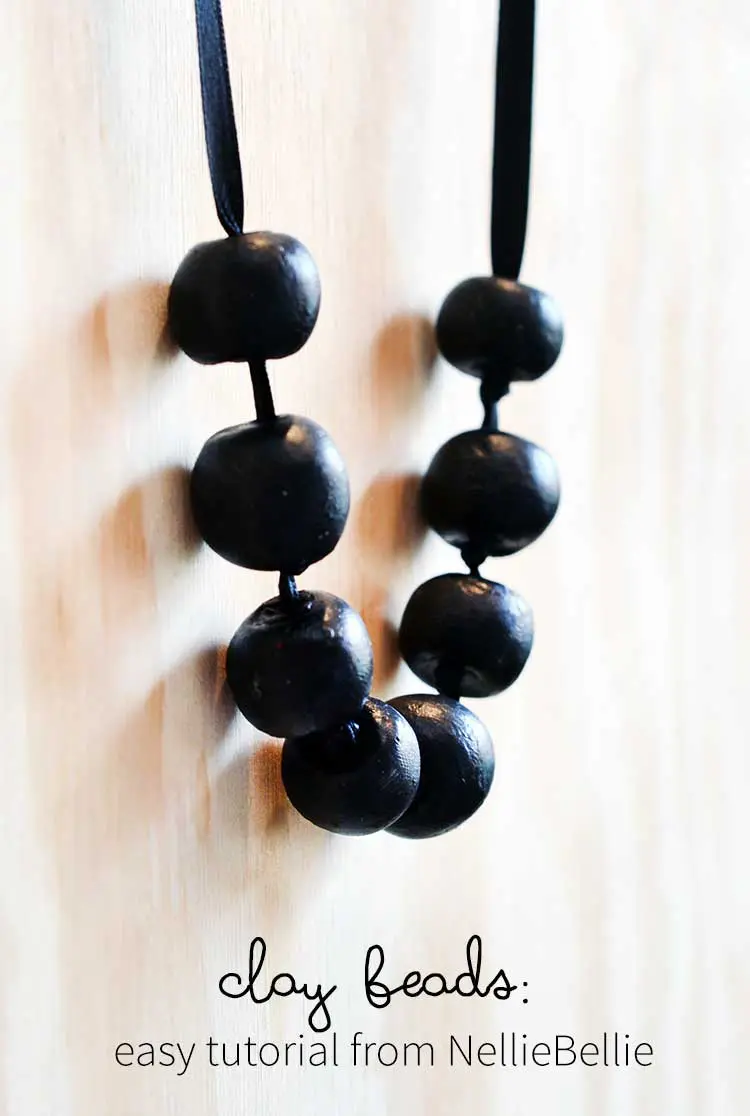
Homemade beads are so much easier than you might think! Use a homemade clay recipe or simply purchase ready made clay! A little ball forming, poking holes, and drying and you will have homemade clay beads to make into your favorite necklace!

Really, they ARE easy. And they are one of those old-school “crafts” that are great to know! And teach your kids. And have a “bead” party. Maybe you need an idea for a fun activity for a Sunday School class or 4-H activity? This is one to think about.
Let me show you how easy…
Supplies for clay beads:
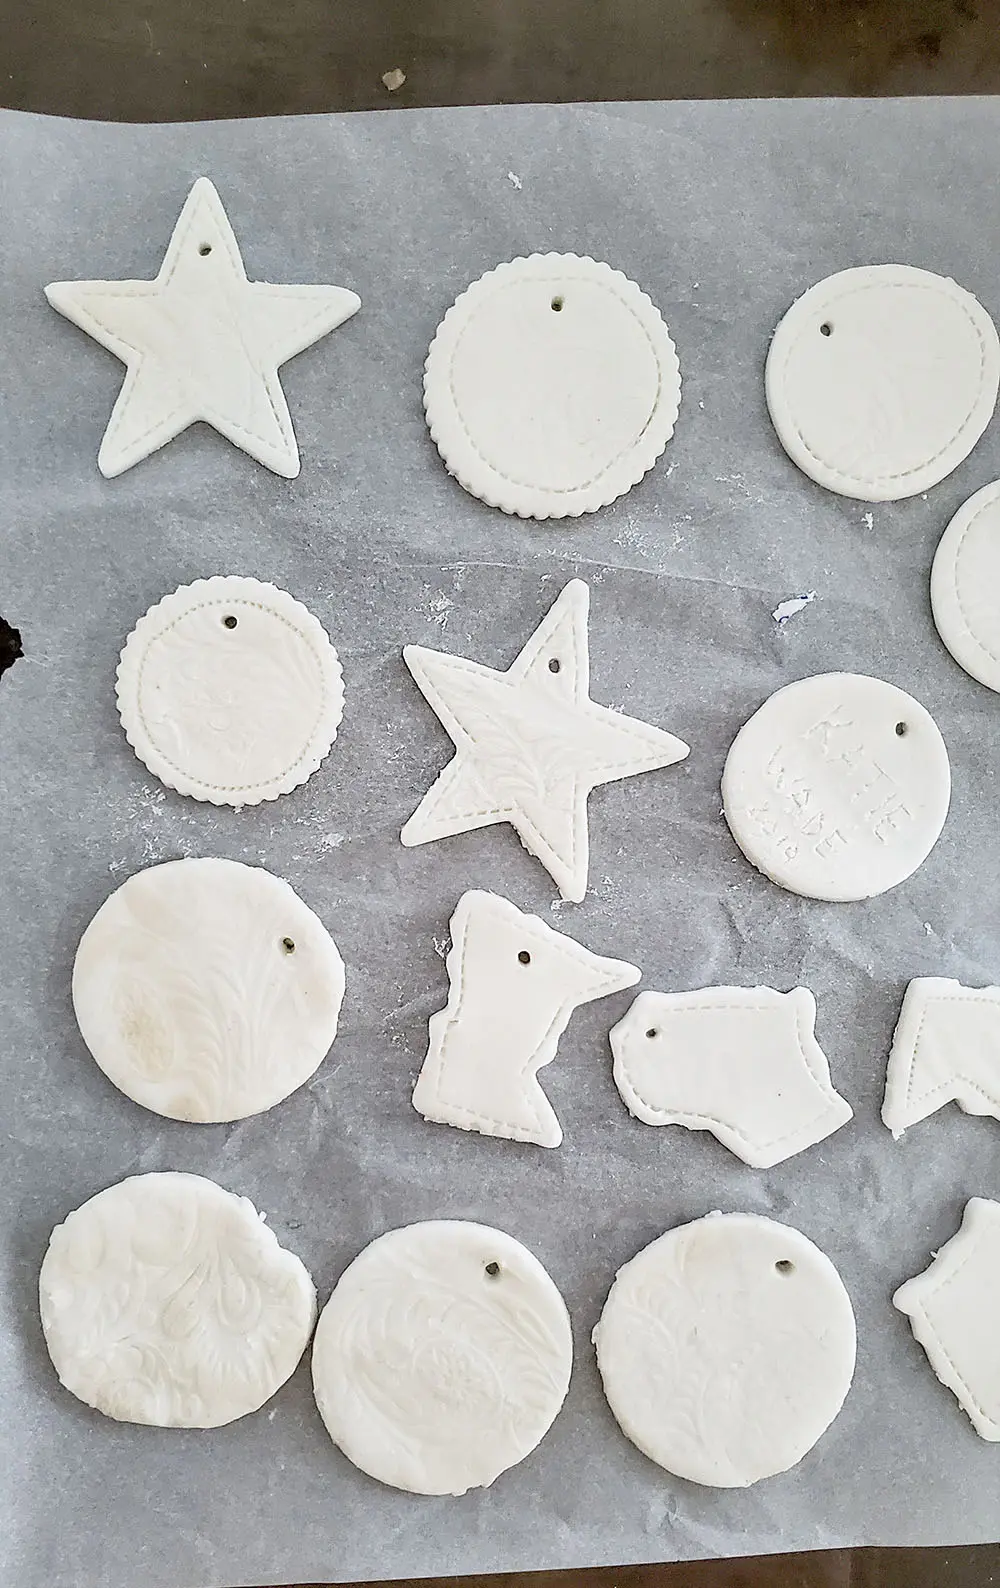
- clay-recipe below (if you don’t want to make your own try Sculpey, which you can find EVERYWHERE…even Walmart & Target). Use white if you want to paint your beads. Or you can start out with different colors, if you like.
- a screw, pencil, chopstick, etc…
- oven (not needed if using the homemade clay recipe below)
- paint and brush(if desired)
To Do:
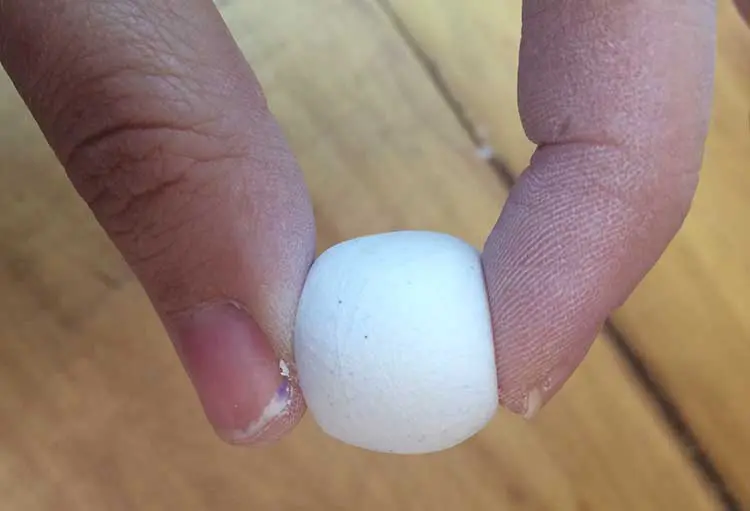
1. Take about a gumball size of clay and squish and squeeze and pull for a minute or so…until it’s soft and bendy. (how do you like my very scientific explanation right there. Right!!). You want it to be able to form nicely.
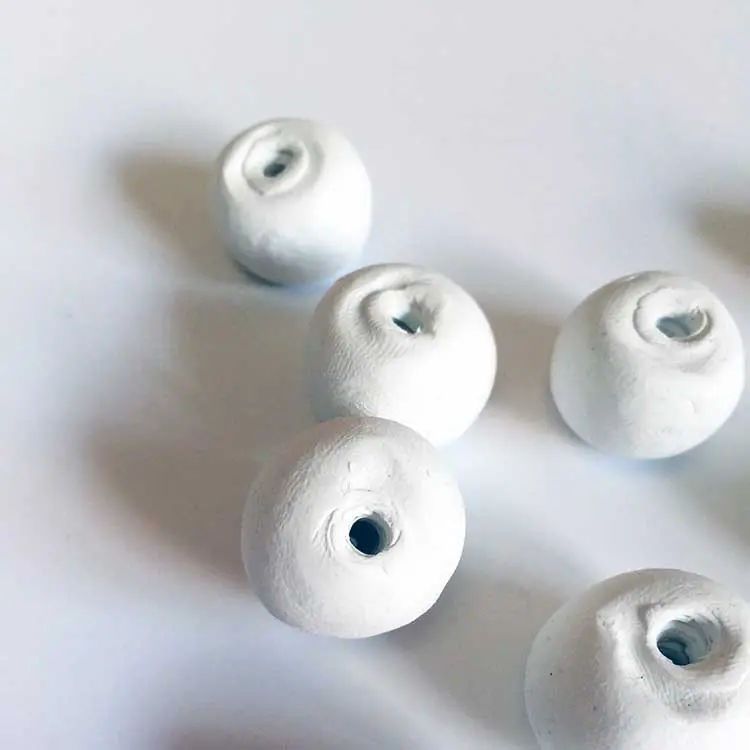
2. Roll your clay into a ball and press your fingers into either side to make soft indentations.
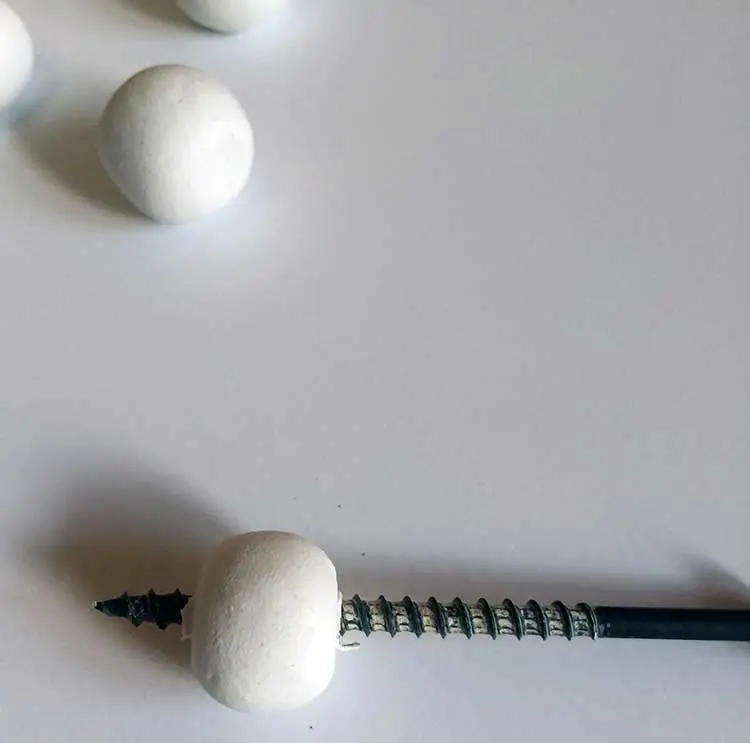
3. Use your screwdriver, pencil, etc. to create a hole in the center.
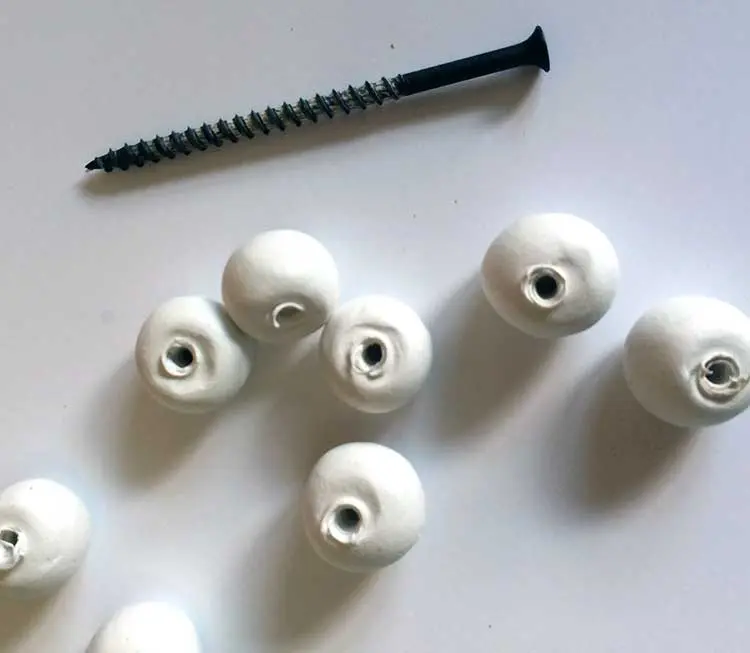
4. You’ll have a little bit of a messy edge to those openings. Just smooth them over with your fingers, gently. It’ll be good.
Hooray you…you learned how to make clay beads!! Now bake those babies in the oven (read the directions that came with your clay if you aren’t using the homemade recipe. It’s easy…promise. Usually on a 275 degree oven for 30 minutes), or let them sit out to dry and string them up on ribbon. Or, be fancy pants and paint them.
Tip: if it’s difficult to put ribbon or yarn through the bead opening use a paper clip (unbent) to push it through.
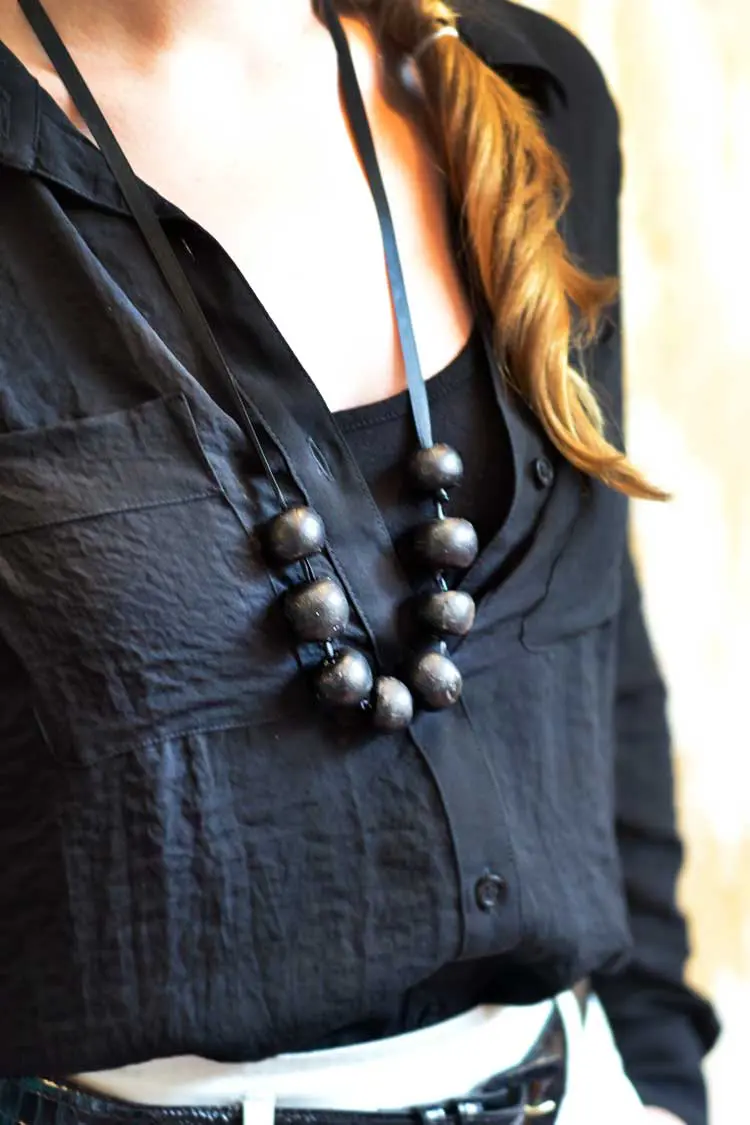
Update: 3 years later and I still have this necklace and wear it quite regularly. It has held up well and is a great conversational piece!
DIY Air Dry Clay Recipe
Ingredients
- 2 cups baking soda
- 1 cup cornstarch
- 1.25 cup water
Instructions
- In a medium saucepan on medium heat, add all of the ingredients.
- Bring to a boil stirring constantly.
- Turn the heat down to low and boil gently, stirring constantly, until the liquid is gone and the consistency is like mashed potatoes.
- Remove from heat and continue stirring while it cools down a couple of minutes.
- As soon as you can handle it, plop it into a damp towel and shape it into a ball.
- Wrap the ball in the damp towel to cool.
- When you can handle the clay, knead it several times until smooth. Let cool in the damp towel or use it immediately.
- Wrap it and store it when cooled if not using it right away.
good point!! It can be annoying dragging the stuff out. We’ll have to show how we used to keep things quick and near before we had our studio. Yep, we are very lucky!!
I love the beautiful words EASY or FAST or GIFT. I think the worst part of a craft for me is dragging everything out. Now if I had a nifty office, with a beautiful view, and all my tools close at hand – that would be great. Not EVERYONE can be so fortunate. :-)