[hfcm id=”2″]
Can you just give me a hug, right about now? Because I am sooooo excited to have the kitchen island built and organized this New Year. This Do It Yourself Kitchen Island is a beast of a girl and took a lot of hard work, creativity, and patience. Yes, it was totally worth it!
This post has been sponsored by Rubbermaid. All thoughts and opinions are my own.
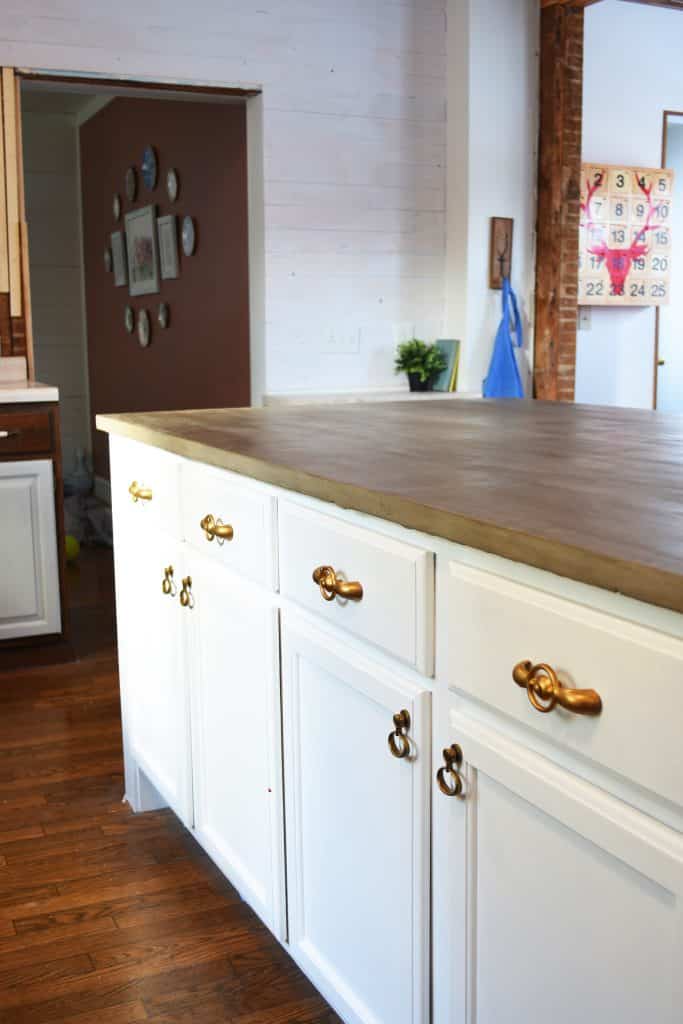
Look closely and you can see our kitchen is still in full remodel mode. Look even closer and you might see my duck cookie jar on the dining room floor. If you have lived through a kitchen remodel…you totally get it.
But hey…progress!! The kitchen island was a massive project and she is done done done!
It was a massive project because…
- She’s big!About 4 feet wide by 6 feet long. We wanted the kitchen island to be the heart of the kitchen and be able to easily seat 4 people and have room for working, as well.
- I wanted a cement countertop.I knew I would have to DIY this project to be able to afford it. I did a cement overlay on a simple wood top that fit the island instead of doing a form and creating a full cement top. This gave me the look I wanted at a better price. AND made it more manageable for me to DIY. We are so totally happy with how this turned out and I’ll have a DIY tutorial for you at a later date.
- Organization.The island will be used primarily for baking and I wanted the cabinets to be organized really, really well. We installed rolling drawers in them and utilized Rubbermaid® BRILLIANCE ™ pantry containers for storage. I love the BRILLIANCE containers because they are clear and allow me to immediately see what is inside, air tight so even my nuts stay fresh, stackable, and they’re microwaveable (just in case Levi randomly heats leftovers in one).
- Car-siding all around.Car-siding has a very similar look to ship lap but is a bit more casual and less expensive. We used it in our dining room and I wanted to tie it into the kitchen on the island as well as some of the walls (you can see a bit of that with only a coat of primer on it in a few pictures). Car-siding isn’t hard to work with, it just takes a bit of time to install.
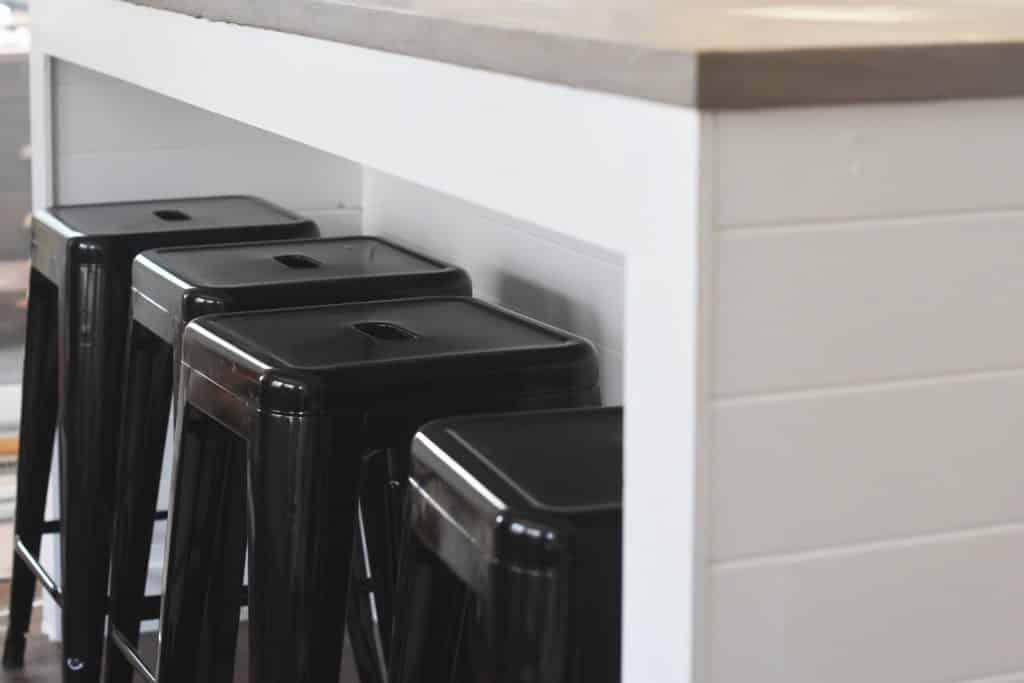
Here is the other side of the island. Count them… FOUR stools tucked up underneath that gorgeous counter. The car-siding is charming and simple.
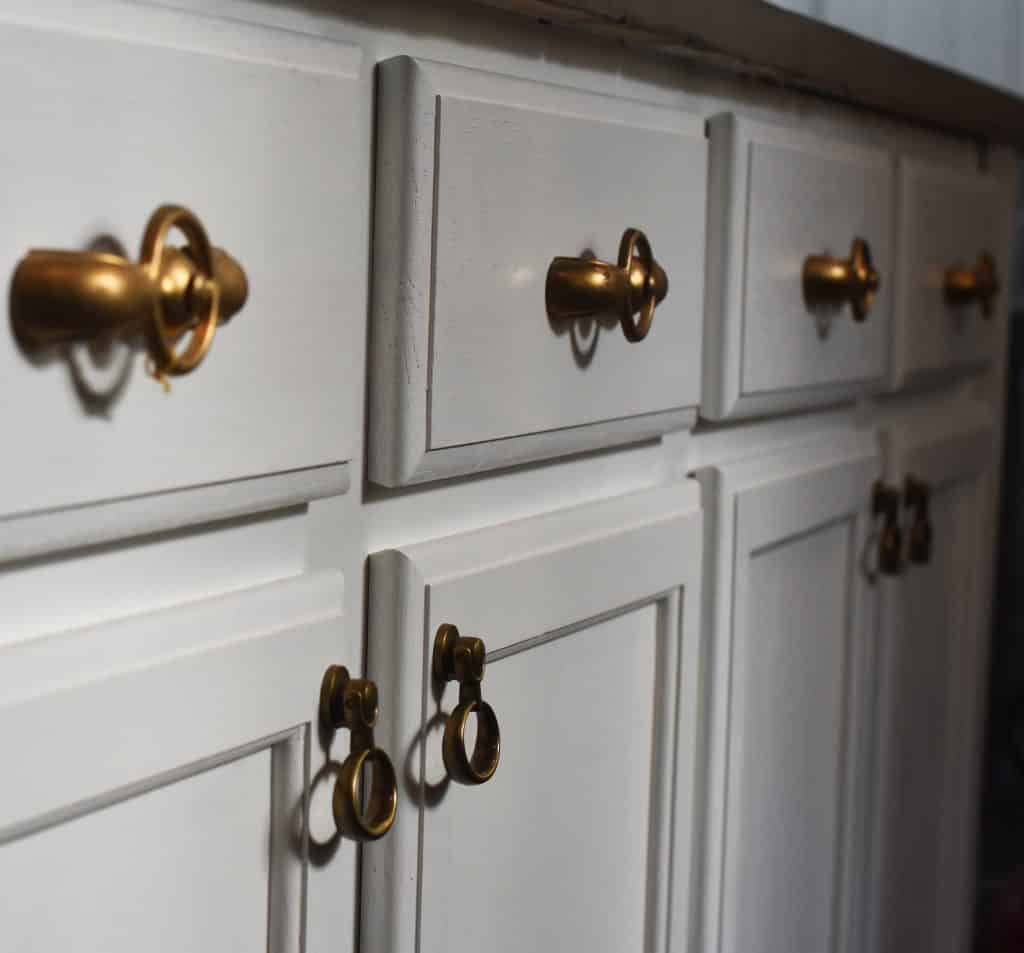
I picked this hardware up for a steal at a local antique store and I am in love with the quiet elegance of it.
If you look carefully underneath the counter you can still see a bit of the wood top the cement overlay was put on.


These cabinets are outfitted with storage, storage, storage!
These rolling drawers are amazing and keep my supplies easy to get to. The clear Rubbermaid® BRILLIANCETM containers allow me to buy in bulk and simply put things into containers when I get home. Because I can see what is inside, it eliminates the need for labeling. I adore them!
If you want to pick up a set, this is what you are looking for. They come in a set of four (although I have two sets spread through the island and am planning on getting more :))

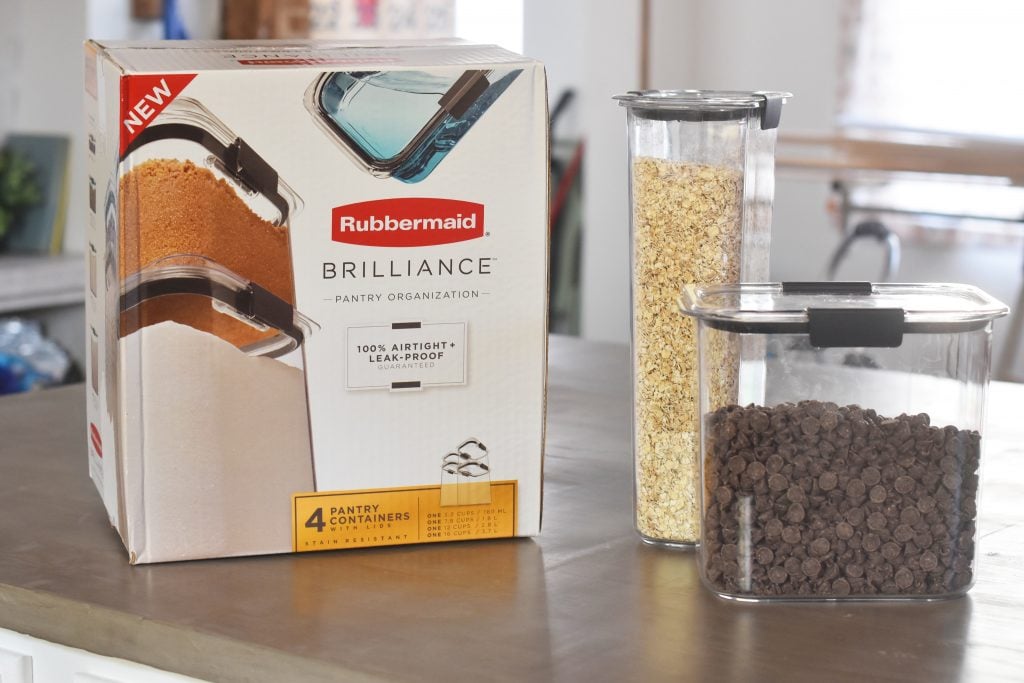
You can find the Rubbermaid® BRILLIANCETM containers at your local Meijer, Walmart, or Bed Bath & Beyond and save $3 off any purchase of $10 or more with an FSI offer, or order them on Amazon! Plus, earn cash back with this Ibotta offer.
This organization has made the kitchen island absolutely invaluable and I won’t be able to live without one again, I’m sure.
Looking for even more kitchen and pantry organization tips? Check out more ideas here!
And, for fun, let me show you where the island (remember, it’s made with stock cabinets and hard work :)) and the kitchen has started…

Whoa, right! To be fair, we were already in a bit of construction at this point. Note the island. That was one week ago and this is now…


It feels good to have an organized space in the kitchen, now. I open the cabinets and hear angels singing! Making the kids’ favorite oatmeal is even better than ever. I have a big counter and easy organization.
Onward to the rest of the kitchen remodel. Hugs needed!





Aww thanks!! We need to look at those pictures, ourselves. We forget so easily how much has been accomplished. Those pics are great for a reminder ;).
I’m loving it! You have such a gift for mixing the old with the new to create a totally homey, useable space without breaking the bank. Thanks for the before pictures to help me appreciate how far this remodel has come… We sometimes forget how bad the old was as we quickly get used to the new. The Rubbermaid storage containers are a great find… See thru AND square stackables! Keep your pictures coming….