Yesterday we gave some face painting tips that we have picked up over the years of face painting. Be sure to check those out before you start on today’s face painting tutorials.
We also mentioned that we are not pros in any sense of the word, but we have painted faces for many, many children because face painting never ceases to be a hit. As long as we can paint something that is good (not necessarily great!) the kids are over the moon!
“We are a participant in the Amazon Services LLC Associates Program, an affiliate advertising program designed to provide a means for us to earn fees by linking to Amazon.com and affiliated sites.” Find our full disclosure here.
The face painting tutorials today are not perfect.
I painted them quickly (like you would for real!) and photographed it. I didn’t fuss or fret or do it over because I wanted you to get a true idea of what these would like in real life. And you can see that, although they aren’t perfect, face painting is still something that most anyone can tackle with success. If I took a bit more time and care these would have been beautifully done. Just like yours can be, if you choose!
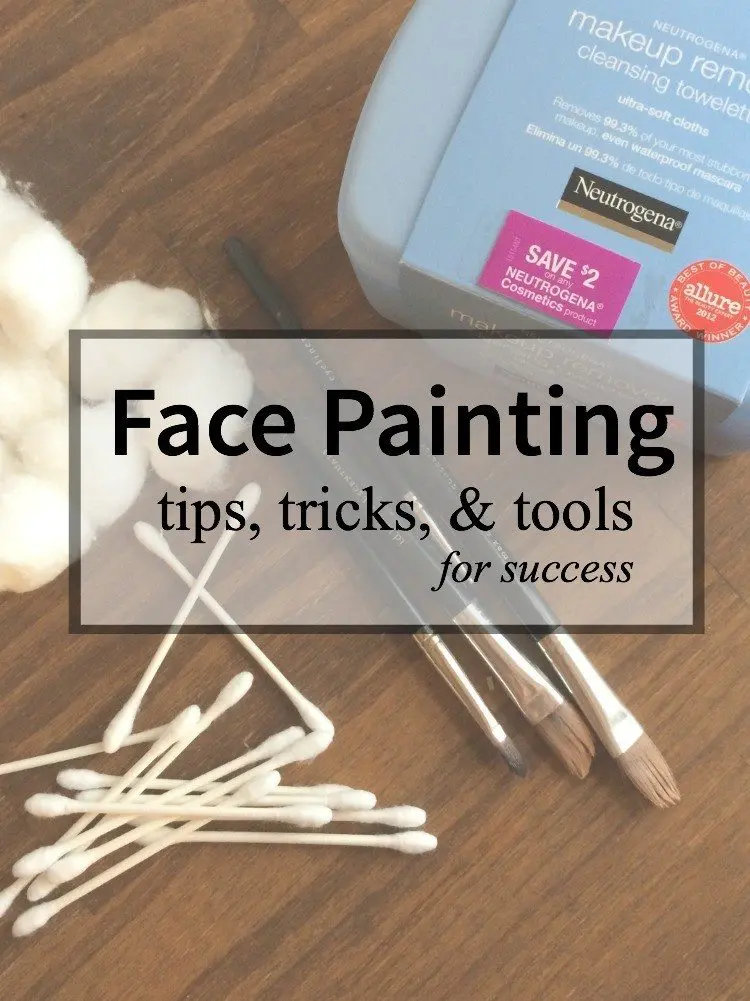
Also, don’t forget the importance of taking off the face paint well! These wouldn’t be good face painting tutorials if we didn’t include this super important part! Stash a set of good facial wipes in your bag for whenever the fun wears off. Getting the paint off with soap and water is just not as simple as you would think. Be smart. Bring powerful wipes along and cut out the fuss (and possibly tears). They also work great for cleaning brushes in between children!
Alright, to the face painting tutorials!
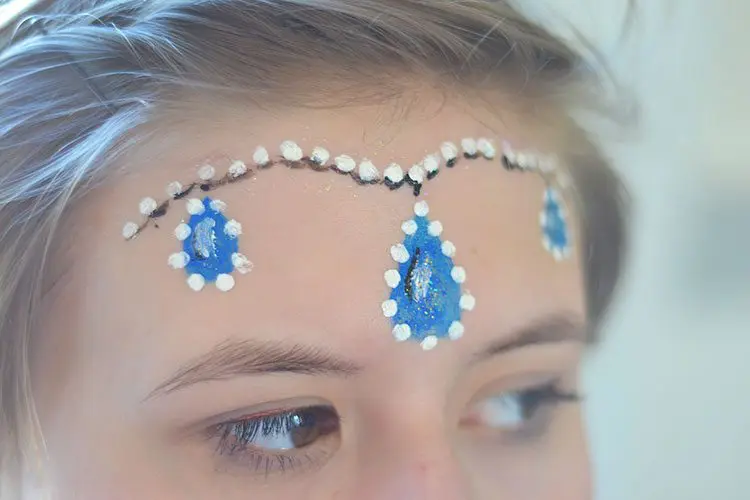 Princess Crown:
I have done princess crown after princess crown. This is a favorite for little girls, usually in pink or purple with LOTS and LOTS of glitter. Thankfully, it’s simple to do!
- Draw 3 teardrop shapes on the forehead. The largest of the three is in the center of the forehead with two smaller ones towards the side.
- Use a series of dots to create the “crown” across the forehead and connect the 3 shapes. Outline the teardrop shapes with dots as well.
- If desired, use black and sparkle to add dimension.

Sparkle Swirls:
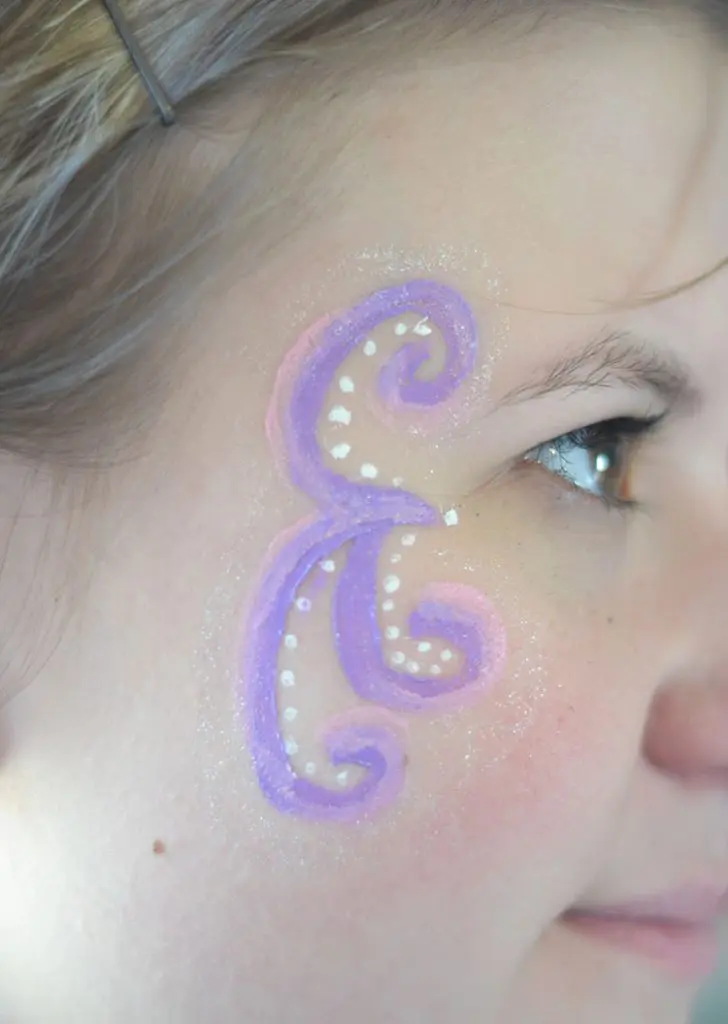
This is another favorite for little girls. It goes well with fairies, princesses, angels, and any sort of girly costume. A few pink swirls and a bit of sparkle is all it takes to get this done! I think this one looks a bit like an octopus. If you take a bit more time than I did you could have a non-octopus version, and even a full face of swirls and sparkle!
- Create a swirl or two starting at the eyebrow and down towards the cheek, and remember, this isn’t an exact science!
- Use a contrasting color to add a border of dots along the swirl.
- Use color to add a bit of dimension to your swirl.
- Glitter. Add lots of glitter!
Dog Face:
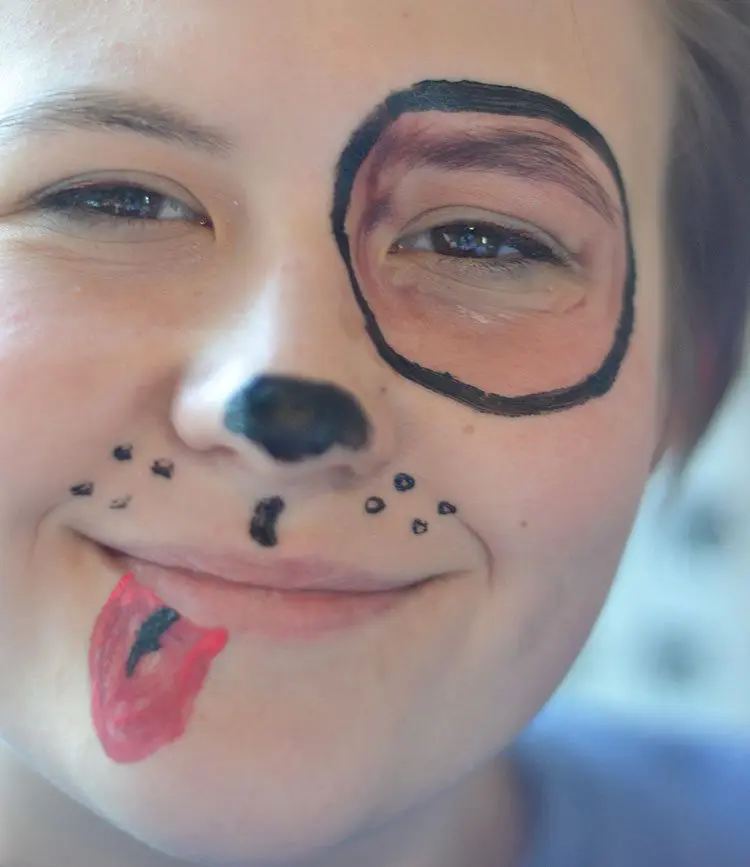
Change up the colors to match your child’s costume. I didn’t take the time to mix good face paint for the brown around the eye and used the cheap stuff; you can tell!
- For older children, add a base of color around the eye (take care not to get too close). For younger children, skip this step.
- Outline the patch with black. Add a nose, line from nose to mouth, and several “whisker” dots.
- Use red to give your “dog” a tongue.
- Add a little line of black on the tongue for dimension.
Ninja Turtle:
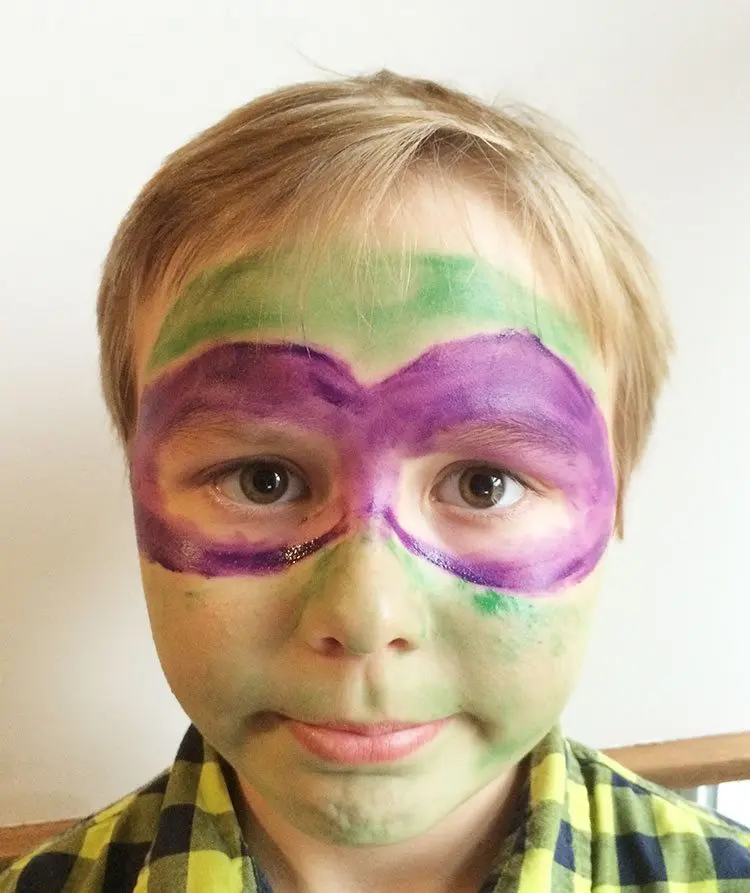
Remember yesterday when I mentioned how important it was to have good, quality face paint? That purple mask of Levi’s stained his face for a couple days, poor kid! [easyazon_link identifier=”B00MLBPDQ2″ locale=”US”]Neutrogena Cleansing Towelettes[/easyazon_link] are powerful little things, but even they couldn’t quite take that staining away. So, don’t do like I did here…use good face paint (we talk about good options in yesterday’s post)!
Learn how to paint a mask if you learn anything.
You’ll use it repeatedly. Change the colors, eliminate the base color, change the shape a bit…the possibilities are endless for how you will use this one! Use good quality face paint to be sure this looks good (and not uneven like Levi’s!).
- Apply a base coat (green for a Ninja Turtle). We’ve recently had a reader clue us in to a little trick. Put on a base of yellow, let it dry, and then put on your green. The green will be stronger, and there won’t be as much staining! We are so lucky to have awesome readers who let us know about these tricks!
- Outline the eyes first, creating the mask shape as you go out.
Mustache:
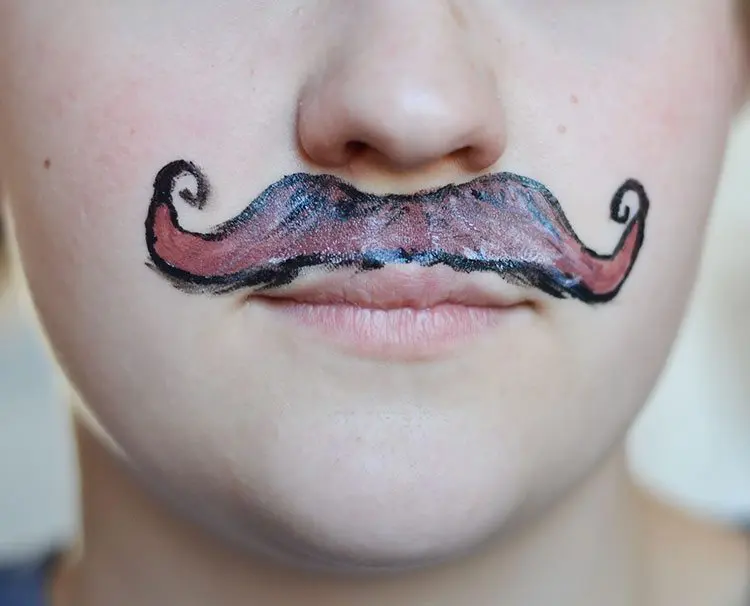
This one was really popular with Mario costumes (or is it Luigi?) and pirates. It’s a good one to know how to do. And super easy!
- Use a brown bottom layer and apply in a mustache shape.
- Outline the shape with black and add additional dimension, if desired.
Don’t forget to check out yesterday’s post for tips, tricks, and tools for face-painting as well as two full-face video tutorials! We hope that those Face Painting Tips and today’s face painting tutorials gave you confidence to give face painting a try! Remember, it isn’t about getting it perfect….it’s about having fun. Kid’s love face paint in whatever form they can get it!
This is a helpful post, thank you! About to embark on my first face painting ever for my daughter’s fourth birthday and you have given me some good basic ideas. I was a little intimidated by all the images that came up in my first few google searches.
Oh no!! Good to know. I’ll make a note on the post to warn others to watch out for it.
Snazaroo does stain. I just used the orange on my daughter and her face and eyebrows are still orange 4 nights later and she only had the paint on her face for 10 mins.
I actually have been face painting for years n i love snazoo. Its kind of expensive however it does not stain the skin, its super bright n it goes on great. I also like getting tag cakes when i want a rainbow of colors. It saves time n looks great. U can also do this by painting ur sponge,ie a little red, then paint a little purple next to the red n maybe some pink next to that n u then wipe the sponge around eyes to make a butter fly. It automatically blends for u n saves so much time. I would upload a couple pics of my work but i dont see how to
Thanks! Yes, it’s necessary to be careful what brand you put on the skin.
You might want to modify your article and put that statement at the top of the article. It doesn’t matter what brand you use, but use one that has FDA compliant ingredients made for the skin. (Acrylics do not have ingredients made for the skin.) Thanks!
We actually didn’t use a great brand, so we don’t want to recommend it. We don’t have a preference for face paint, just make sure you choose a paint that is actually intended to go on the face :)
what type or brand of face painting do you use?
Thanks so much for the helpful note!
On your Ninja Turtle there’s a trick I learned in Stage Makeup that can help with the green base (any green based base). Before applying the green base first put on a yellow base this will help even out the green when you put it on. I did the Incrediable Hulk and once I put the yellow on the green base was so much easier to work with epically in making it even.