
Removing caulk from a camper requires care and patience. Watch this video to learn how to remove cracked, brittle caulk…the only way I found that works!
Have you checked out the Camper Remodel Photo Gallery? Don’t miss that.
Our old camper’s counters were in decent shape but the old caulk was old, brittle, and ugly. Initially, my plan was to replace the countertop (I’ve since changed my mind), and in order to do that, I realized that I would need to remove the old caulk to get the surface.
But when I went and looked up How do you remove old caulk from RV? I found lots of info & video about the exterior of a camper but nothing about the interior. To make matters more confusing, I learned the product I have in my RV kitchen is actually called reverse crown molding. It really doesn’t matter, if you are trying to find some help on removing this stuff…it’s hard to find.
After hours of research and personal trial and error, I found that when your camper’s interior caulk gets old, brittle, and full of cracks the only way to get it out is to just simply cut it along the seams and use a very stiff putty knife to kind of press behind and pull it away from the RVs wall.
It takes some time and energy, is frustrating and tedious, but it does work and you will get it off. And sadly, there simply isn’t a shortcut for removing it. You just have to settle into it being annoying and hard, be patient, and start.
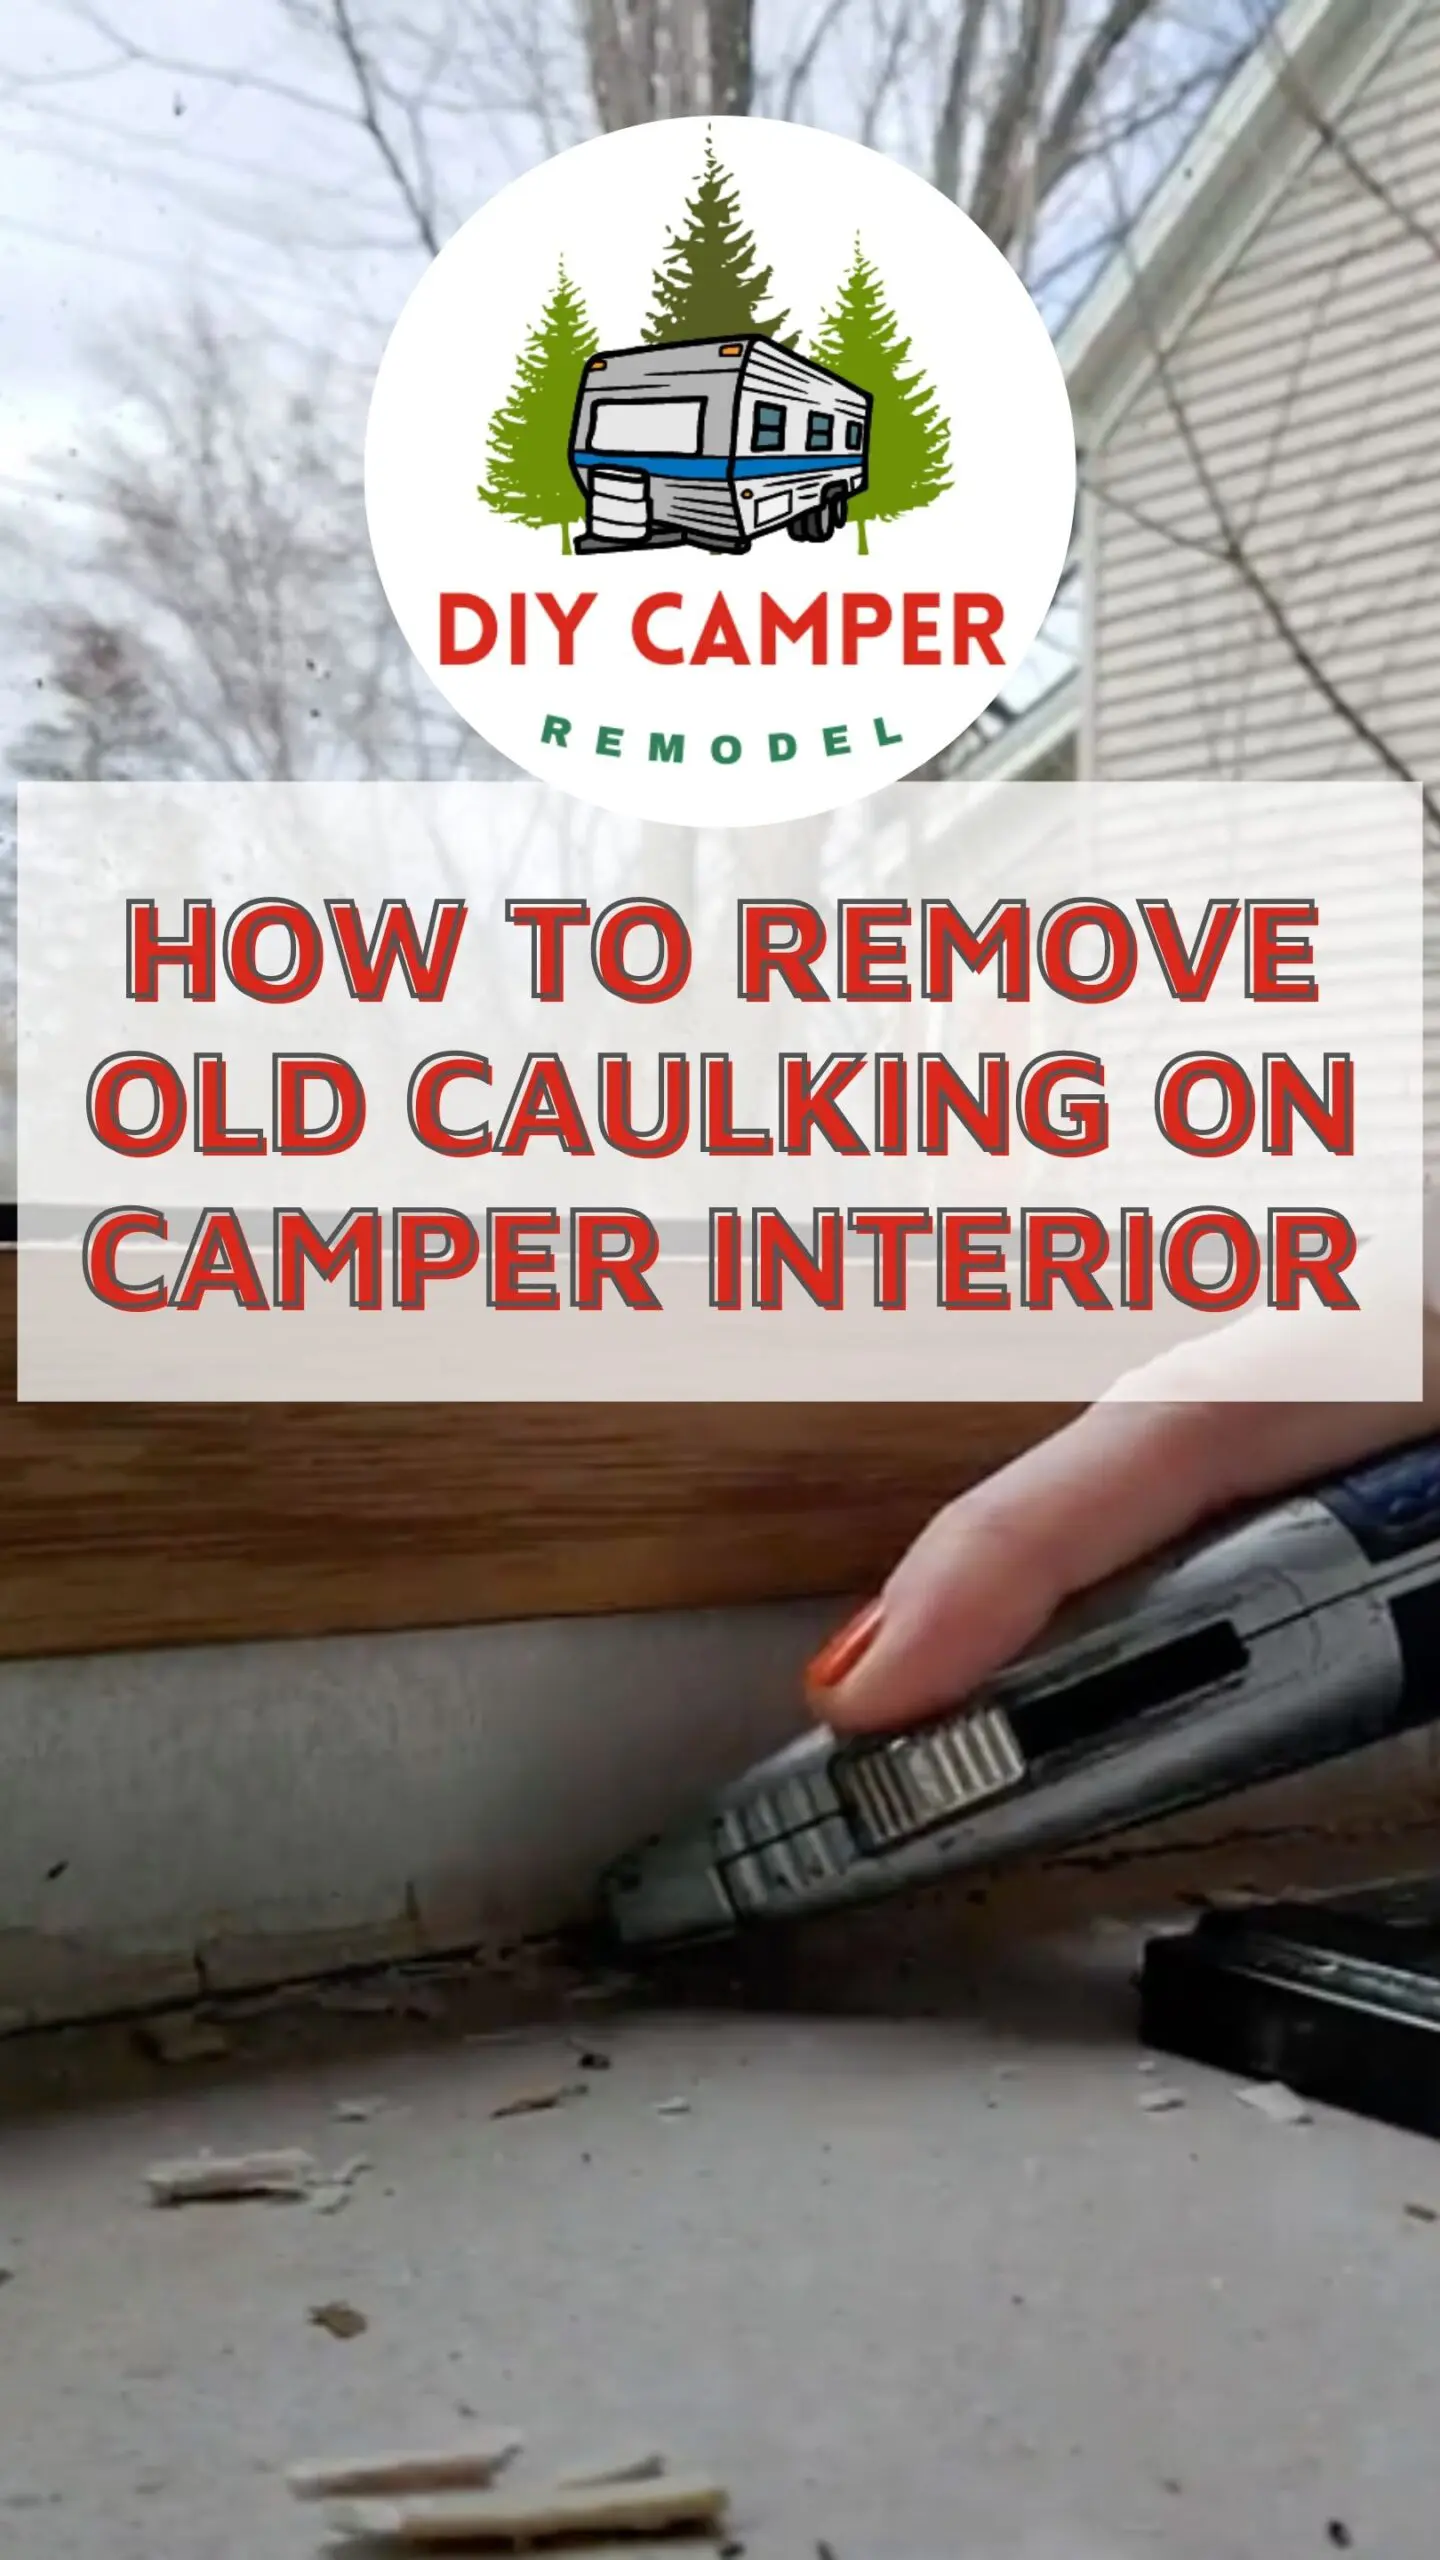
You will want to wiggle the scraper to get the brittle old caulking to move and break. Use the razor blade between the counter and the caulk just to loosen it up and you’re going to keep wiggling it away from the wall with the scraper. Put the scraper behind the caulk, in between the caulk and the wall, and wiggle it. It’ll help it get moving for you. And then you’re just going to keep going at it with that razor blade until you finally get more and more of the old caulk to break off.
You’re also going to want to use that scraper to scrape off any residue. Often, you’re going to need to go back in with your razor blade to get whatever caulk didn’t come out cleanly and clean that edge up a little bit. After I’ve done as much as I can with the stiff spatula, I’ll use Goo Be Gone and a damp rag to clean up any remaining adhesive and leave the surface smooth.
Materials needed:
- Very sharp utility knife or razor blade. Make sure your blade is very sharp to cut the brittle caulk. Have extras on hand, they’ll go dull fairly quickly with this project. I think I had to go through maybe three different razor blades.
- Stiff Paint Scraper or putty knife
- Goo Be Gone :
Tip: I’ve heard many have had success using a rag soaked in vinegar or mineral spirits and letting that rag soak on any remaining adhesive instead of using a cleaner like Goo Be Gone.
How do you remove old caulk from RV interior?
- Use a sharp blade and cut into the seams between the counter and the caulk and the wall and the caulk.
- Insert your stiff spatula into the spaces you created with your blade and wiggle back and forth to get movement.
- Use your blade to run along the corner seam and, hopefully, cut away the caulk.
- Scrape away as much residue as you can with your stiff blade, and use an adhesive cleaner like Goo Be Gone for any remainder.
End result:
Update: Once I removed the old caulk off of the countertop, those counters looked loads better and I ended up cleaning them and keeping them. I saved tons of time and money!