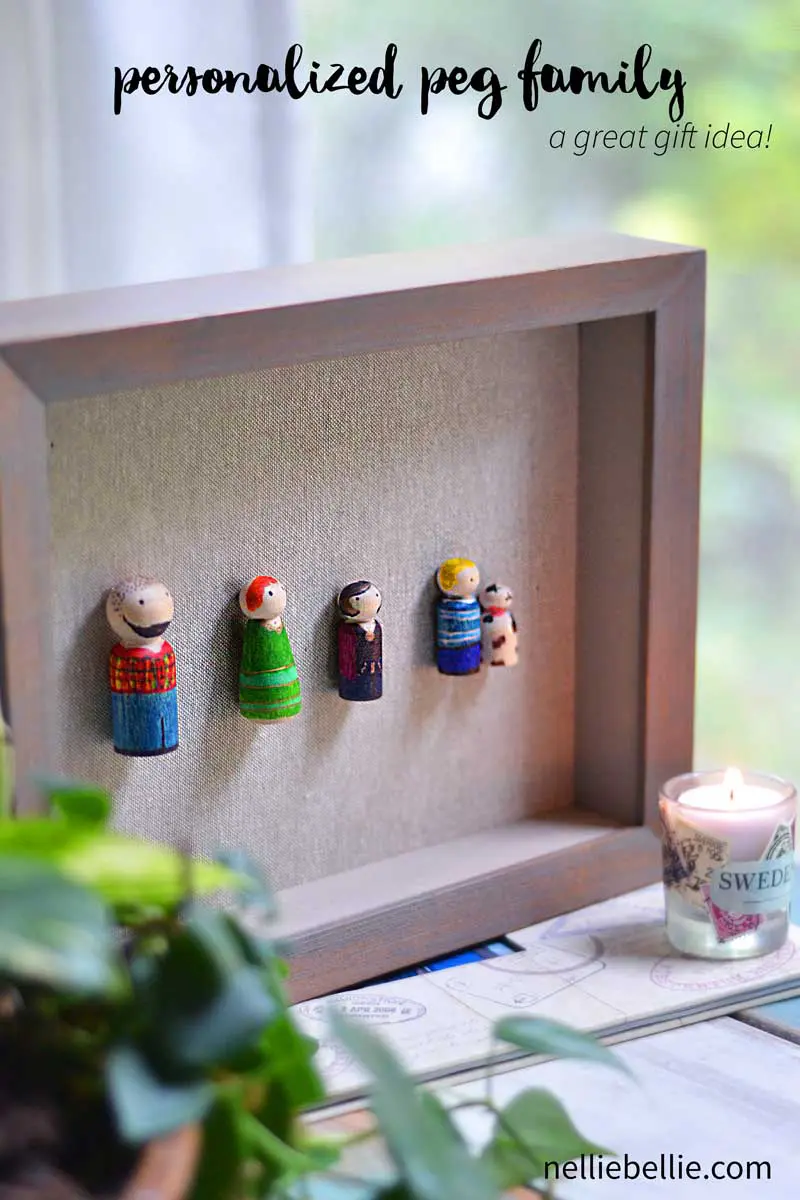
 I am terribly excited about this little project. In truth, I created this as a personalized gift of family peg art for a Christmas gift but so fell in love with the idea that I ended up making it for my own home. This one is mine. A little miniature version of my family that I have on the mantel of our fireplace.
“We are a participant in the Amazon Services LLC Associates Program, an affiliate advertising program designed to provide a means for us to earn fees by linking to Amazon.com and affiliated sites.” Find our full disclosure here.
My favorite of the peg family is Nate. I captured his beard, flannel, and shaved head so well… so adorable!
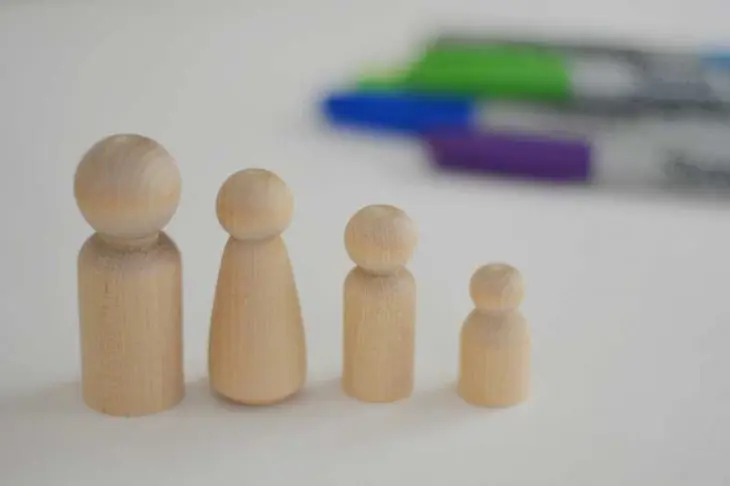
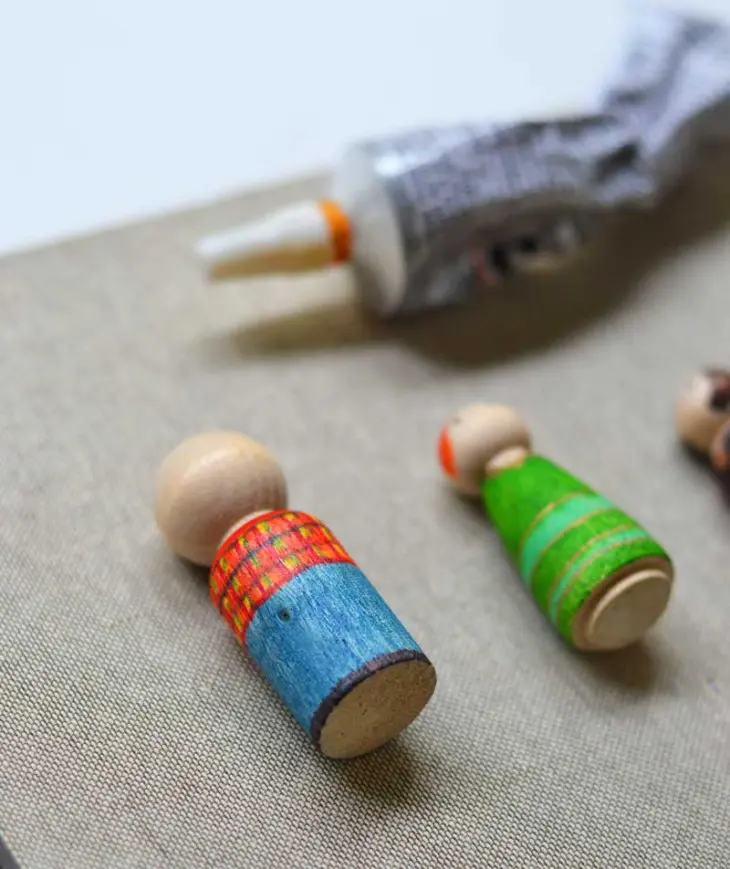
This project it far, far easier than you might think and doesn’t require special paints or equipment. You need wooden peg dolls (I get my peg dolls from Amazon), Sharpies, strong glue, and a shadow box. Really!
Use the Sharpies to color in the clothing for the peg people. Don’t go for anything fancy if you aren’t an artist. Heck, you could even color the peg people a solid color from head to toe, if you like. Make Dad blue, Mom pink, Brother green, and Sister purple or something like that.
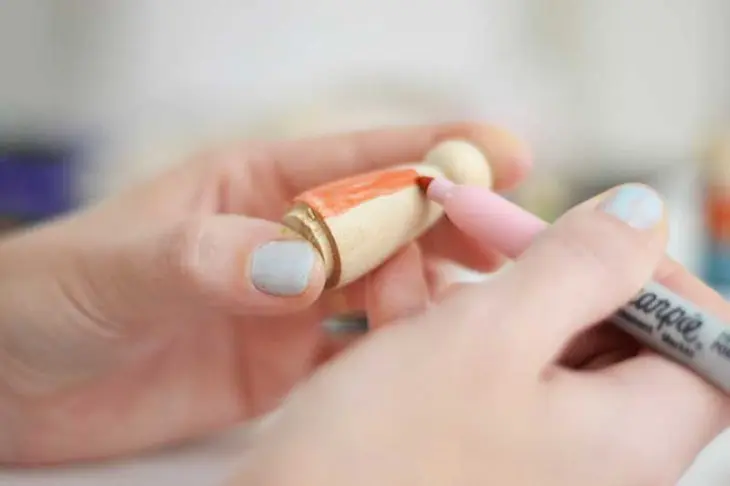
If you ARE so inclined to go a bit more creative try to capture the clothing style of the people you are creating the project for as much as possible.
Tip:
The color will bleed down as you color. Try to hold your peg people so that the color bleeds in the direction YOU want. Also remember to do your lightest colors first and then add in the dark ones.
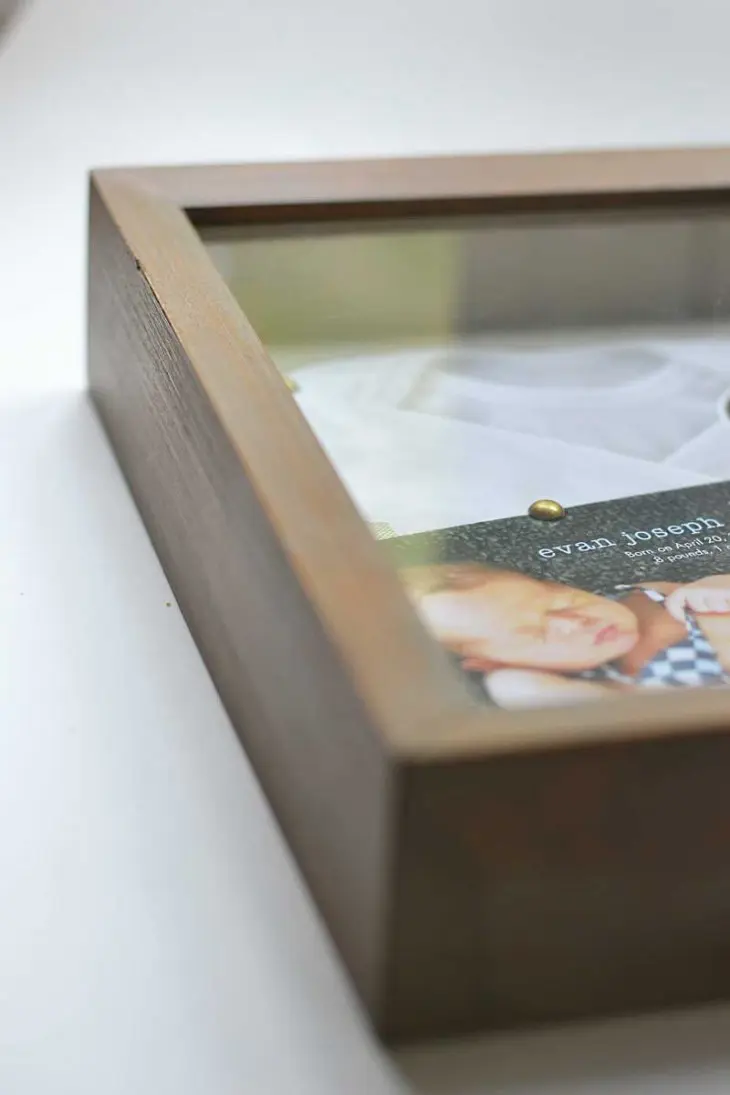
This shadow box was from the picture frame section of my local Target… easy to find. And a bit more expensive than what you can probably find on Amazon, at a craft store, or perhaps even a dollar store. In my case, though, I simply wanted to pick it up and finish this project so I was willing to pay a bit more. Do what works for you. The goal is to grab a shadow box of some sort that is large enough to hold the entire peg family.
After you get your peg dolls personalized with the Sharpies it is simply a matter of laying out the dolls on the shadow box to check the spacing before glueing the backs to the shadow box. Do NOT skip checking the spacing and the way it looks before glueing. Take those few minutes to get a feel for how it looks. Try the peg family all tight next to each other, or spread out a bit.
Tip:
For a fun addition, craft a small plaque with the families last name for the frame.
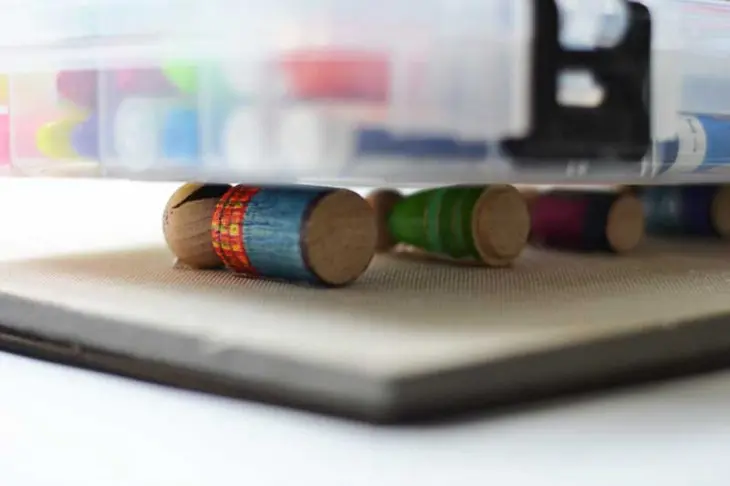
Set something heavy on top of the dolls while they dry so that they adhere to the shadow box as strongly as possible.
My favorite DIY gift idea of the season so far is personal, easy, and inexpensive to make! pic.twitter.com/CjJYJvSW2j
— NellieBellie (@miznelliebellie) November 12, 2015
1095″>
I just can’t. This is one of my favorite things in my tiny house. Ever. Okay, one of my favorite crafts on NellieBellie. Ever. I absolutely plan on making several more for some of my favorite families… I am sure they will love theirs just as much as I do. Seriously, too cute!
Love it!! going to make these for my grown kids!!